Nudge your Users to Upgrade using an Appcues Flow
Learn how to use an Appcues Flow to run targeted campaigns about exceeded usage limits or features on a higher plan tier.
Table of Contents
Driving upgrades can help increase your monthly revenue and increase the usage of your product. You can use an Appcues Flow to run targeted campaigns about exceeded usage limits or features on a higher plan tier. This is a great use case for freemium products, trial users, and existing customers.
Quick Checklist for Upgrade Message
- Add an image
- Remind your user of the value of your product
- Add custom properties to personalize your message
- Add CTA to your payment page or demo page to speak with a sales representative.
Build Guide
Step 1: Create a new Flow
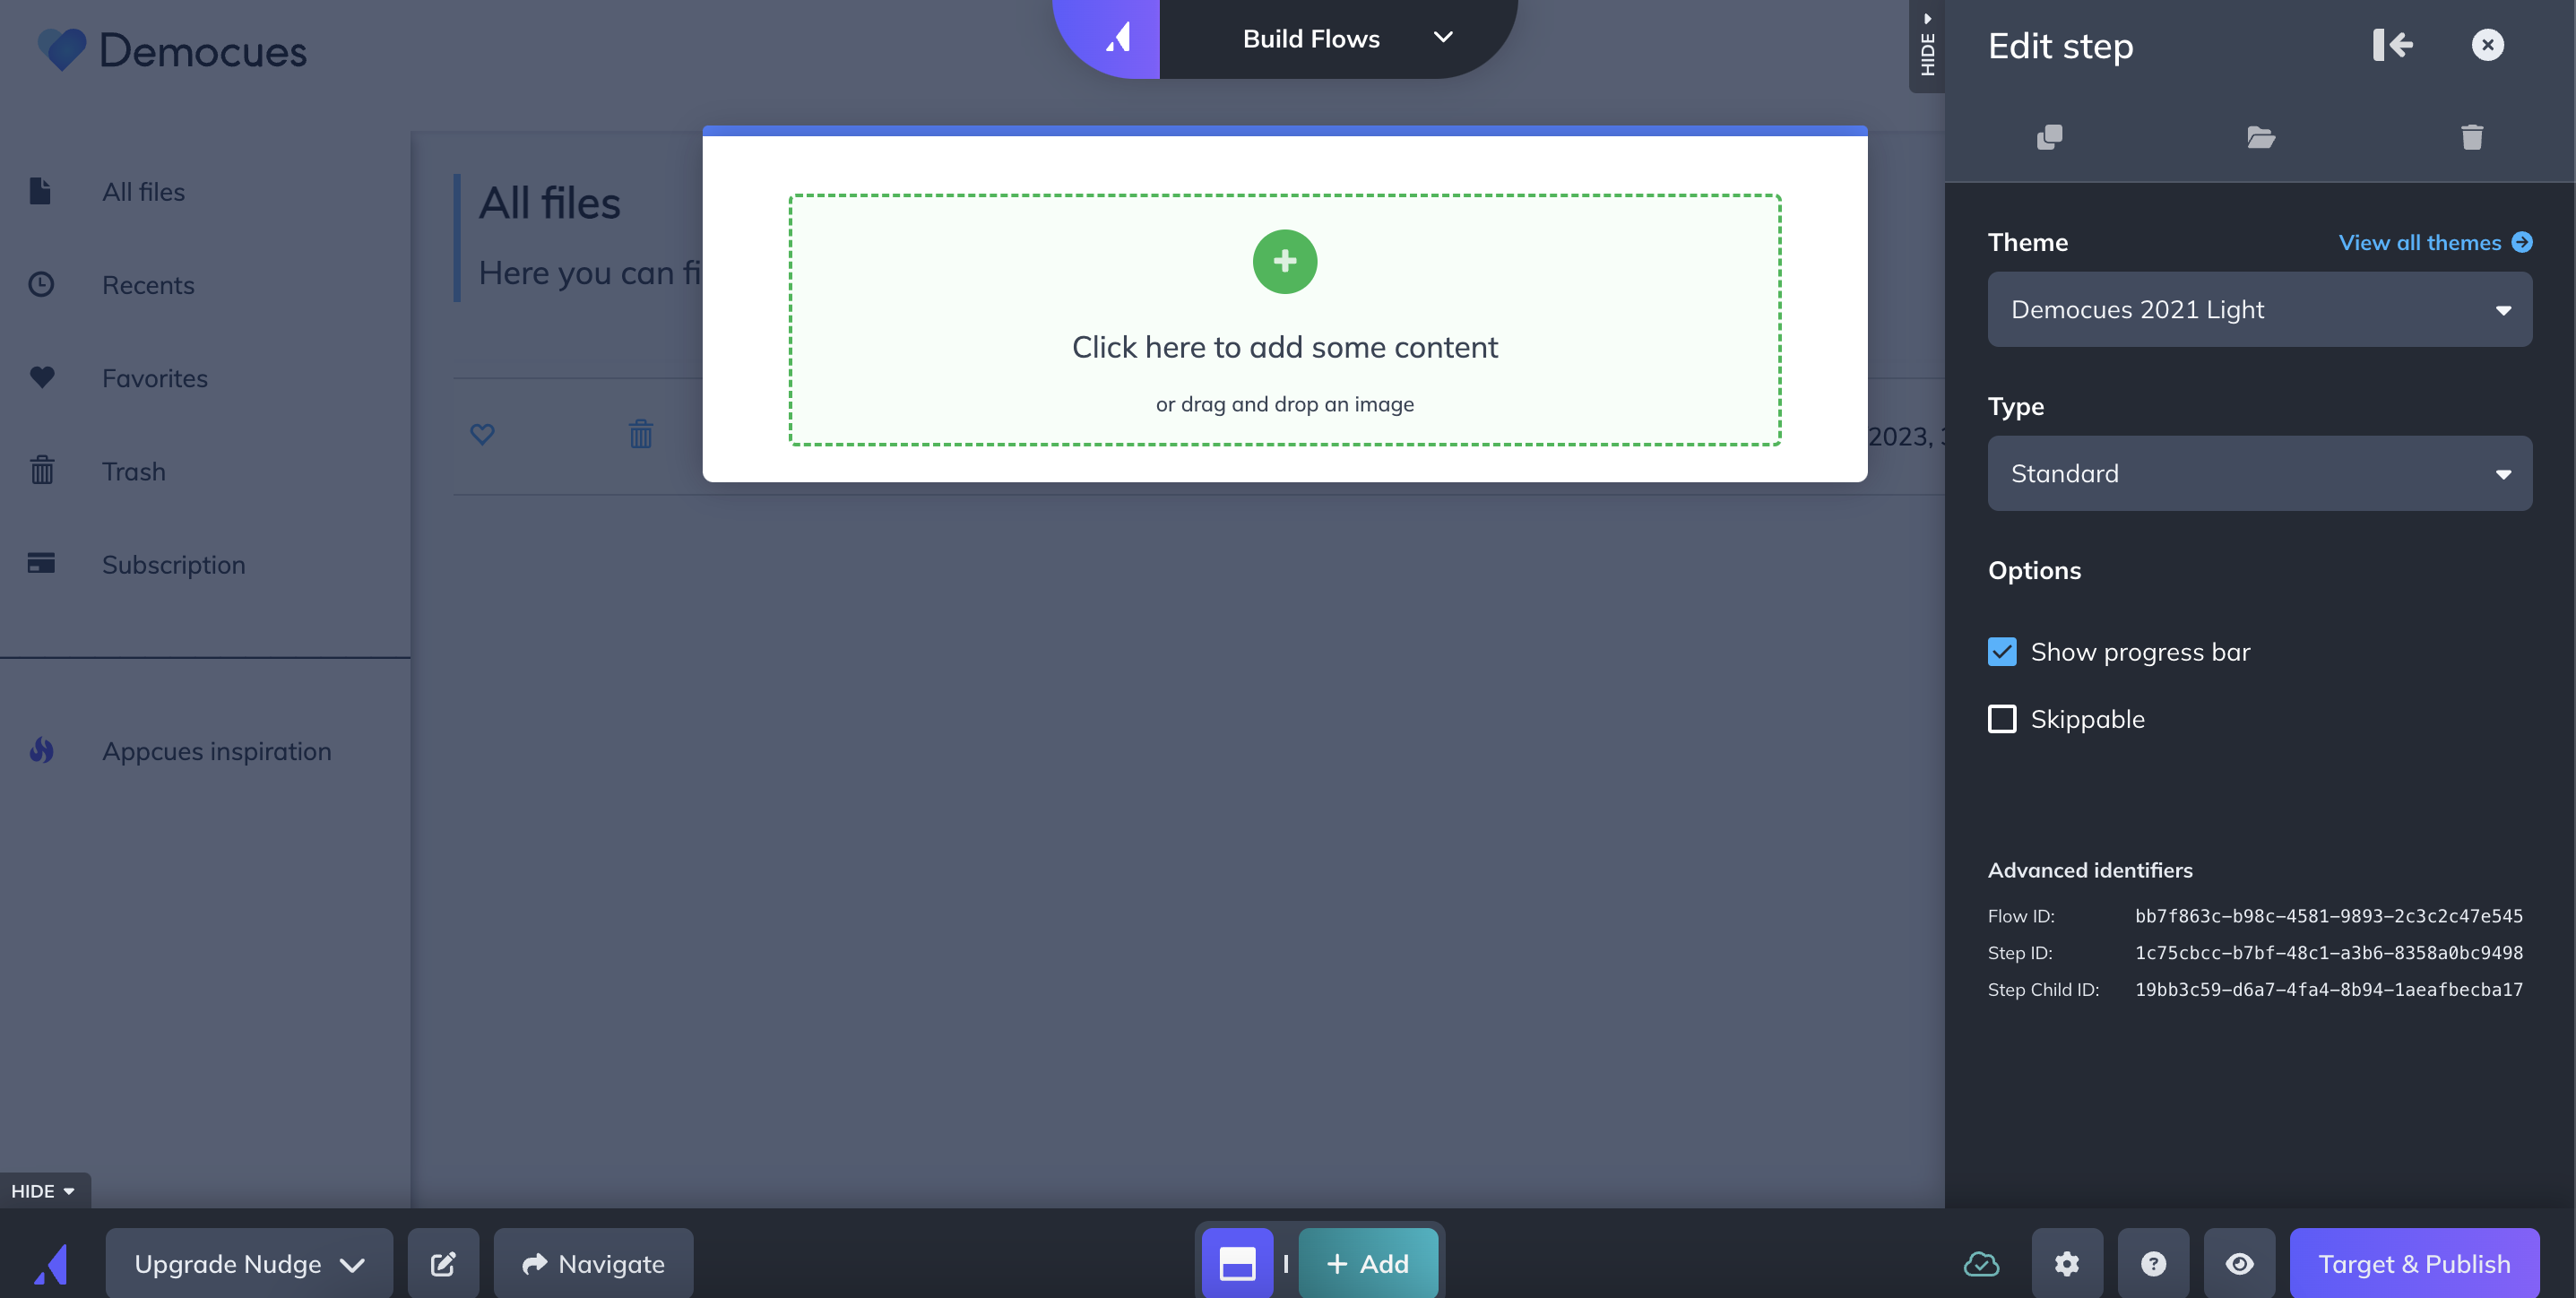
Open the Appcues Builder on a page in your application. Name your flow and select the type of step you want to use. In this case, we recommend either using a Modal or a Slideout.

Step 2: Personalize your message
After adding an image, it's a good idea to personalize the message based on the user's name, the type of plan, and the action required.
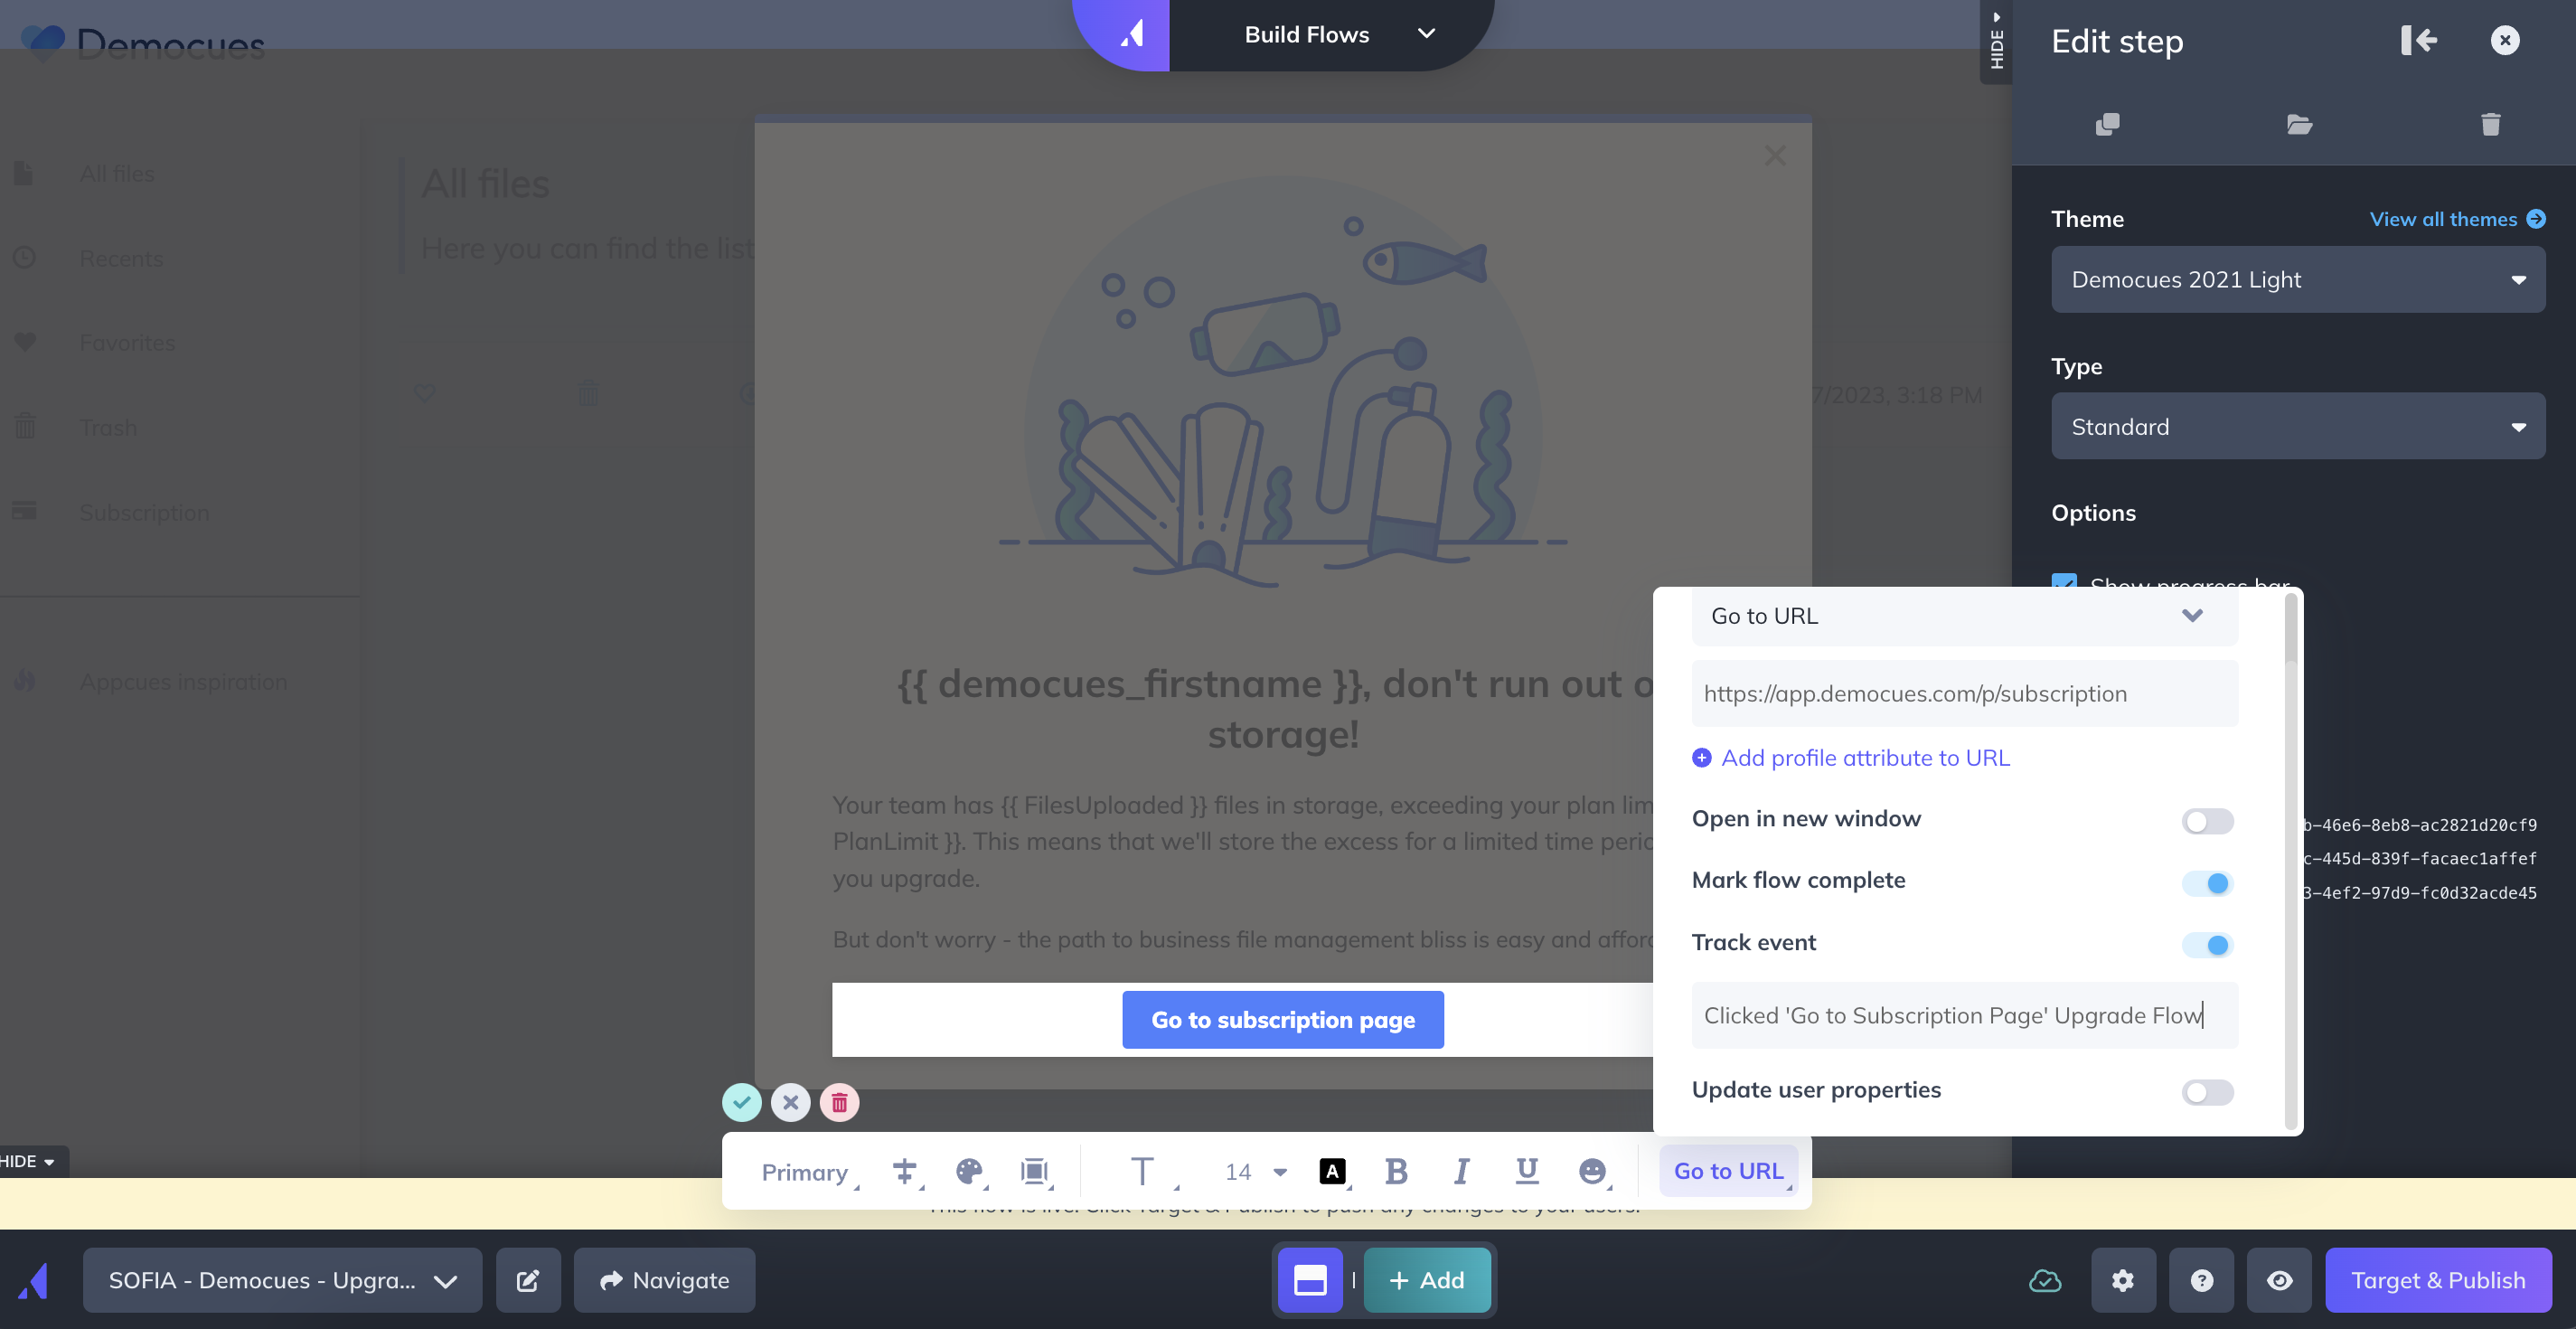
In this example, we added the name of the user, emphasizing the cost of not upgrading and the benefits of upgrading. Using custom properties, we can dynamically show different values for the total number of ‘Files Uploaded’, as well as their current ‘Plan Limit’.
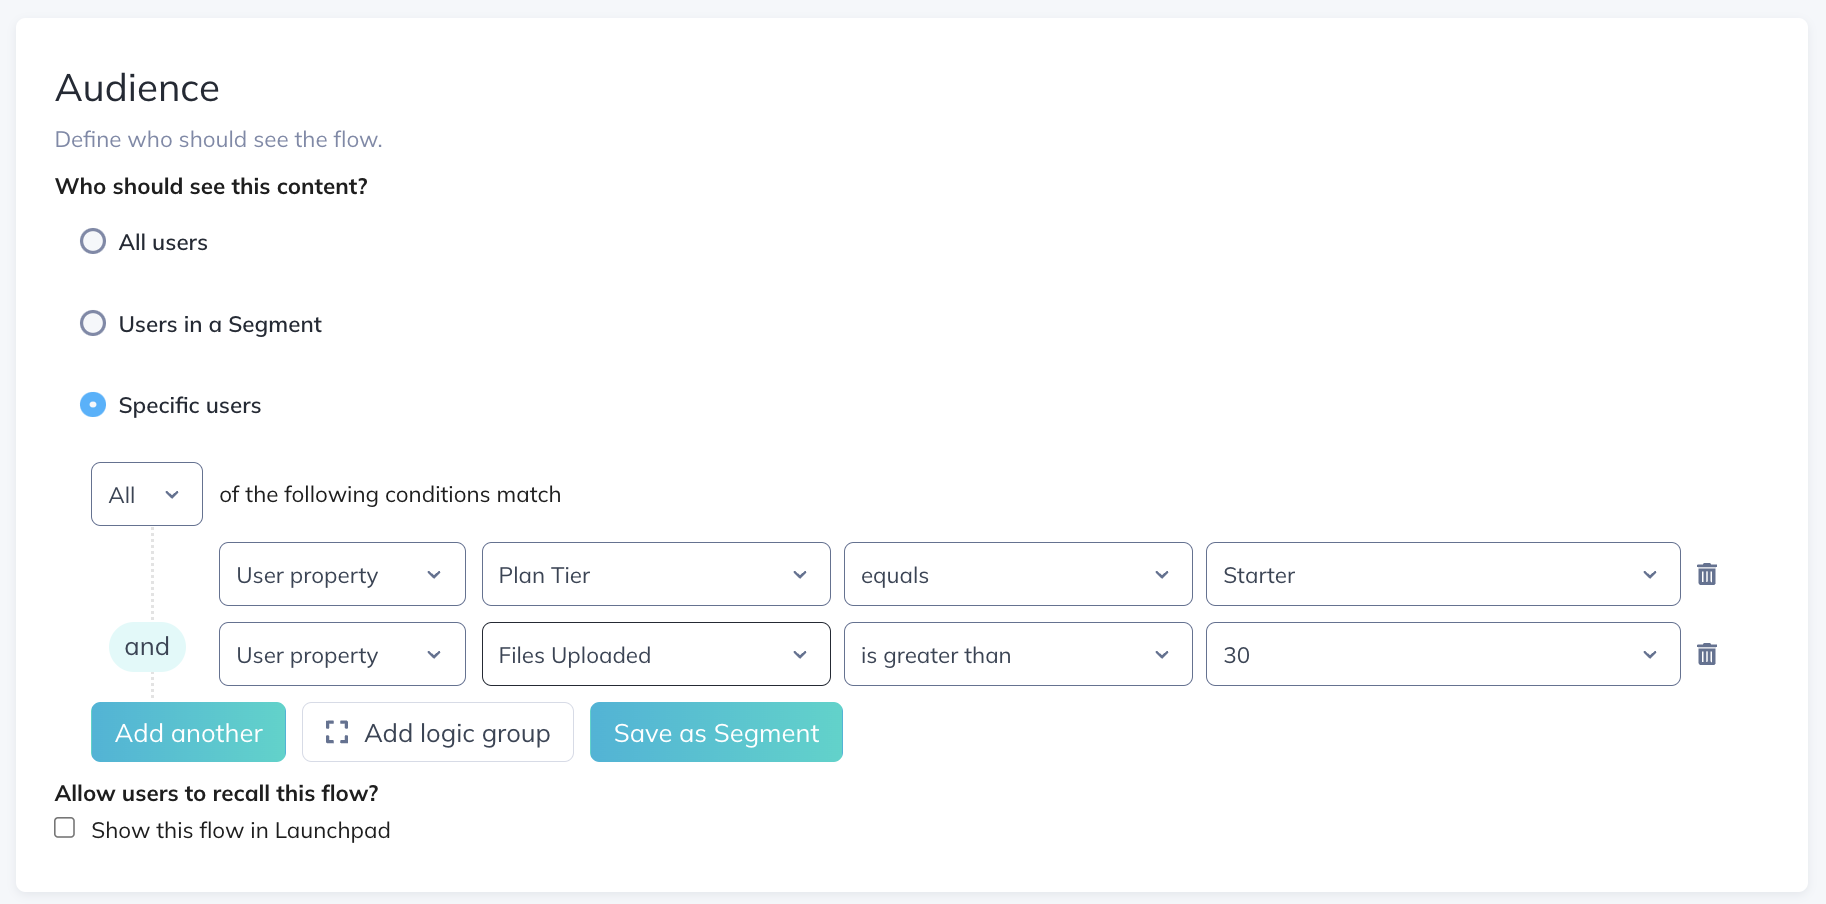
In this case, we're specifically trying to upgrade users on a Plan Tier of Starter going above their Plan Limit of 30 uploaded files.

Keep in mind that the variable will only show as intended when tested live; it will not show while previewing the flow in the Builder.
Step 3: Add a call to action
For a call to action, we added a button that links to the Subscriptions page. For this, add a button to your step and select the action ‘Go to URL’. Specify which URL you want the user to go to. For bonus points, we also added a Track Event on that button to measure interactions with it.

Step 4: Target your Flow
When you're done editing your Flow in the Appcues Builder, click on Target & Publish to take you back to Studio and complete the targeting settings.
In this case, we're targeting users on a 'Plan Tier' ‘Starter’ going above their 'Plan Limit' of ‘Files Uploaded’ of 30.

Step 5: See it live
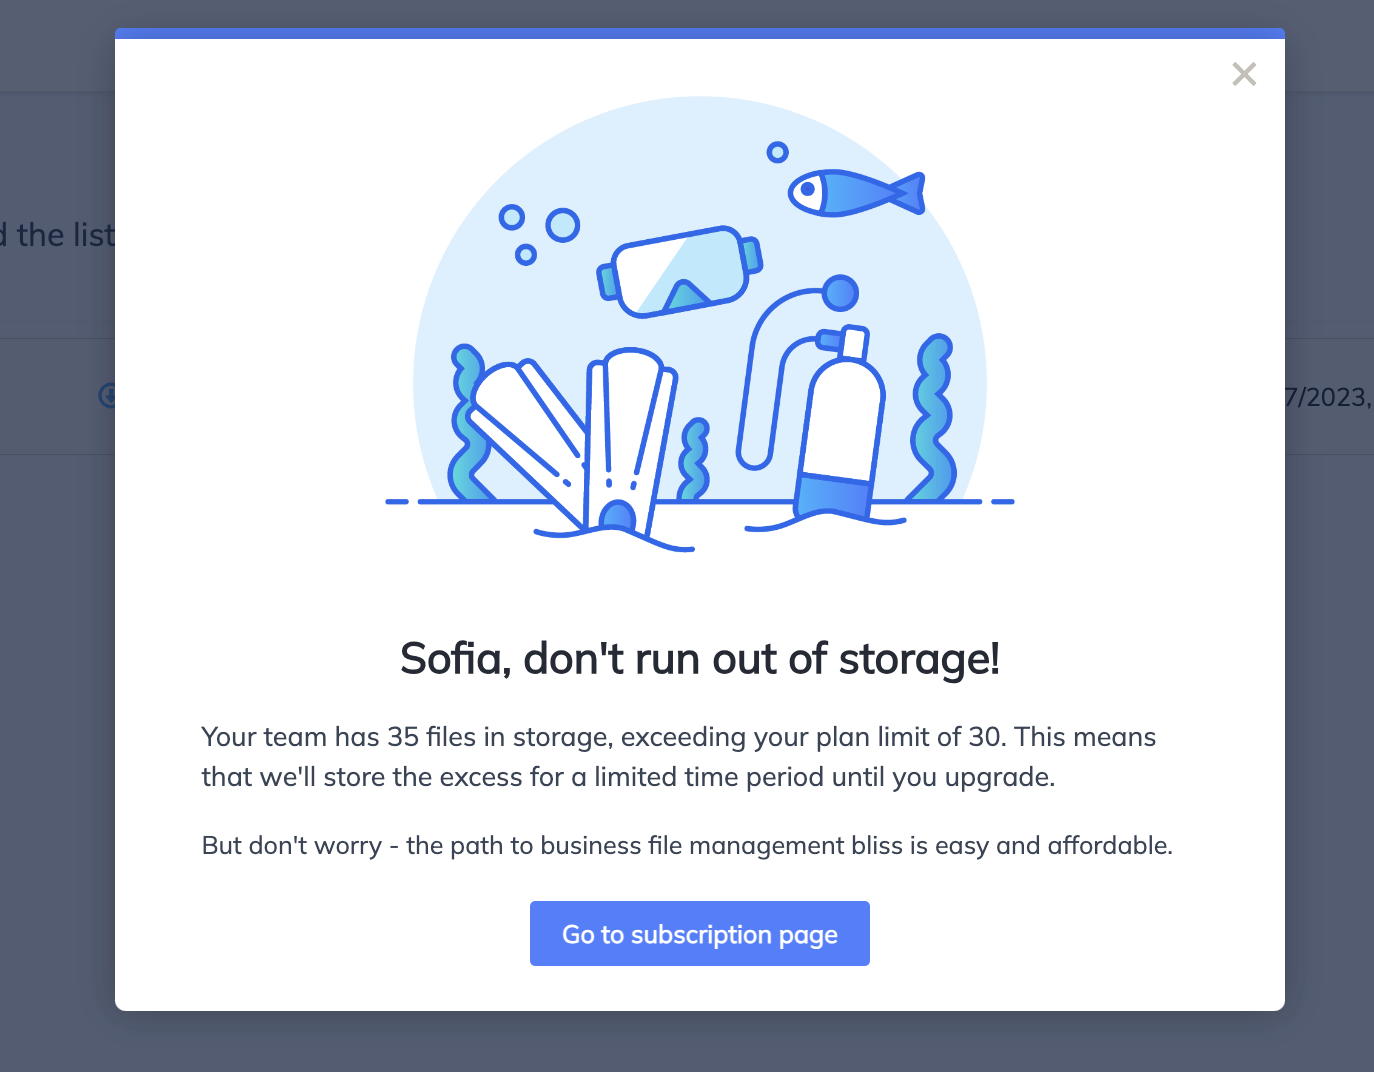
Once your flow is showing live, the custom properties used for personalization will be populated with the user's values.

Here's what it looks like in action:
