Translate Mobile Experiences
Show localized content in a mobile experience based on the user's language.
Table of Contents
Localizing a mobile experience lets you build one experience and show each user a version in their own language. Appcues picks the version to display based on a user property — usually language, but it can be location or any other property you set up.
Also known as: localization, translation, multi-language experiences.
This article covers Mobile localization, for more information on localization see Localize Flows (Flows 1.0) and Translate Web Experiences.
Prerequisites
- A mobile experience to localize.
- Languages configured in your account (see Configure languages below). Once they're set up, localize the content with a translation file, manually, or with AI — each method is covered below.
Configure languages
Before you can localize content, set up the languages you want to translate into. These become the languages you can select when localizing an experience. If you've already set up languages for web experiences, they're available for mobile too.
- Open language settings from your account localization settings, or from the localization dropdown in any mobile experience.
- Click Add language. Set the language's name and the property used for the language, and choose the languages to include in the group.
- To add multiple languages or dialects to one group, use the dropdown to select the first language, then repeat for each additional language. Added languages appear in the field.

- Click Add to save the language and add it to your list of selectable languages.
- To delete a language, click the trashcan icon next to it. This removes it from the selectable languages in the mobile builder and for web Flows.

Localize with translation files
Once your target languages are configured, add content for them with a translation file. This is useful when a translation service handles the work. The file includes all editable content in your experience: the text in text, button, hero/header, icon-with-text, text input, single-select, and multi-select blocks, as well as required field text.
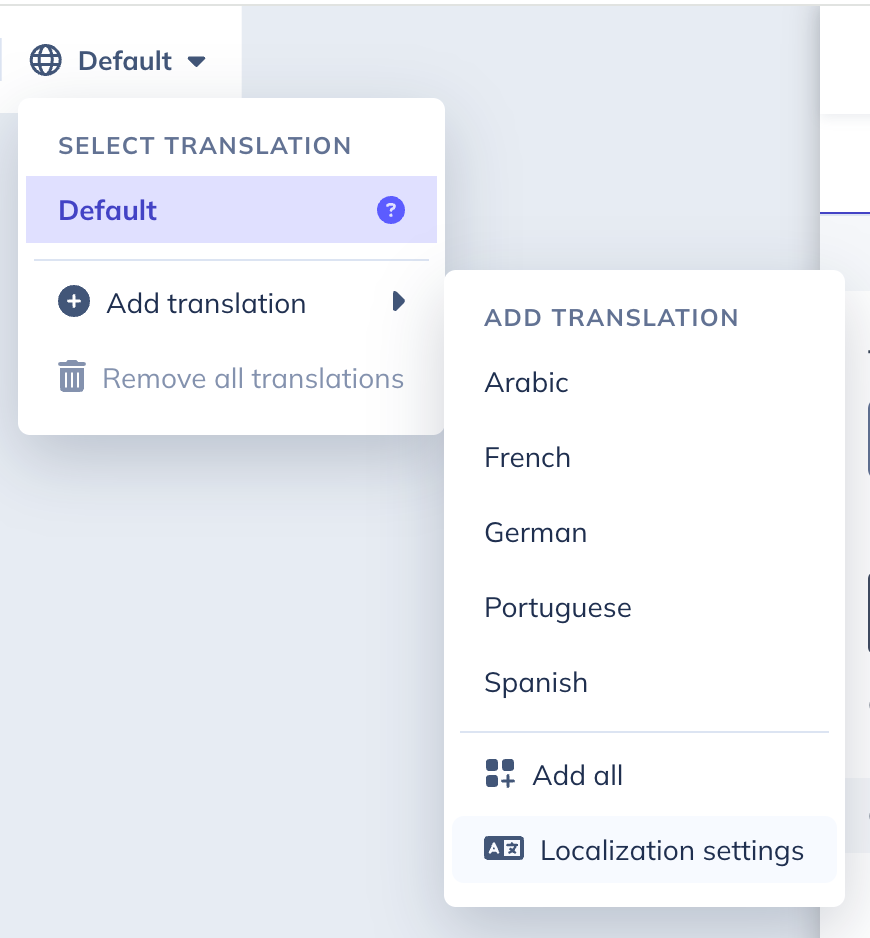
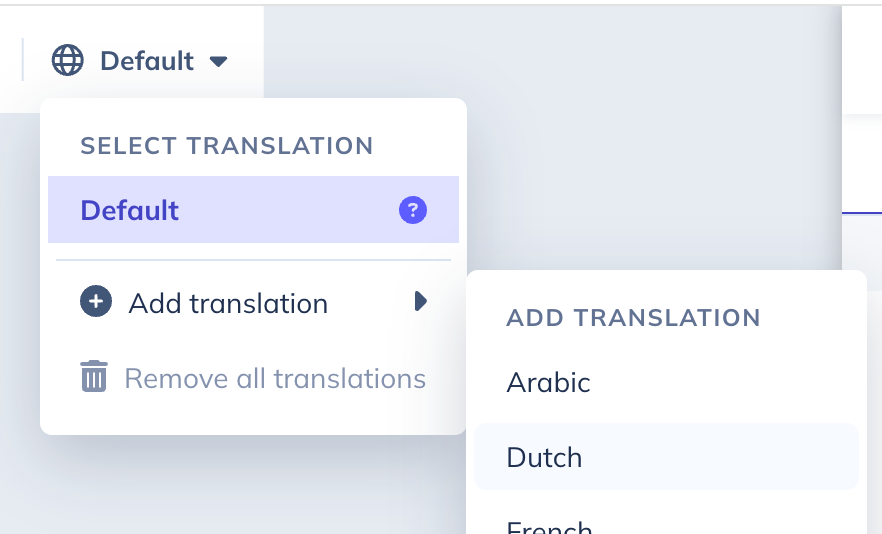
- Add a language: click the language dropdown, hover over Add translation, and click the language you want to add.
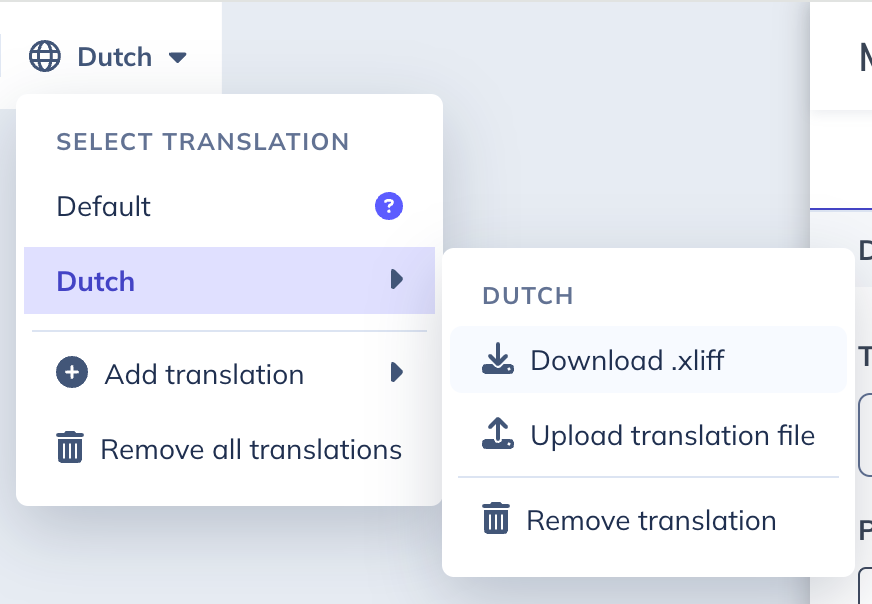
- Download the translation file: click the language dropdown, hover over the target language, and click Download for the file type you want.
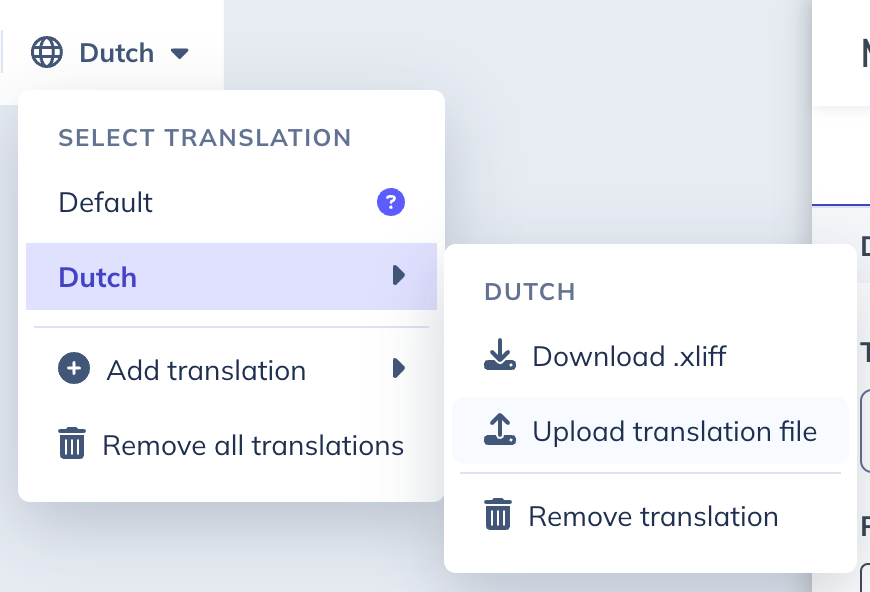
- Upload the translated file: click the language dropdown, hover over the target language, click Upload translation file, then select and open the translated file. The experience content updates with the content from the translation.
Use XLIFF files for translations
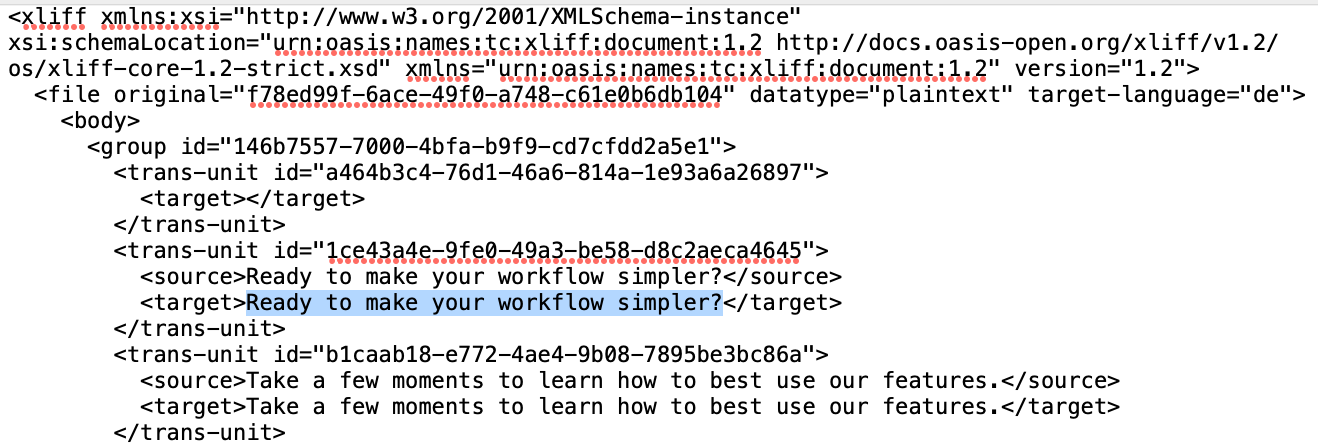
XLIFF is a file format used for localizing content. It's usually used with a specialized service or editor like Smartcat or Lokalise: upload the XLIFF file into the platform and the content appears in the editor for localizing and validating translations.
Some editors detect the source language automatically; others require you to add a source language to the XLIFF file. Add a source by inserting source-language="YOUR_LANGUAGE_HERE" into the file, where the language is the original content language — for example, source-language="en-US".

Edit XLIFF files manually: for quick updates, you can edit an XLIFF file in a text editor. Preinstalled editors like TextEdit (Mac) and Notepad (Windows), or specialized editors like Sublime and VSCode, support the XLIFF format. Content appears in trans-unit blocks: the source is the original content for the block, and the target is the content used for that block when localized.
Localize content manually
Once your target languages are configured, you can also add content for them by editing directly in the builder. This is a good option for short Flows where your internal team handles the translation. You can localize text, images, and video manually.
- Add a language: click the language dropdown, hover over Add translation, and click the language you want to add.
- Update the content: select any text that needs updating and enter the new content for that language.
Translate with AI
Accounts with mobile localization can optionally enable AI localization. Powered by OpenAI, it takes the current Flow content and replaces it with an automatic translation into the target language. For help managing AI features in your account, contact support@appcues.com.

Right-to-left (RTL) language support
Right-to-left support is handled automatically in the mobile SDK for right-to-left languages like Hebrew and Arabic. When a user's device is set to an RTL language, the content adjusts to align appropriately: components flip so content on the right moves to the left, right-aligned content becomes left-aligned, and vice versa. Content in image, emoji, and video blocks keeps its original orientation.
When building mobile Flows, use the RTL toggle to view content with the RTL layout in the preview panel.
Confirm it worked
- With a language selected in the builder, the experience shows that language's content.
- Set a test user's language property to a configured language and confirm they see the localized version. Appcues chooses the version based on the property you set when configuring the language.
If translated content isn't showing
- Confirm the user's language property matches the property and value you set when configuring the language.
- Confirm the language is still configured in your account localization settings — deleting a language removes it everywhere.
- Remember that links and button actions aren't localized (see below), so those won't change per language.
Common questions
What file types are supported for mobile localization?
XLIFF is currently the only supported file type for mobile localization. Support for more file types is planned.
What content can be translated?
Any text block, as well as image, emoji, and video blocks. Links and button actions aren't currently supported as part of localization.
How do I update blocks after I've added translations?
Select the block and make your updates — content added by file upload can be edited, as can most block styling. Keep in mind that uploading a file again overwrites any changes you've made in the builder.
What happens when I update styling with a language selected?
With a language selected, styling updates only apply to that language. To update styling across all languages, delete all translations, make the styling updates, then re-add the languages and translations.
Still stuck?
If translated content isn't appearing as expected, first confirm the user's language property matches a configured language. Then contact support with the experience, the target language, and the translation file you uploaded.