Zendesk Sell Integration
Table of Contents
Zendesk Sell
The Appcues to Zendesk Sell integration is a two-way integration. This means that folks that use Zendesk Sell as their CRM will be able to send Zendesk Sell Contact Record properties to Appcues, and certain Appcues event data into the Zendesk Sell Contact Profile notes section. During the setup of the integration, you can also choose to do 1-way integration in either direction. The Appcues events that can be sent to the Zendesk Sell Contact Profile include:
- NPS Scores
- NPS Feedback
- Completed Flows
- Skipped Flows
- Completed Checklists
- Skipped Checklists
- Click-to-track events (Only if you are enabled for Appcues Events Broadcaster)
These Appcues events will be logged as a new note on the Contact Profile in Zendesk Sell each time they occur.
The initial sync of Zendesk Sell properties will happen 30 minutes after the integration is activated and every 30 minutes thereafter. The Appcues events that are going into Zendesk are sent immediately.
This integration is available for all accounts on Growth and Enterprise plans.
Why integrate Zendesk Sell with Appcues?
Integrating Zendesk Sell with Appcues allows you to show Appcues Content information to your reps as they conduct sales interactions, and it allows you to set up flows, goals, and segments based on Zendesk Sell Contact Record properties.
What you'll need
- A Zendesk Sell account
- Your Zendesk Sell login information
- To be passing an email address/Zendesk Sell ID to Appcues as part of your installation. This will be used in Step 3 below.
Setting up the Integration
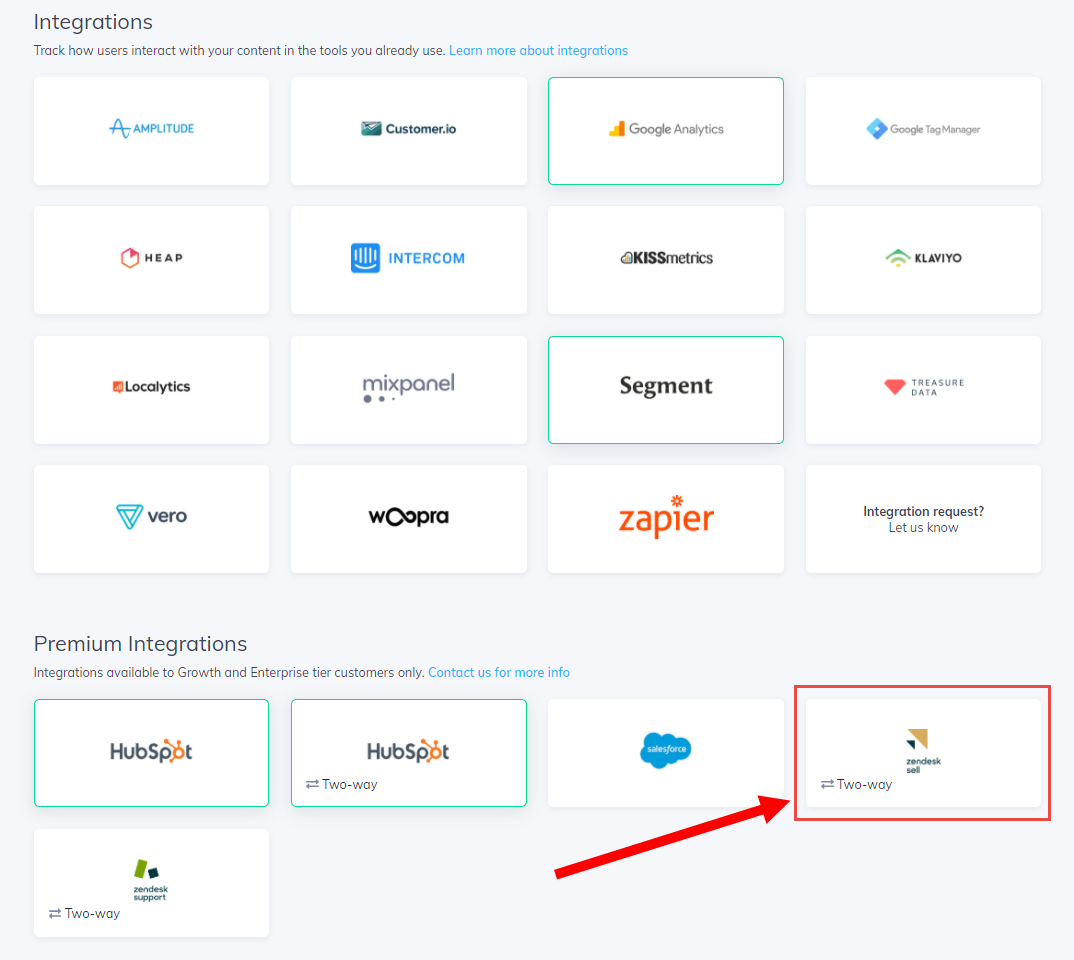
To set up the integration, you first need to select the Two-way Zendesk Sell Integration card on our integrations page:
Once you click the integration card you'll be presented with a 6-step flow to complete the integration.
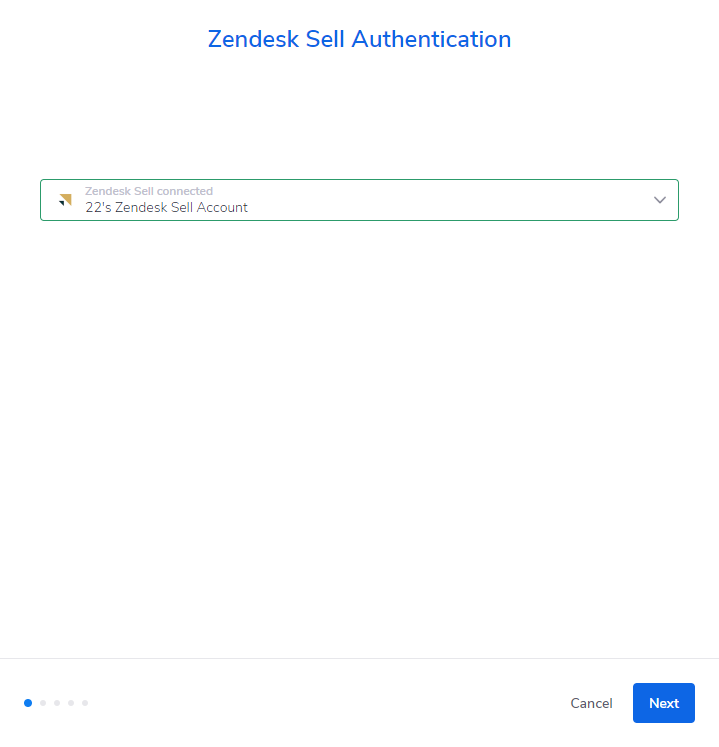
Step 1 - Will ask you to authenticate your Zendesk Sell account.
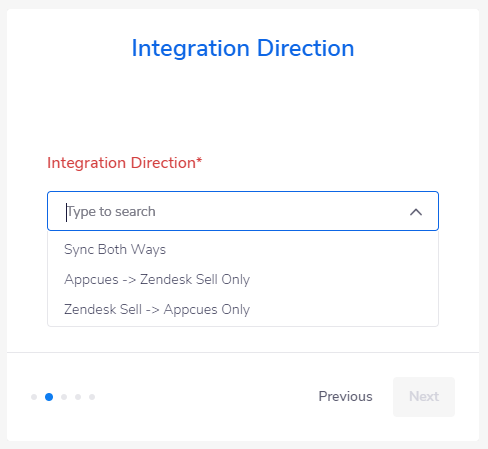
Step 2 - Will ask you what direction you want the data to flow. Either bi-directional, or 1-way in a specific direction.
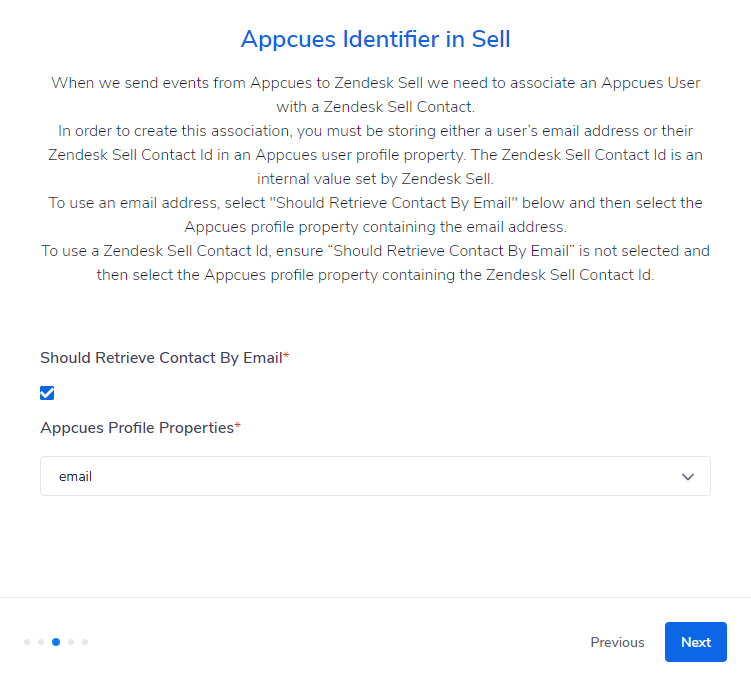
Step 3 - Will ask you which property in Appcues can be used to associate with the profile within Zendesk Sell.
NOTE: You must select whether or not this identifier is an email address by selecting the checkbox.
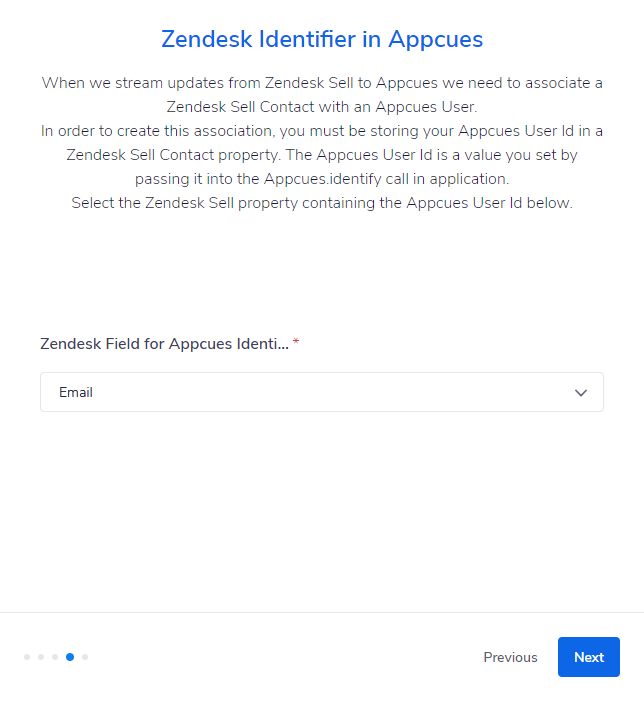
Step 4 - Will ask you which property on the contact in Zendesk Sell will be used to associate with the profile within Appcues.
NOTE: This NEEDS to be whatever value is being used in the Appcues 'identify' call
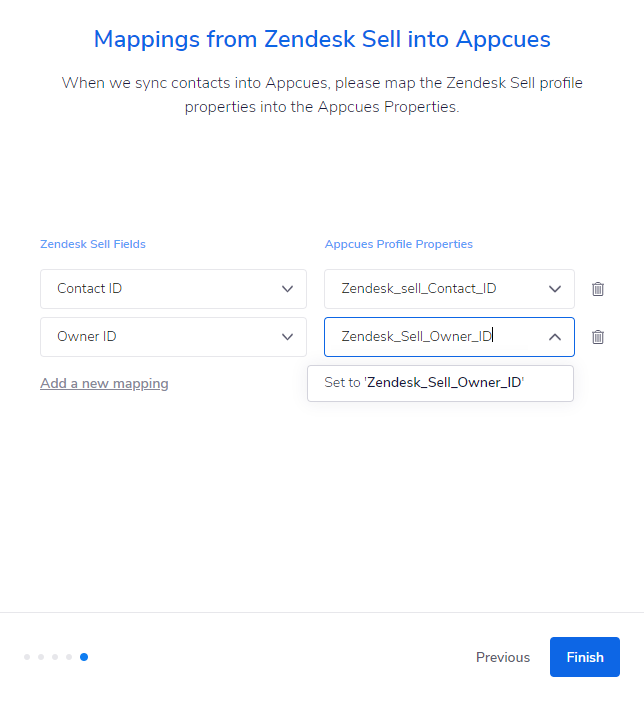
Step 5 - Will ask you which properties on the Zendesk Sell contact record you want to send to Appcues for targeting and segmenting.
NOTE: It is highly recommended that you manually enter new property fields on the Appcues side for this step.
Step 6 - Will ask if you want Appcues Click-to-track events to be included in the sync.
NOTE: Click-to-track events will only sync to Zendesk Sell if you are signed up for Appcues Events Broadcaster
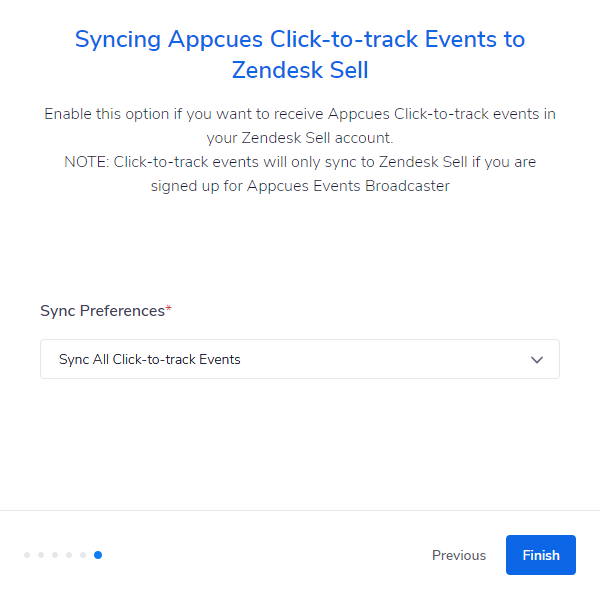
Once you click Finish on step 6 , the setup wizard will close, and data will begin passing between the two systems.
Need to make an adjustment?
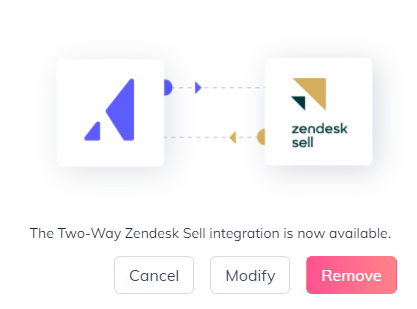
Once the integration is enabled, you can click the card at any time and select Modify to adjust any of your current settings, or click Remove to disable the integration.
How to see what is being sent from Zendesk Sell to Appcues
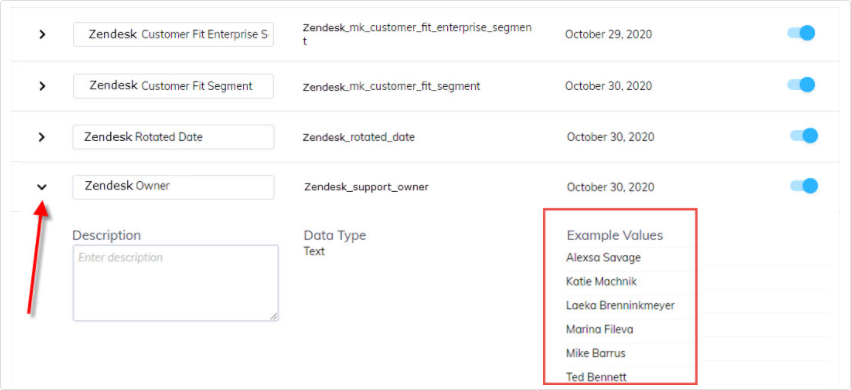
If you want to confirm that your data is flowing from Zendesk Sell to Appcues you can review the properties being sent by going to Settings -> Events and Properties -> Custom properties. Once there, you can find your Zendesk properties in the list, and see real examples of data being passed to Appcues by clicking the Chevron to expand the property.
