Manage Flows
Learn how to manage your flow's page to keep your work organized.
Table of Contents
As you build your flow library you may look for ways to keep your work organized and easily accessible.
Unpublish a Flow
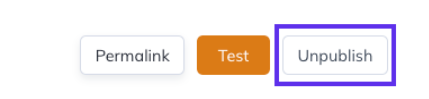
You can unpublish a flow by going to the flow's settings page. In the top right corner of the screen, click the Unpublish button.
If you've made changes to the flow's settings but didn't publish them, you'll instead see a green down arrow next to Push Changes button. Click the down arrow and then choose Unpublish.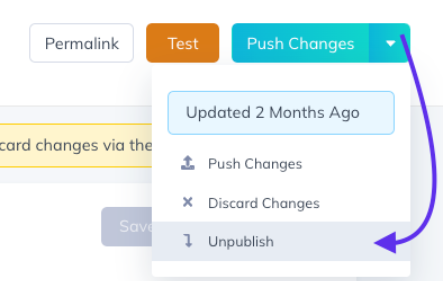
Clone a Flow
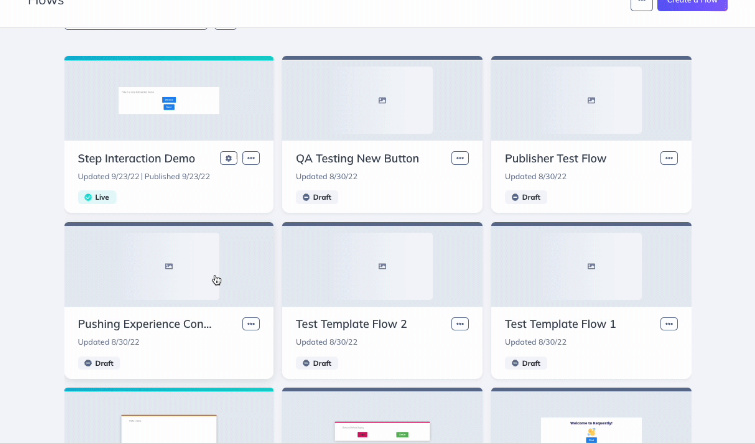
If you're looking to duplicate a flow you've already created, visit the flow's page, click the three dots on the desired flow, and choose Clone.
Find the Flow ID
Maybe you're trying to trigger a flow from an image in a tooltip or build your own Choose Your Own Adventure experience, or maybe you're just curious about Flow ID's should you need them in the future.
Either way, we've got you covered! Below you'll find all of the places where you can find your Flow ID.
Via URL
While on the Flow Settings page you may notice that the Flow ID also lives in the URL.

You will see the flow id anytime you're on a page that is flow-specific. Like below on the analytics page.

From the Appcues Builder
If you're working in the Editor, the fastest way to find the Flow ID is by clicking on the 'Pencil' icon next to the name of the flow. From there, you'll see the Flow ID in the modal that appears.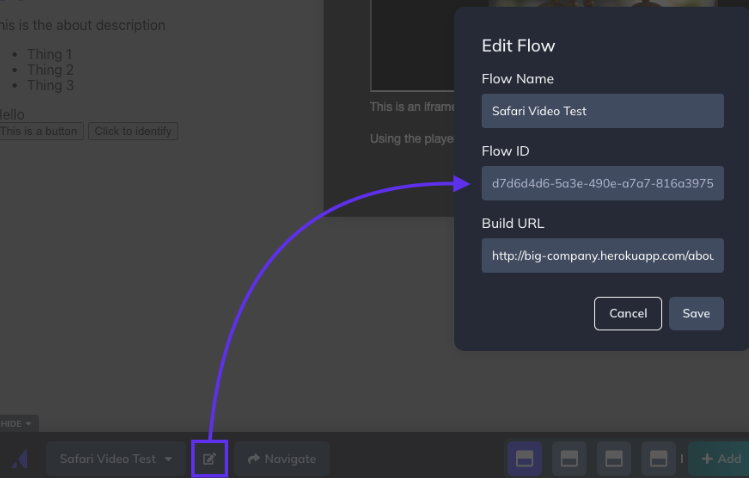
Rename Flows
If you are no longer happy with the name picked for your flow, you can quickly modify it from the settings page of the flow, or within the builder while the flow is open.
From the Dashboard
- Select the flow you'd like to rename
- Next, select the 'Settings' option in the top right of the flow that you'd like to modify.
- You'll be taken to the Flow Settings page where you will click on the name of your flow and edit the name.
- Click the green 'Save' button when finished

From the Appcues Builder
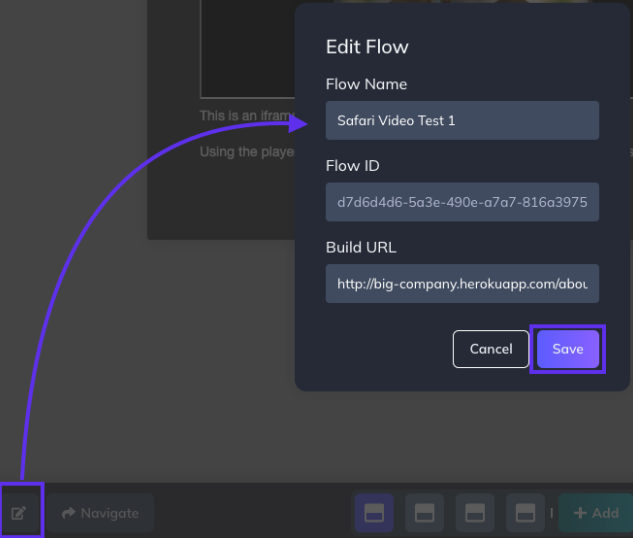
If you're working in the Builder, there's no need to go back to the Dashboard to change the flow name. You can do so right then and there by selecting the 'Pencil' icon. Then click into the 'Flow Name' section to make your modification and select 'Save'.
Change the Flow URL
If your website's address has changed (or disappeared) there are two parts to updating the URL for the flow. The first involves updating the targeting for the flow so that Appcues can trigger the flow correctly for your end-users. The second involves updating the Build URL in the Builder, so you will be redirected to the appropriate page when it's time to edit.
1. Update Targeting
If your flow is targeted to a specific page or domain, you'll want to adjust those if they are affected by your site's URL change. These should be adjusted on the Flow Settings page, as shown below:
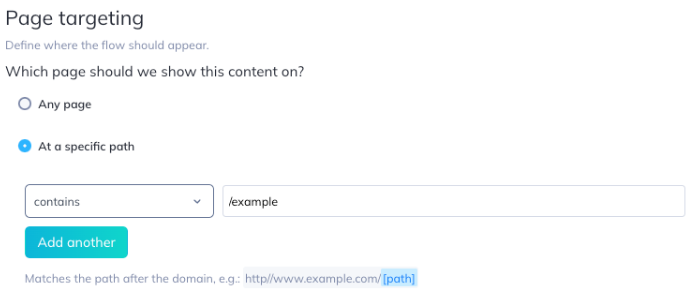
This will ensure the flow is triggered as intended when a customer navigates to the new URL for your site.
Note: if the flow is set to 'Show once', updating the above URL will not show the flow again to those who have already seen the flow live. The only way to make that happen is to set the flow to 'Show every time' or clone the flow, and publish the cloned flow.
2. Update the Build URL
In order to load your flow in the correct location when you'd like to modify the flow in the Appcues Builder, you'll need to update the Build URL. There are two ways to achieve this: within the Chrome Editor, or within the Settings page for the flow.
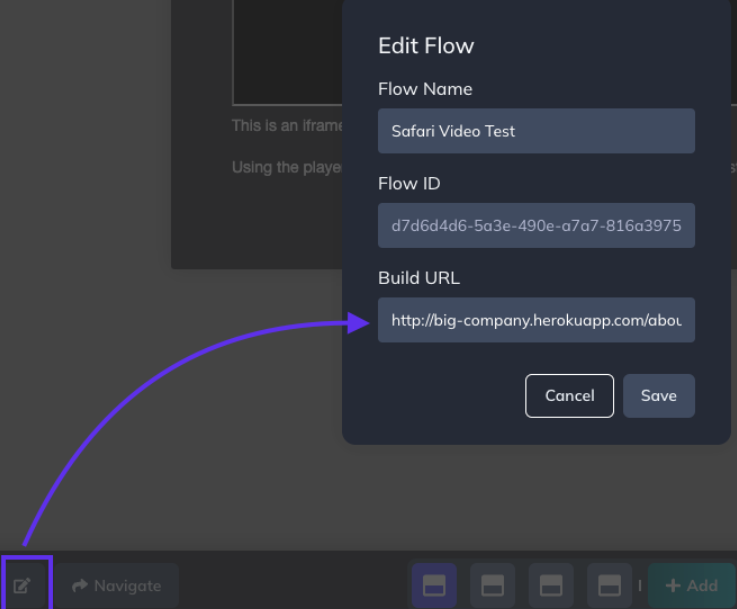
In the Appcues Builder
Once the editor has loaded your flow, you can easily update it to the new URL by selecting the 'pencil' icon (Flow details) in the editor bar.
On the Settings Page
You can easily update the editing starting page within the flow Settings page as well.

Old URL no longer exists
If the old Build URL for a flow no longer exists, your browser will probably take you to an error page saying that the site cannot be loaded or reached. In Chrome it may look something like this:
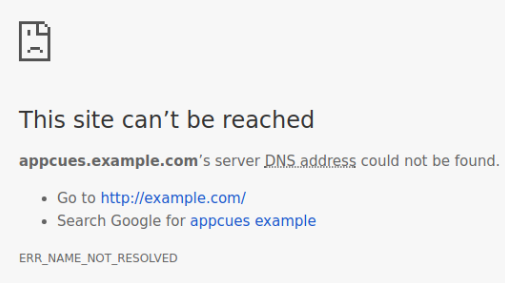
Now in that same browser tab, type in the new URL for your site you've configured in the Flow Settings page in the address bar and hit enter. You should now be able to open the Appcues Builder by clicking the Chrome Extension there.
Filter Flows
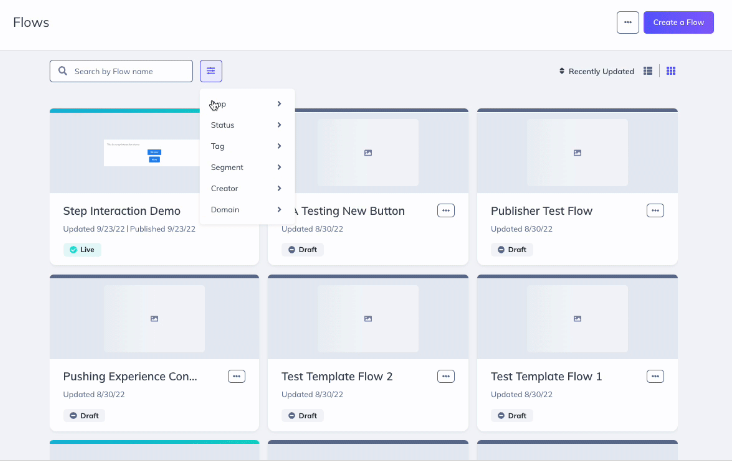
There are multiple ways to filter your flows so you can easily find what you need. You can use any combination of the following:
- By Status - allows you to filter flows by whether they are in draft, archived, or published live.
- By Tag - allows you to filter all flows by tags you've created.
- By Segment - lets you filter flows by corresponding segment used for targeting. Learn more about segments here!
- By Teammate - lets you filter all flows by who created the flow on your team.
- The Search field - allows you to enter in the name or a keyword of the flow you're looking for.
- Sorting menu - lets you sort the flows list by recently updated, recently created, and name (a-z).
Tags
You may need a level of organization flows for easier sorting & filtering. Tags are especially useful for organizing your flows. If you tag every flow with items such as audience, language, etc, you'll be able to locate all the corresponding flows in an instant.
Manage Tags
To manage tags while on the Flows page, click the ellipsis (...) menu on the top right of the screen and then click Manage tags.
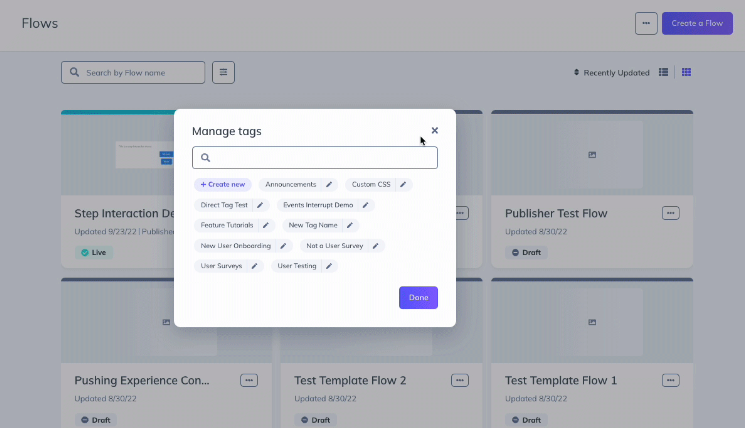
Create Tags
The pop-up window will allow you to search for existing tags or create a new tag. Click ' Create Tag' and a new tag input will appear. 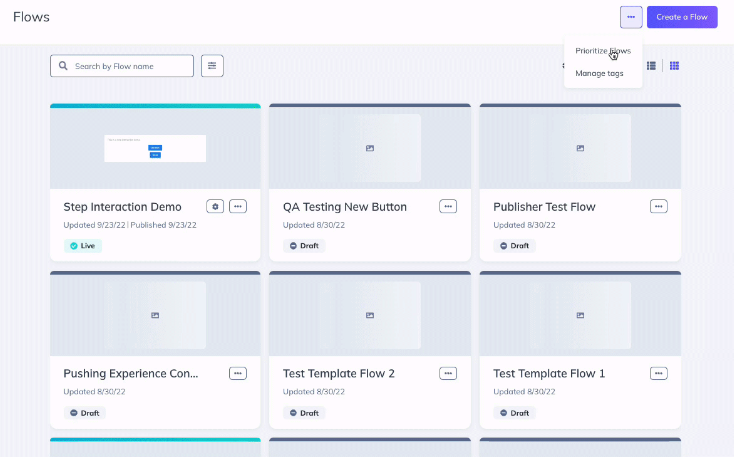
Fill it out and click the green checkmark to save it. When you're done, simply select done and your tag will be available for use.
Add/Remove Tags to a Flow
Click on the ellipsis (...) menu beside a flow. Select the tags you'll want to add from the dropdown menu, or remove the tags currently in the flow, and then save.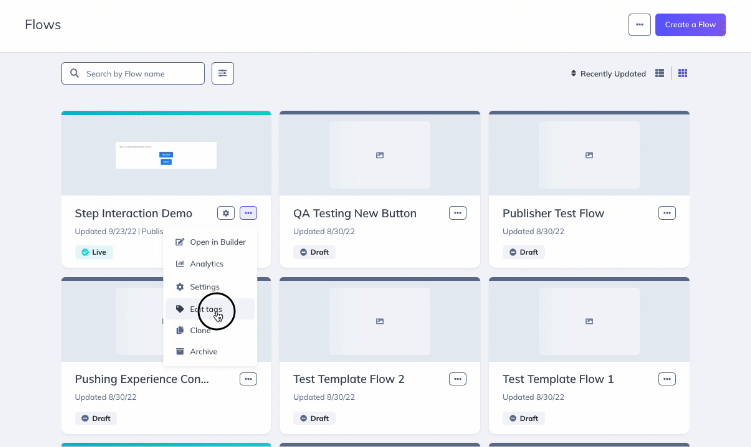
Delete Tags

To delete a tag, click the Manage Tags button in the top right corner of the flows page. Locate the tag you want to delete and select it. From there, click the delete icon (trash can) to delete the tag. If a tag is used in a flow, it will prompt a confirmation pop-up.
Archive, Delete, and Restore Flows
To remove flows from your dashboard, you have the option to either archive or delete them.
Archiving a flow is the first step to deleting it entirely. Doing so will unpublish the flow (if it is live), remove it from your dashboard, and place it in the "Archived" status. Deleting a flow will remove it permanently from your account, and will render all analytics and reporting around that flow inaccessible.
Archive a Flow
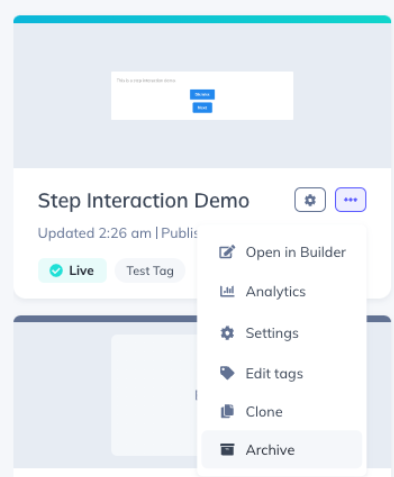
- Find the name of the flow you'd like to archive in your Appcues dashboard (at studio.appcues.com)
- Click ellipsis (...) the menu control in the top righthand corner of the flow card and select "Archive" from the dropdown that appears.
Restore an archived Flow

- At studio.appcues.com filter your dashboard by the 'Archived flow' status
- Click the ellipsis (...) menu in the top righthand corner of the flow card and select "Restore" from the dropdown that appears.
Delete a Flow

- At studio.appcues.com filter your dashboard by the Archived flow status.
- Click the ellipsis (...) menu in the top righthand corner of the flow card and select the "Delete" icon on the left.