Marketo Integration
Learn more about the Appcues and Marketo two-way integration.
Table of Contents
This integration is available on select plans and may be offered as an add-on. Please check your account details page for more information or contact our team for assistance.
Marketo
The Appcues + Marketo integration is a two-way integration. This means that folks that use Marketo as their Marketing Automation Solution will be able to send Marketo Lead Record properties to Appcues, and certain Appcues event data into the Marketo Lead Profile Activity Log. During the setup of the integration, you can also choose to do 1-way integration in either direction. The Appcues events that can be sent to the Marketo Lead Profile Activity Log include:
- Completed Flows
- Skipped Flows
- NPS Scores
- NPS Feedback
- Completed Checklists
- Completed Checklist Items
- Skipped Checklists
- Click-to-track events (Only if you are enabled for Appcues Events Broadcaster)
The initial sync of Marketo properties will happen 30 minutes after the integration is activated and every 30 minutes thereafter. The Appcues events that are going into Marketo are sent immediately. Because of the 30-minute cadence, for any time-sensitive / real-time dependent flows, we recommend sending us the relevant user properties through the installation manually (not through Marketo). If the timing is not critical, pushing the data from Marketo will work well.
Note that this integration only adds event activity to the Marketo Activity Log; it will not cause any updates to the contact properties.
Why integrate Marketo with Appcues?
Integrating Marketo with Appcues allows you to target marketing campaigns based on how users interact with Appcues flows, and it allows you to set up flows, goals, and segments based on Marketo Lead Record properties. It can also help your marketing team identify how individual contacts interact with flows.
Use Case Example:
What you'll need
- A Marketo account
- Your Marketo login information, as well as API Endpoint Domain, Client ID, and Client Secret
- To be passing an email address/Marketo Lead ID to Appcues as part of your installation. This will be used in Step 4 below.
Note
In order to map Marketo data to Appcues user profiles, we need the Appcues identifier you are using to be reflected on records in Marketo. If you have that, then the integration will create a property on the Appcues user profile for the Marketo properties the customer chooses to sync to Appcues. These attributes are then stored in Appcues and updated from Marketo as changes are made in Marketo.
- You may be wondering if you need to make the Marketo UUID the identifier in Appcues for this to work?
- To sync data from Marketo to Appcues, you need a field on the Marketo Lead Record that is set to that Contact’s Appcues Identifier (if they happen to be using email as their Appcues ID, this is pretty easy). To sync from Appcues to Marketo, you need to have a field on the Appcues User Profile that is set to either the Marketo Lead ID or the email of the associated Marketo Lead Record. Essentially, each system needs to know the primary key of the other in order to move data.
- For customers concerned about passing PII (email) into Appcues, the Appcues -> Marketo direction requires either email address or Marketo Lead ID to be in Appcues. If you don’t want to send us the email property, you will have to send us the Marketo Lead ID.
- Appcues only sends data to Marketo if it can successfully find a corresponding Lead Record in Marketo. This means it's doubly important that the Marketo account identifier in Appcues exists and is properly selected. It also means that any Appcues users who don't already exist in your Marketo account will not have their data synced to Marketo.
Setting up the Integration
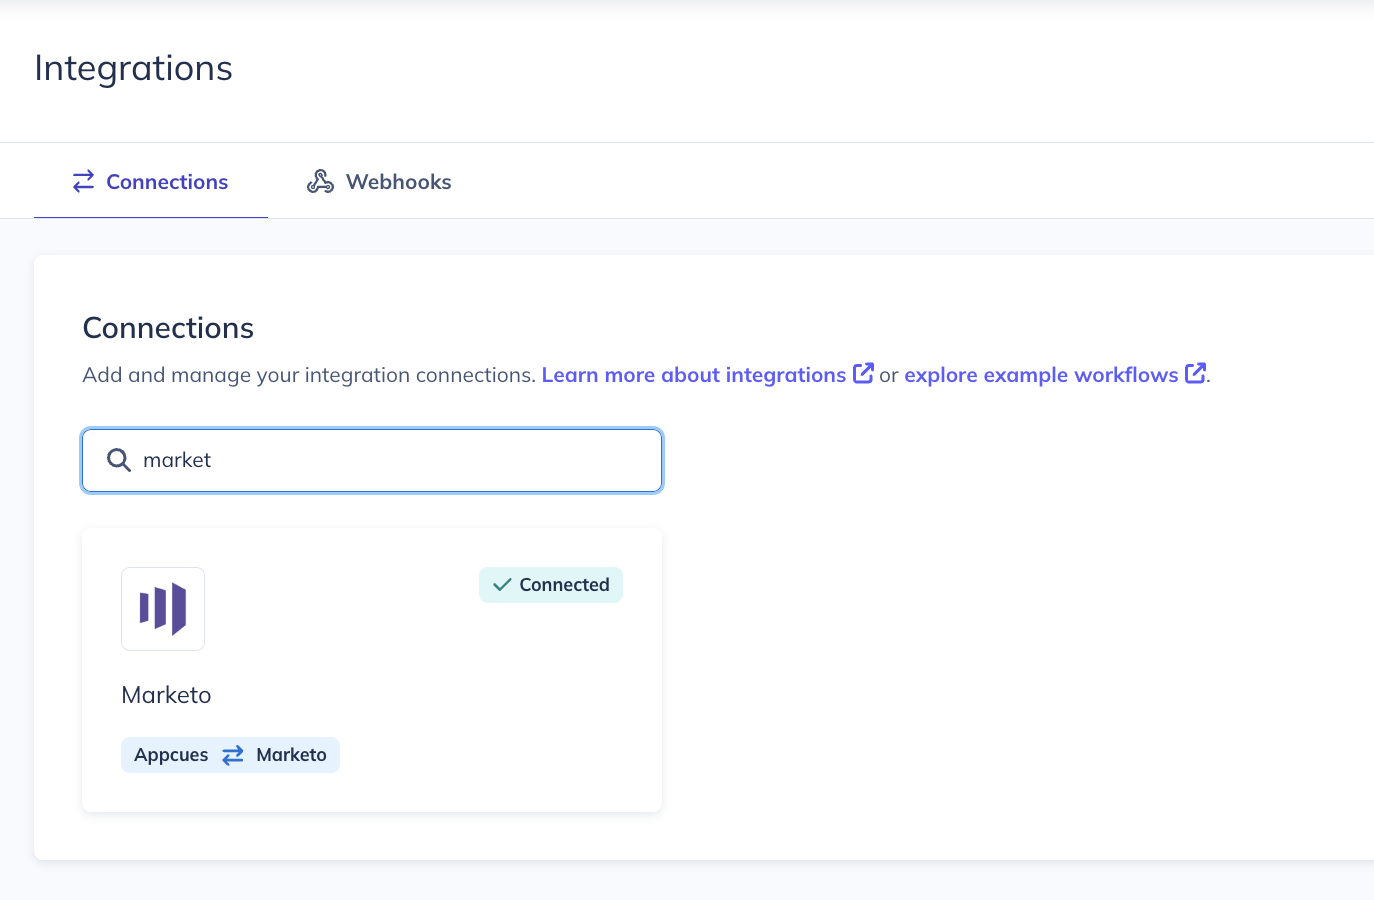
To set up the integration, you first need to select the Two-way Marketo Integration card on our integrations page:
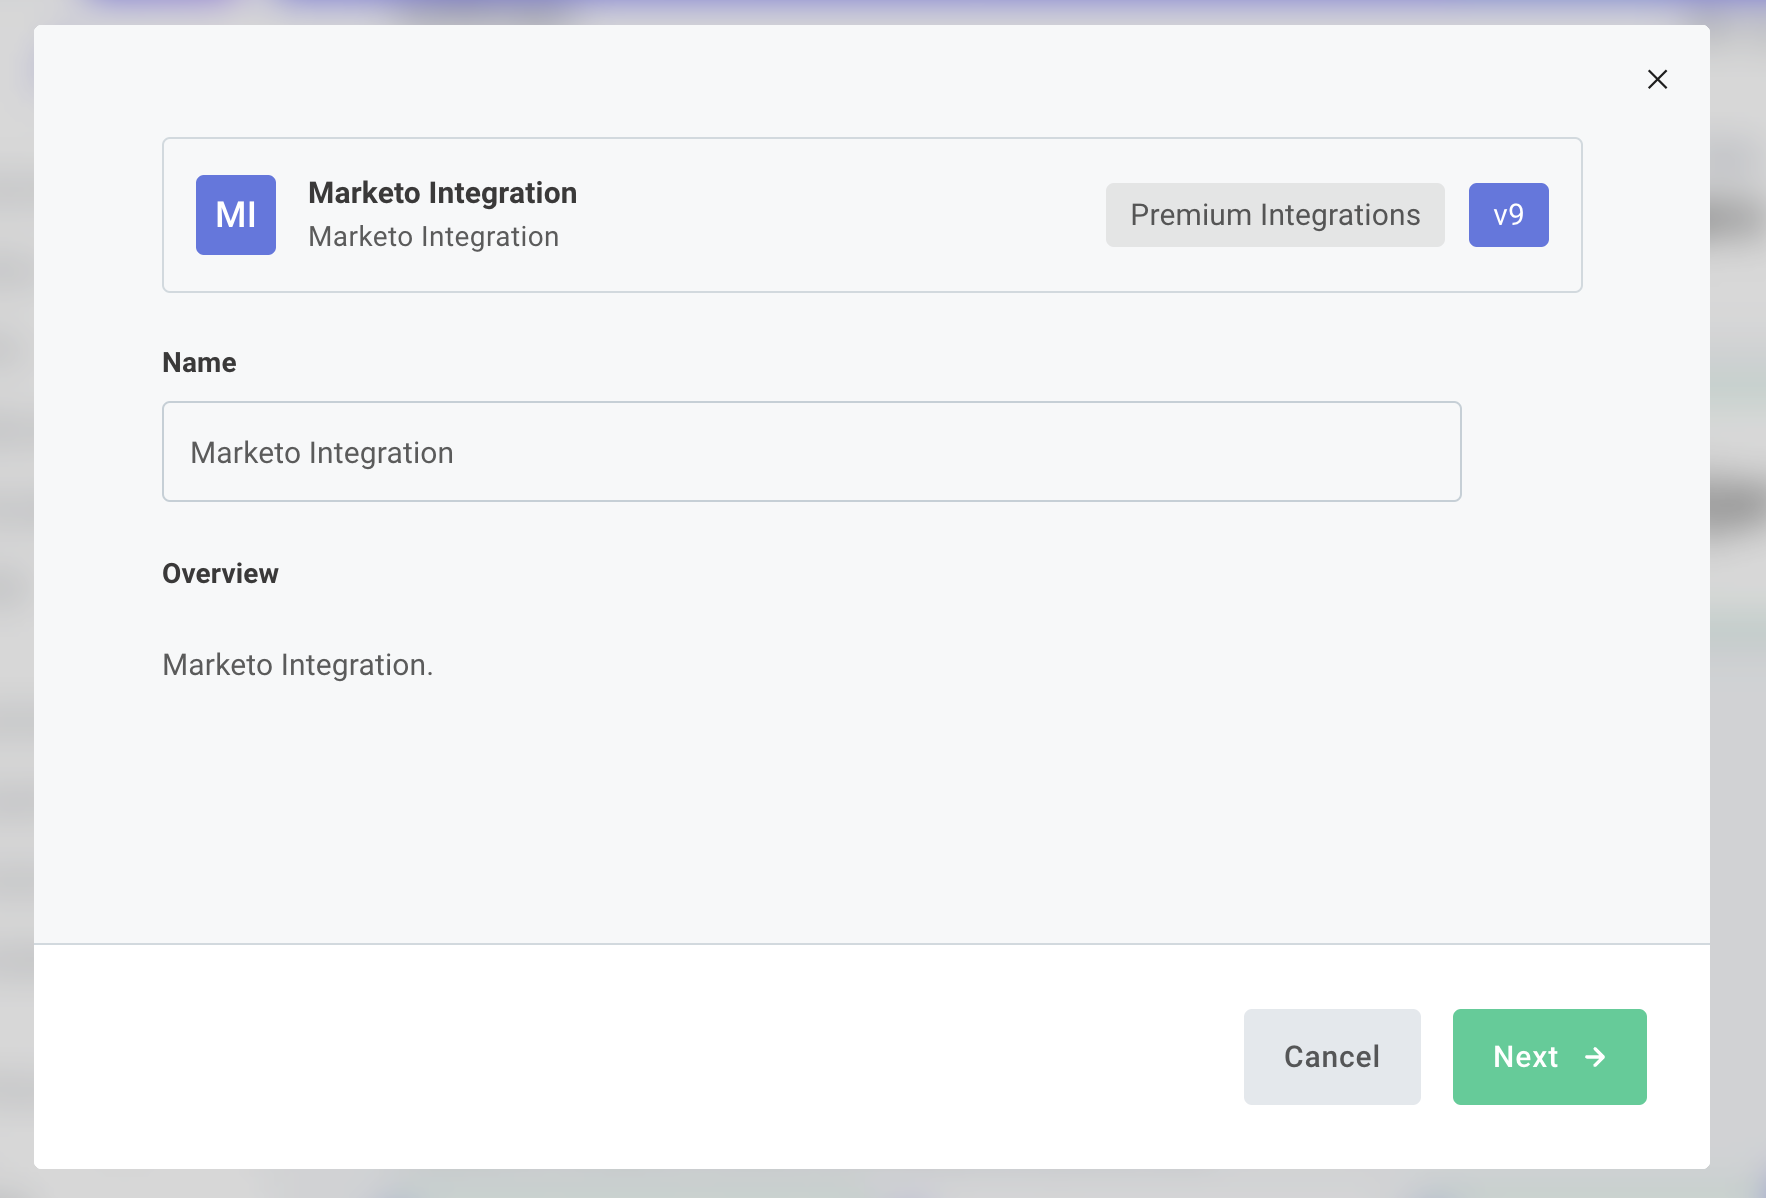
Once you click the integration card you'll be presented with a 7-step flow to complete the integration.
Step 1 - Will ask you to connect to your Marketo account.
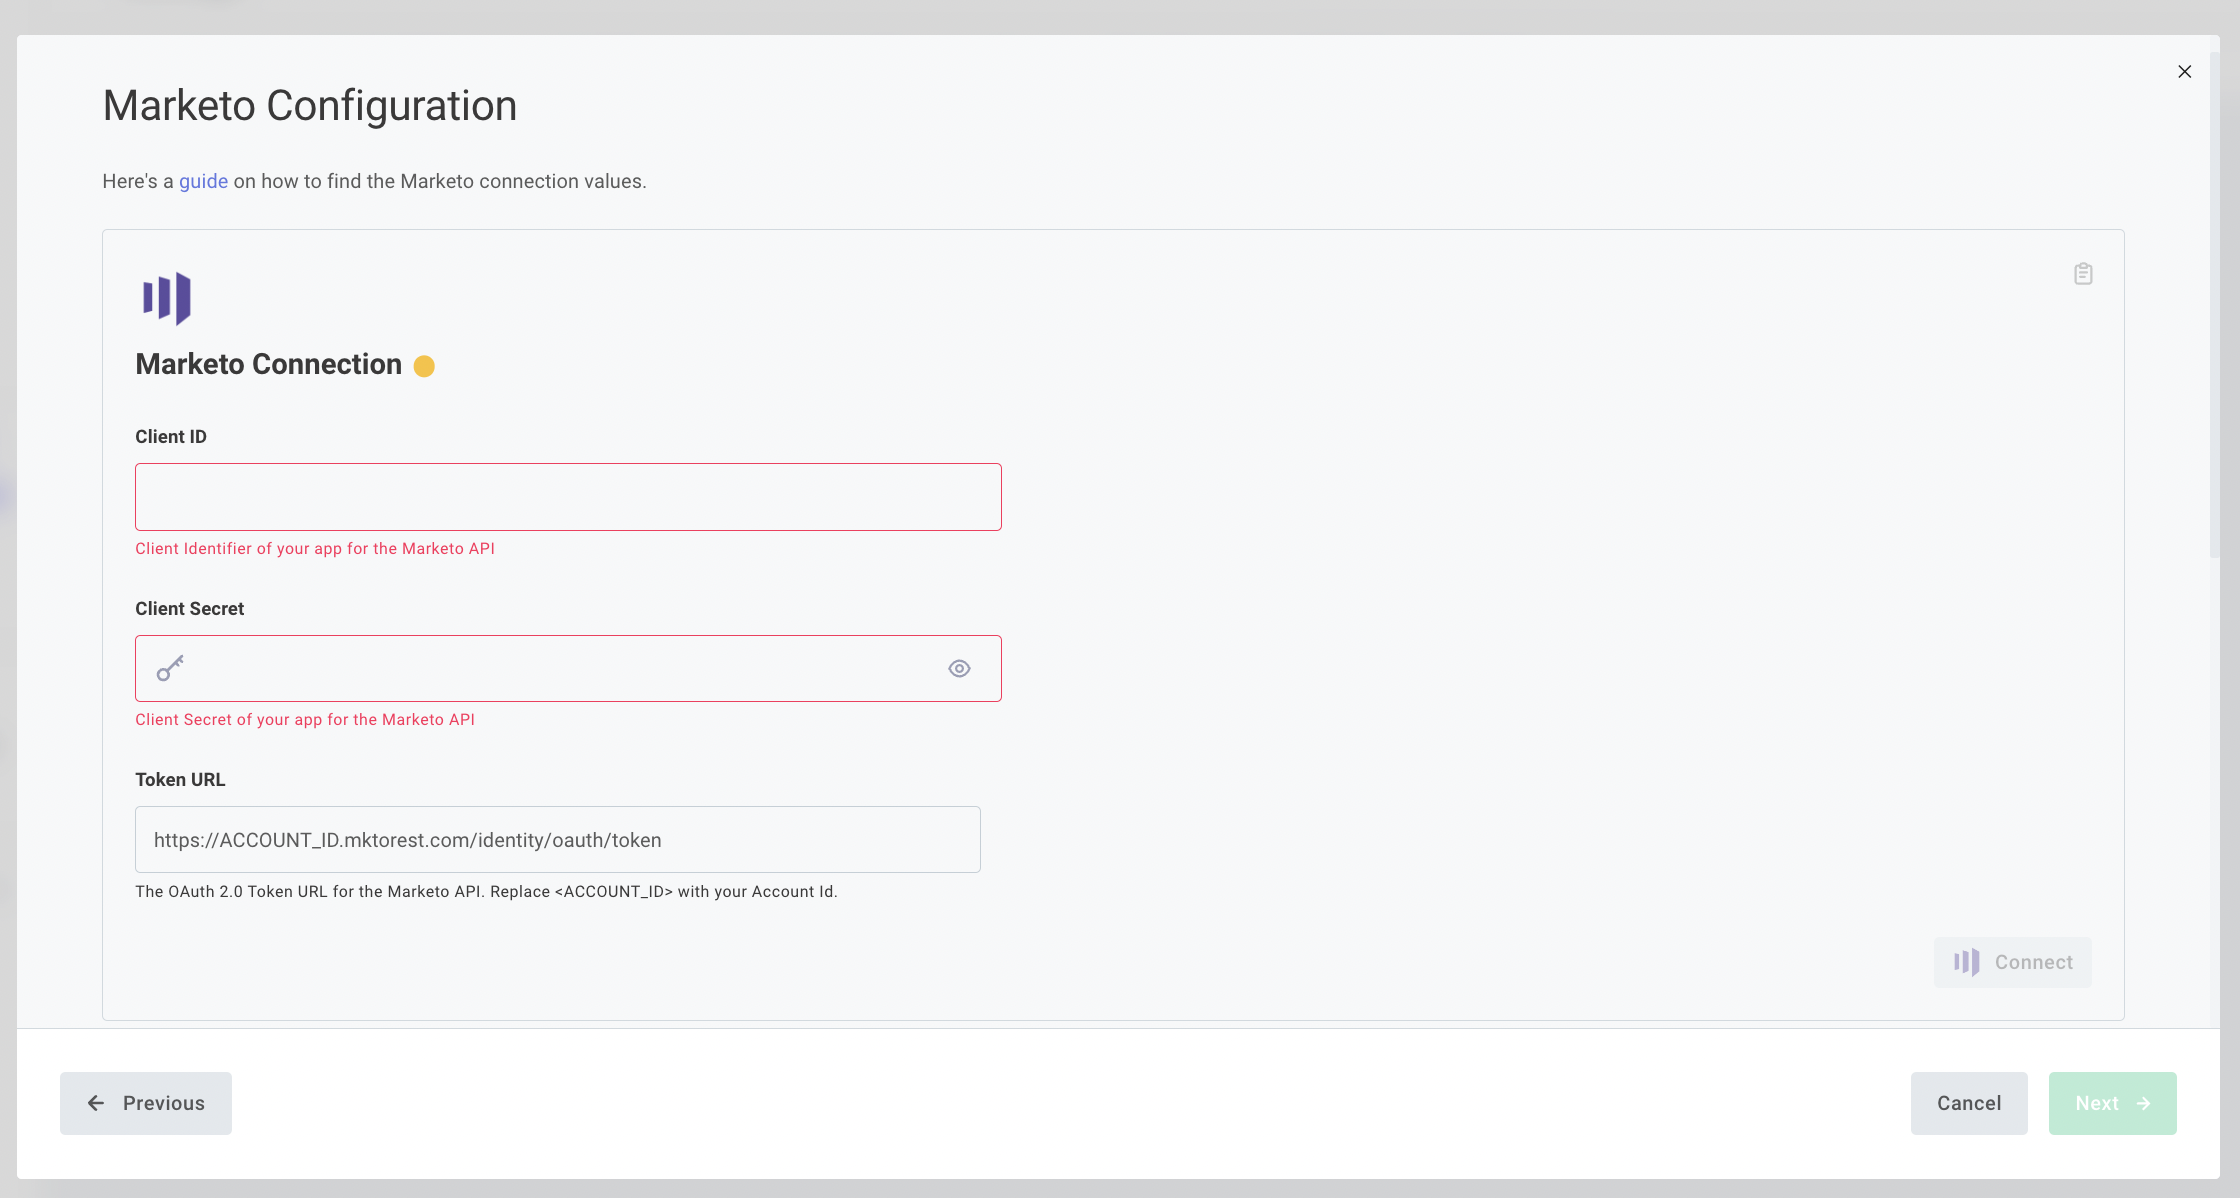
To get the Client ID and Client Secret, you will first need to create an API User and a Web Service in Marketo.
To create the API User, click on “Admin” in the top nav, then “Users & Roles” in the left nav, then click “Invite New User”.
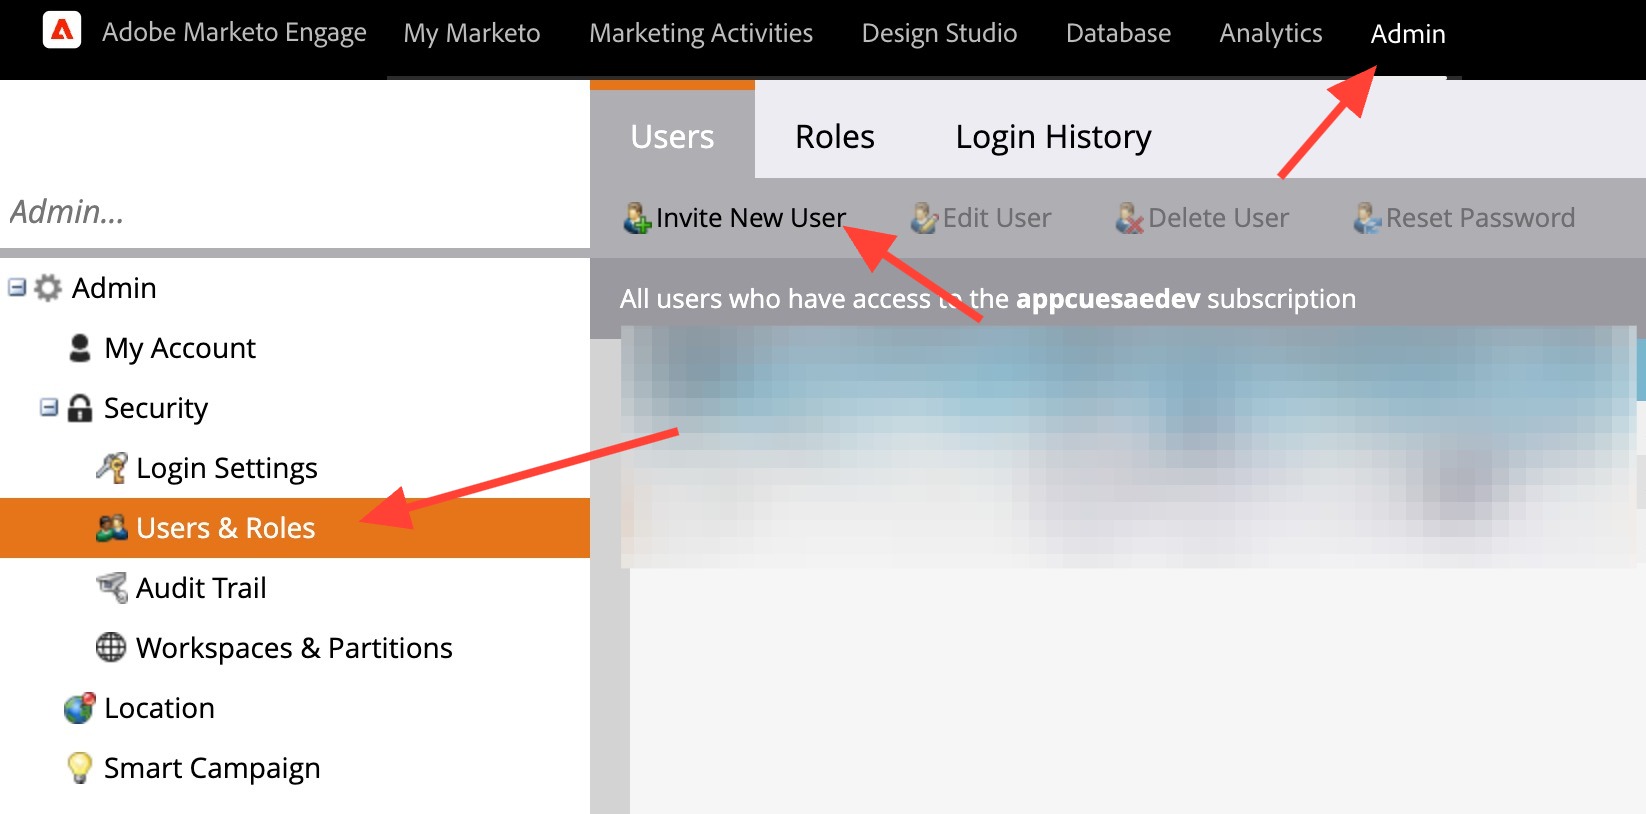
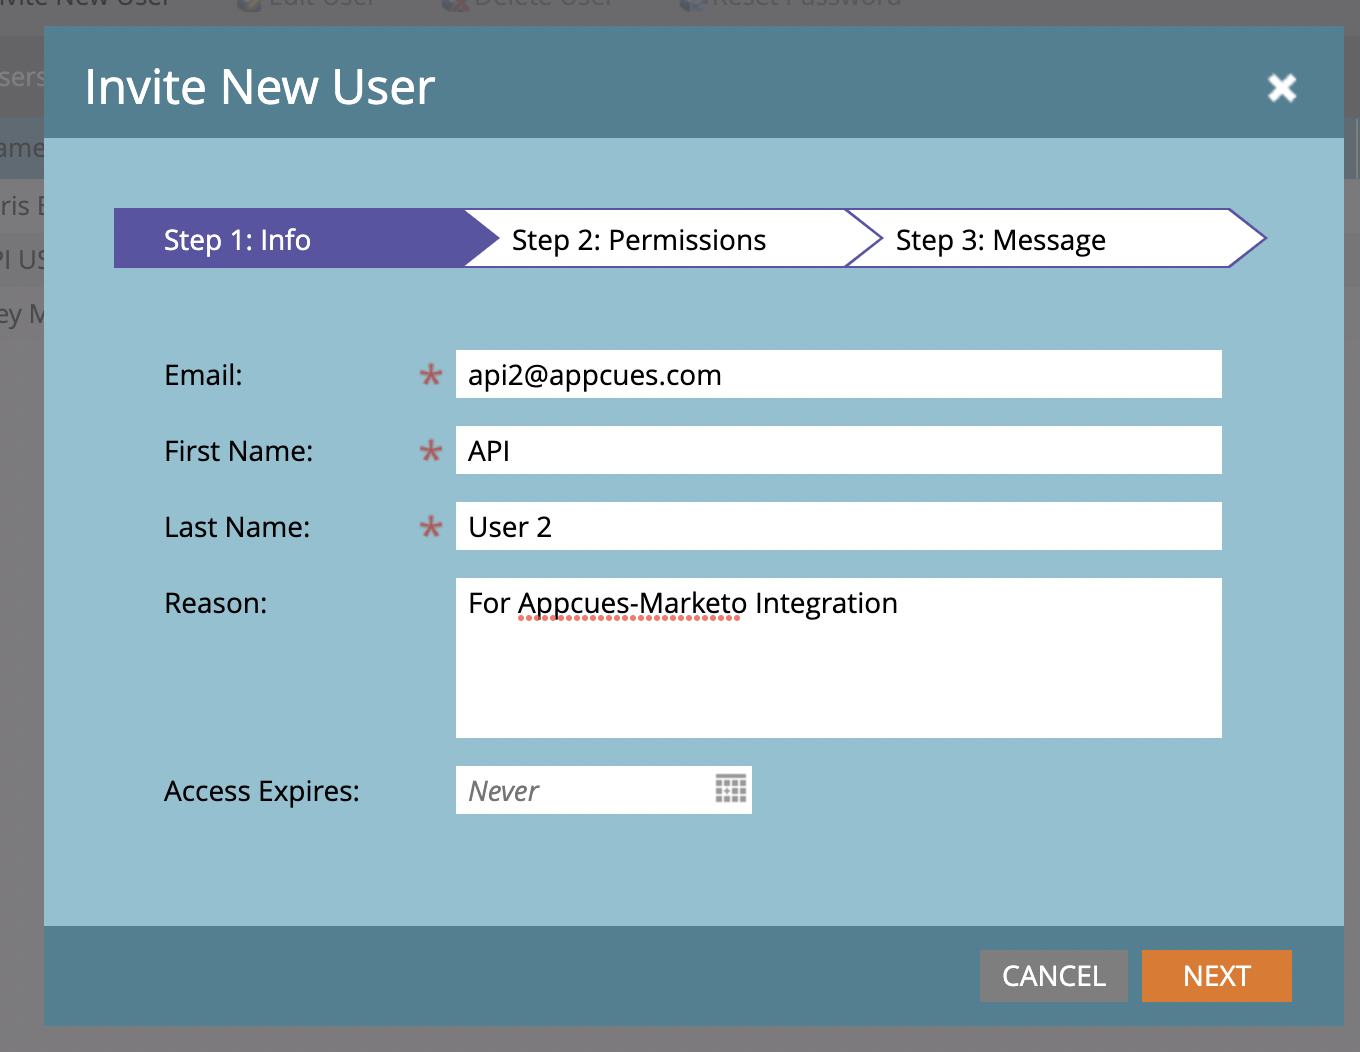
On the next screen, enter a placeholder email address (this does not have to be an actual email), First Name, and Last Name. Click “Next”.
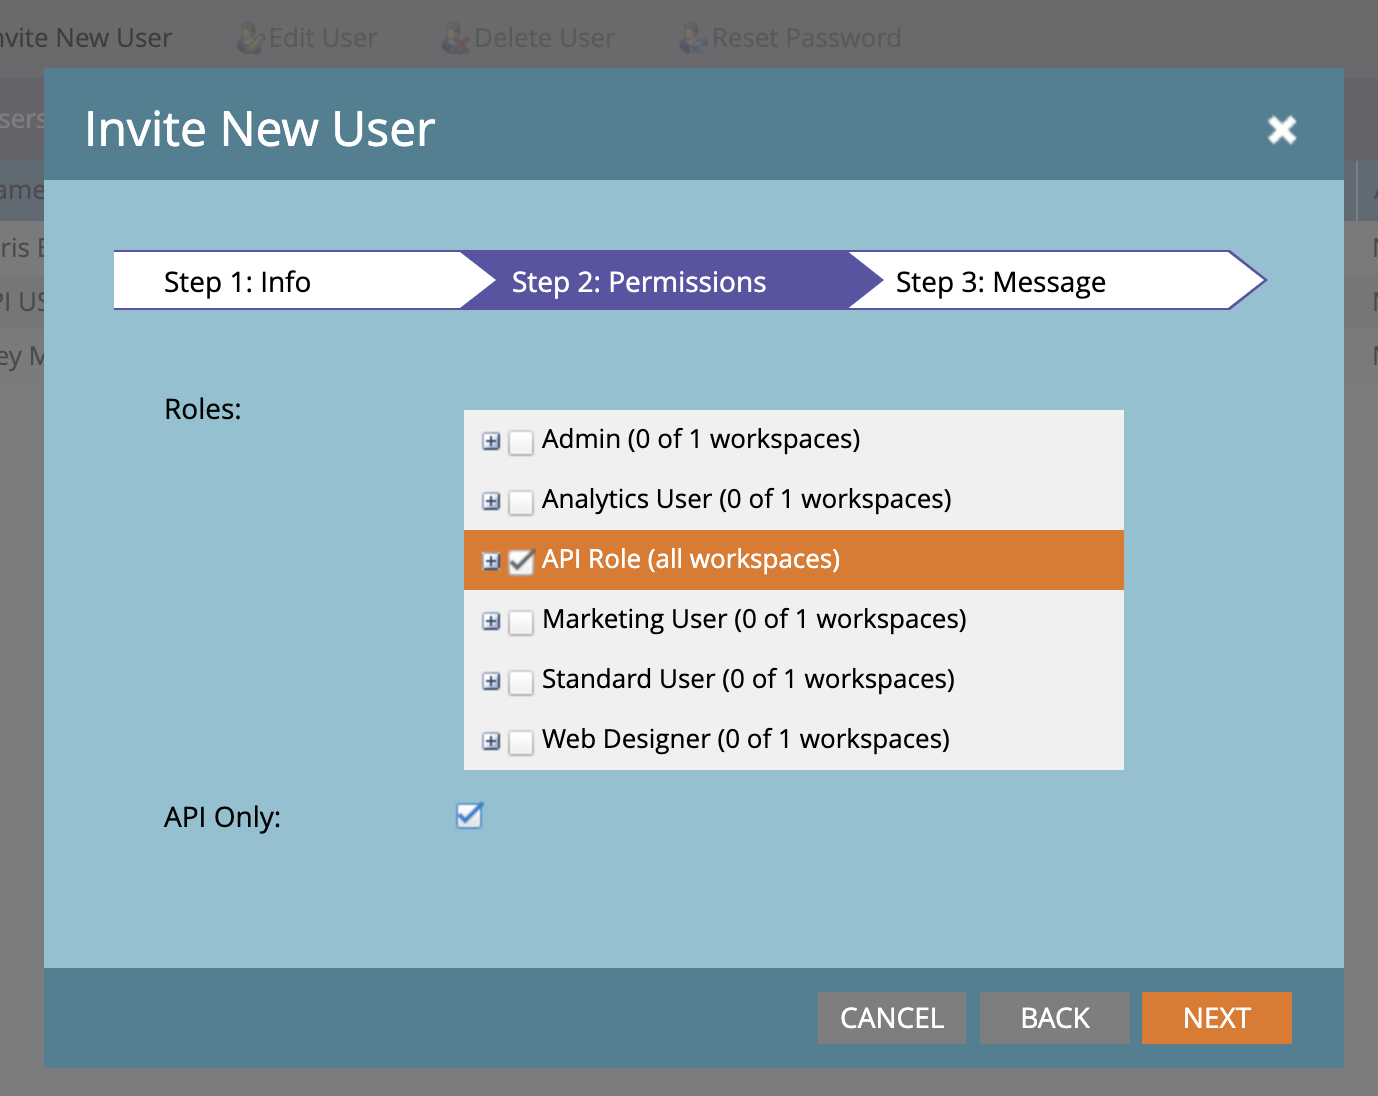
On the next screen, select the “API Role” Role and check the “API Only” box. Click “Next”.
API User Permissions
The Appcues > Marketo sync will need read-write access to your lead activity stream within Marketo. For certain organizations, you may need to create a special User Role that can be assigned directly to the API user you created with the correct permissions levels. Checking all options within the Access API collection will allow for Appcues events to write to your lead's activity.

Click “Next” on the final screen, and your API User will be created.
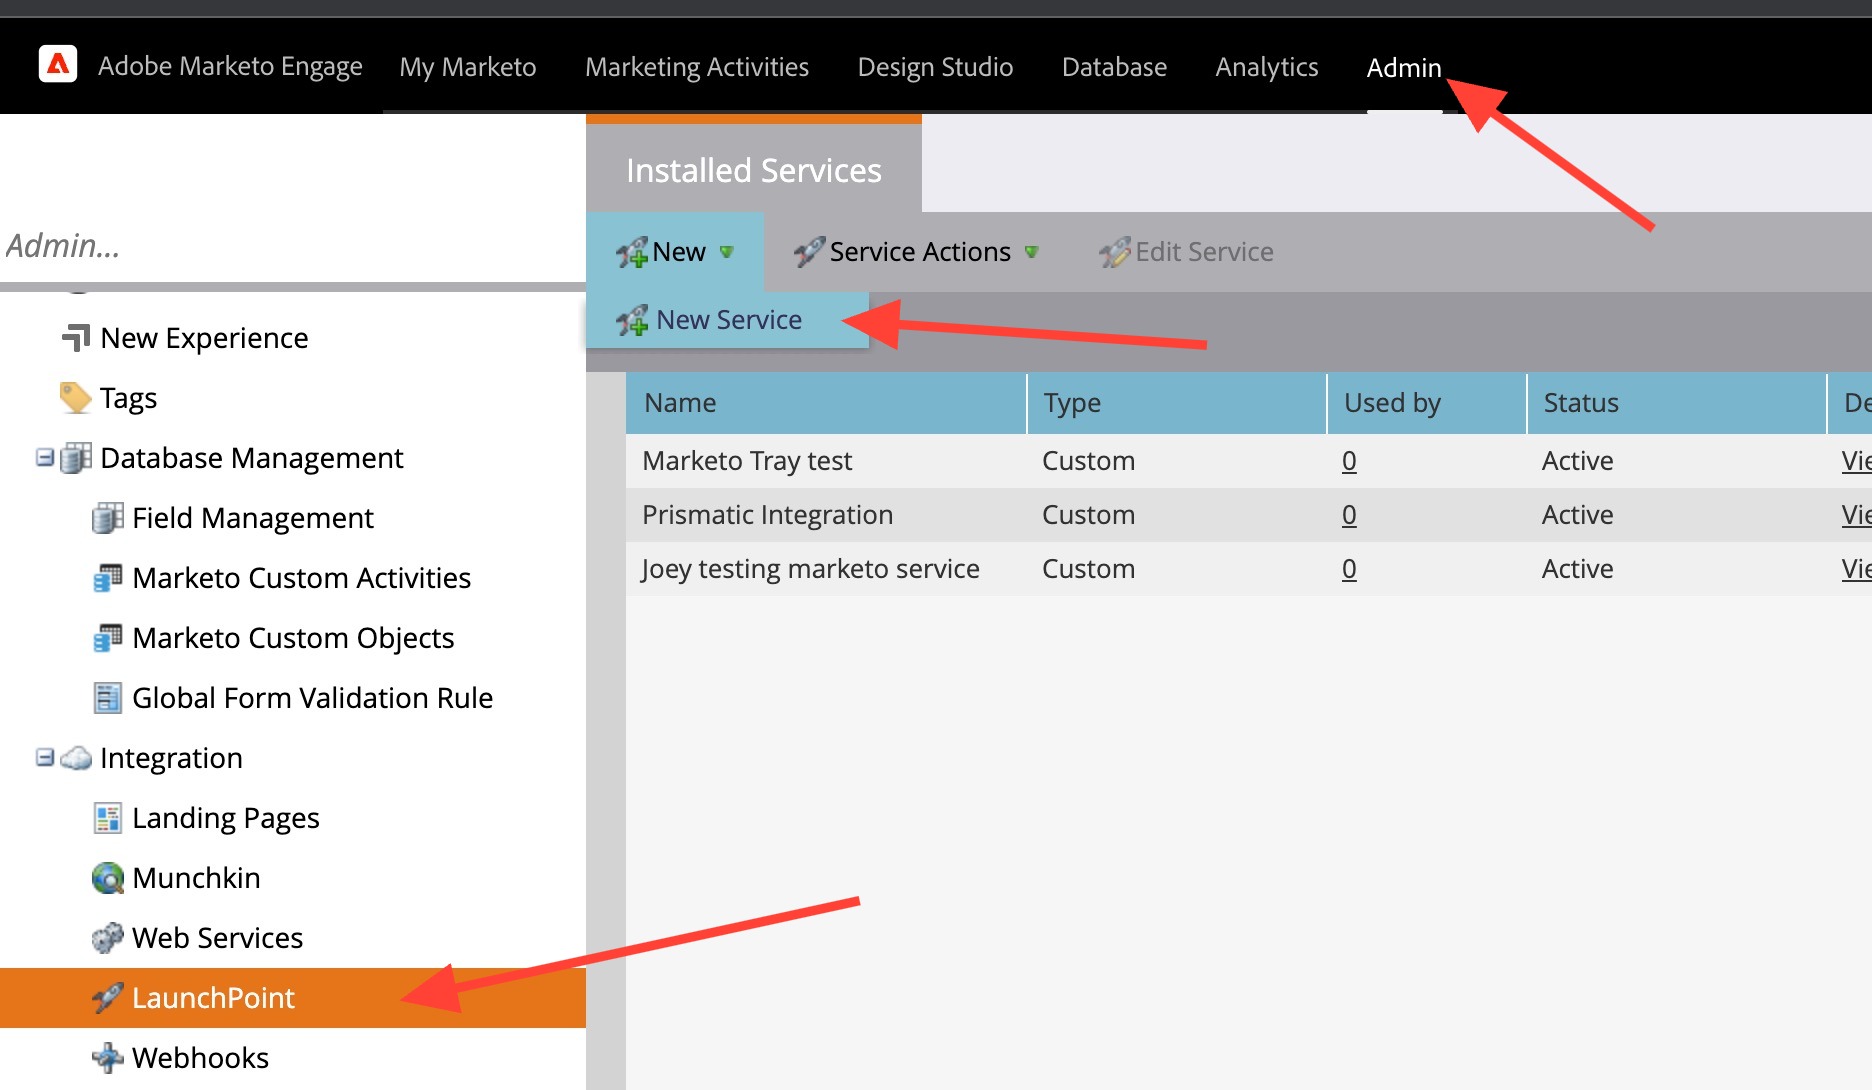
Next, to create the Web Service, click “LaunchPoint” in the left nav and click “New > New Service”.
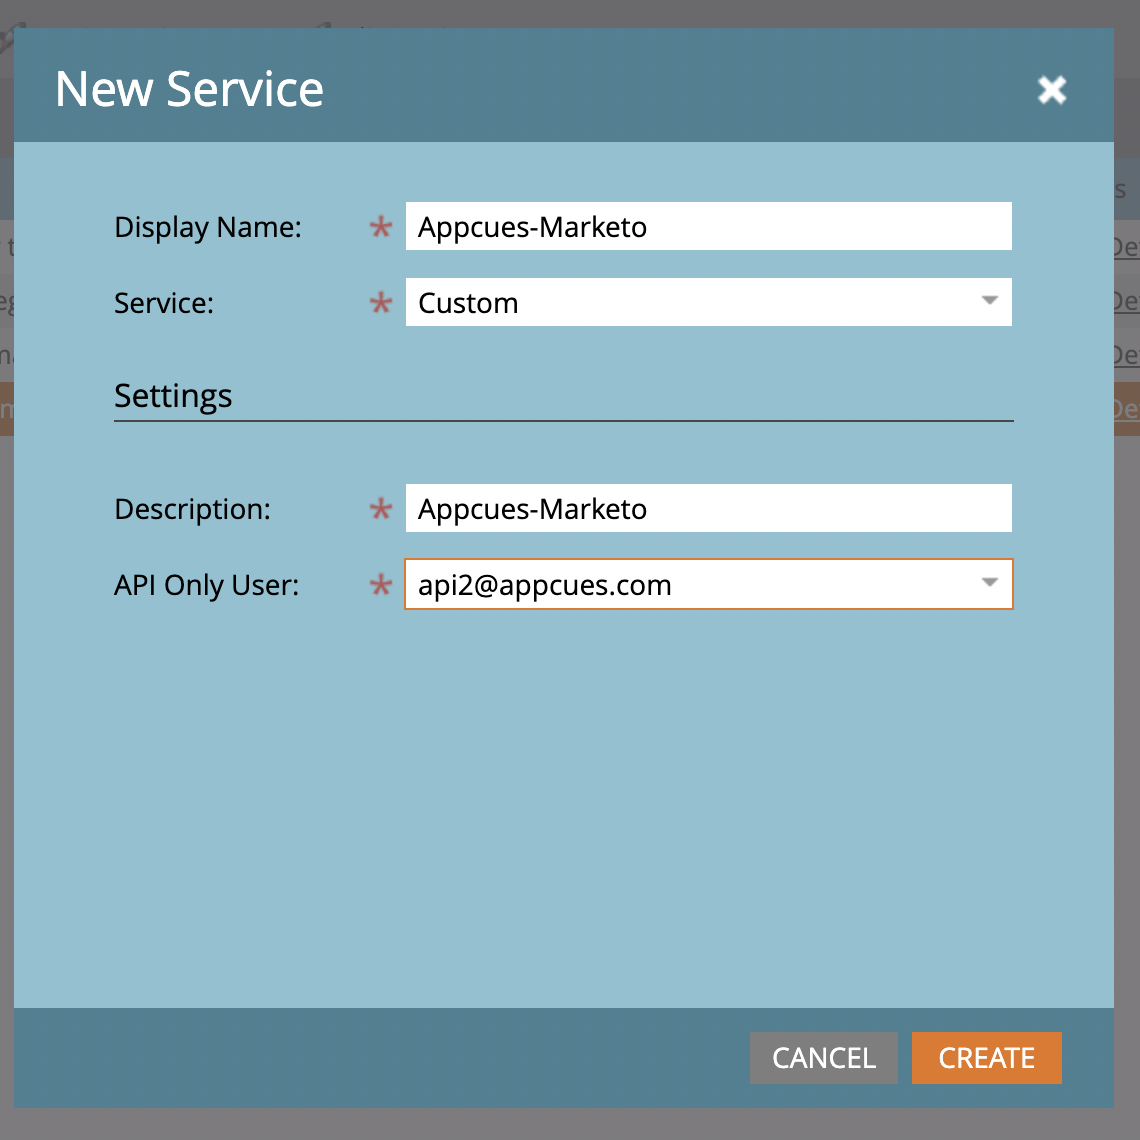
On the next screen, enter a Display Name, select “Custom” for Service, enter a Description, and enter the API User you created for API Only User. Click “Create”.
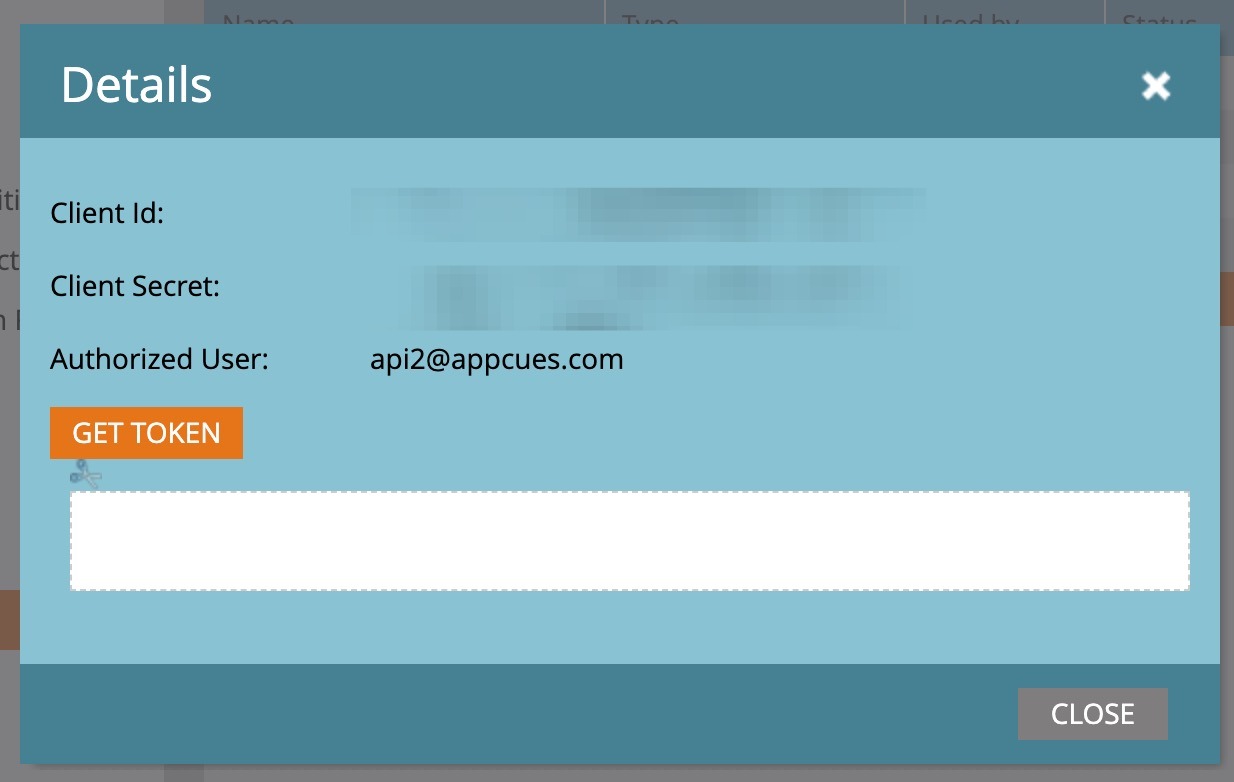
Finally, click “View Details” on the Web Service list. Here you can copy/paste the Client Id and Client Secret into Appcues.
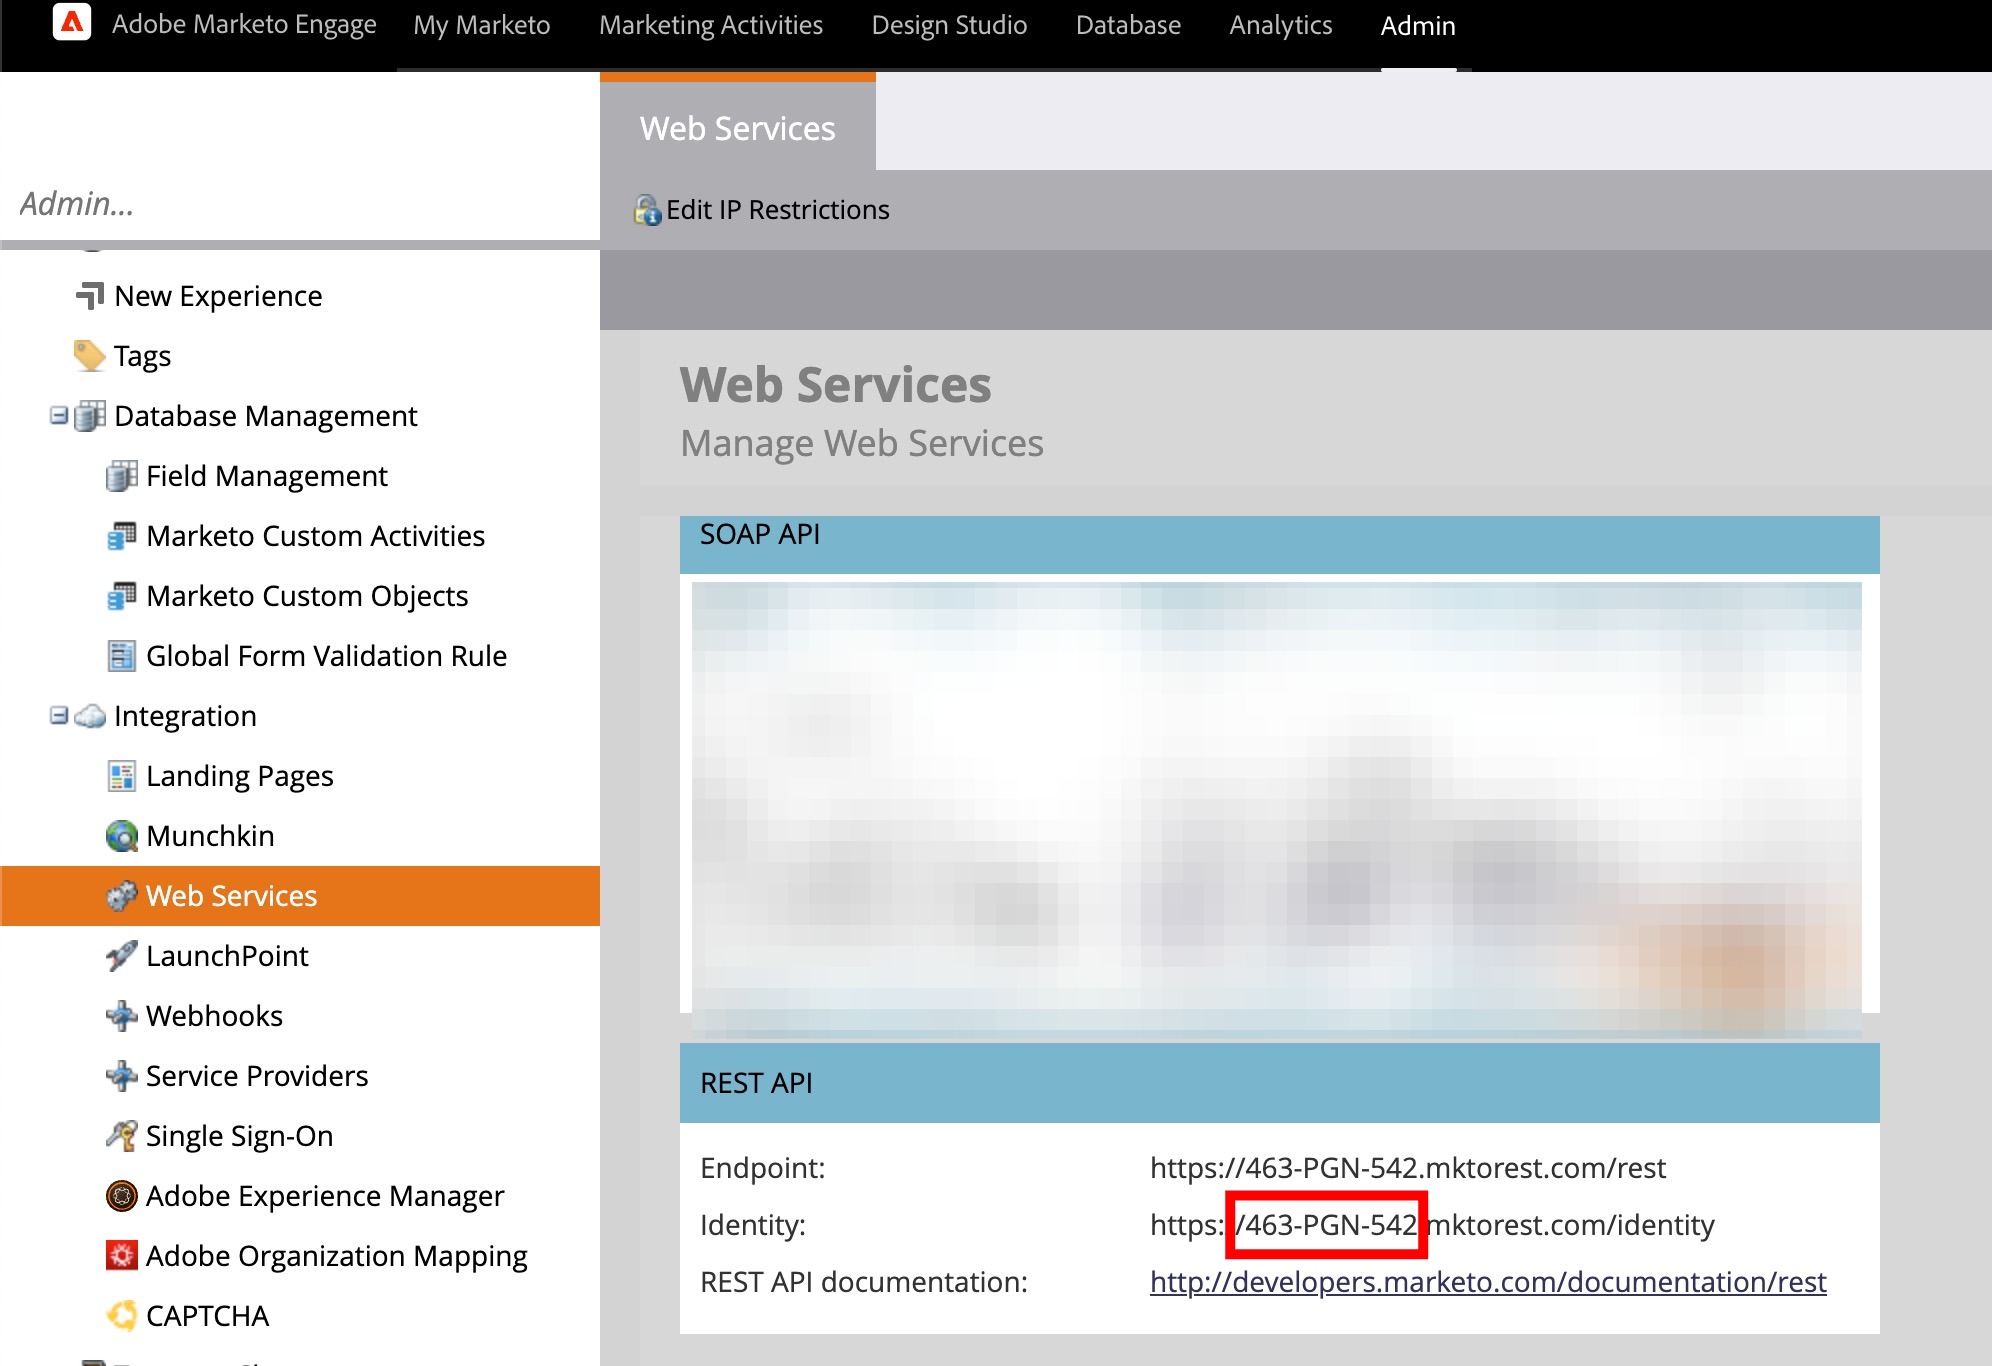
To get the ACCOUNT_ID you will need for the Token URL field, click “Web Services” in the left nav. In the Rest API > Identity field, copy the string between “https://” and “.mktorest”. Replace ACCOUNT_ID in Appcues with this value.
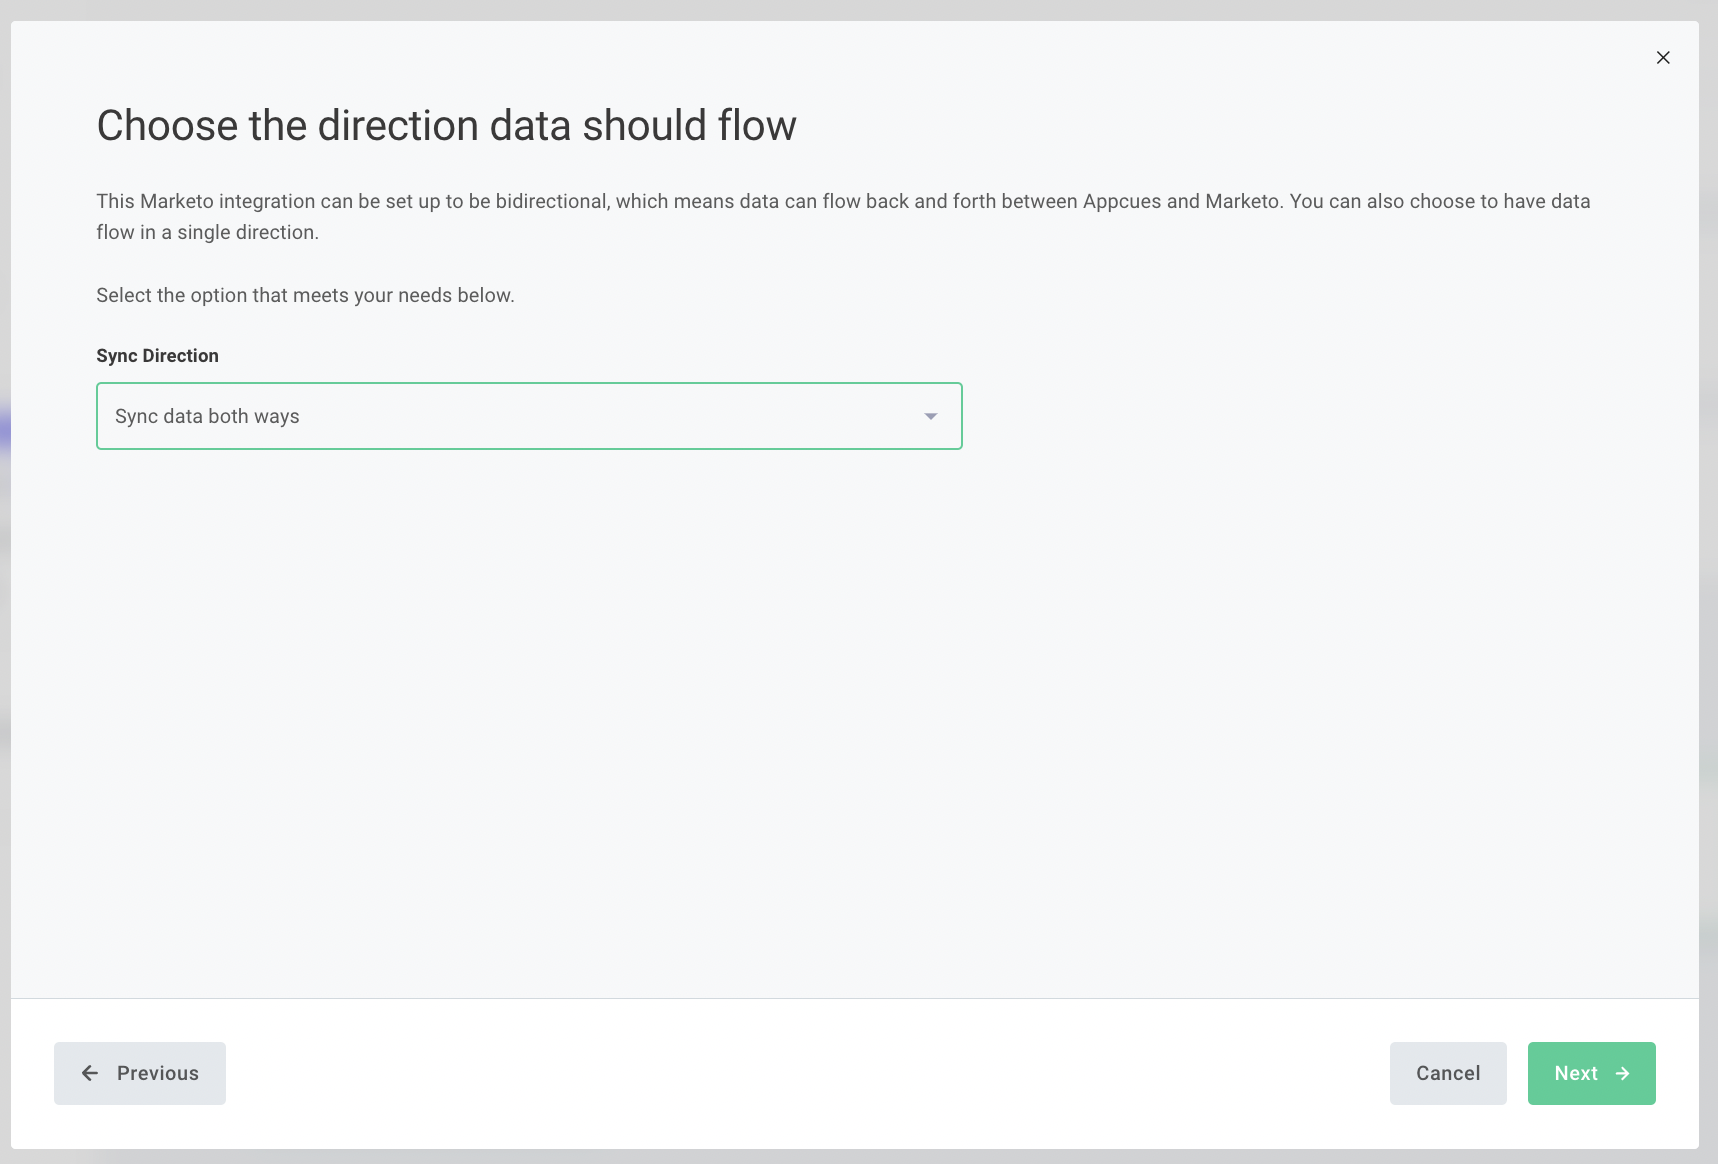
Step 2 - Will ask you what direction you want the data to flow. Either bi-directional, or 1-way in a specific direction.
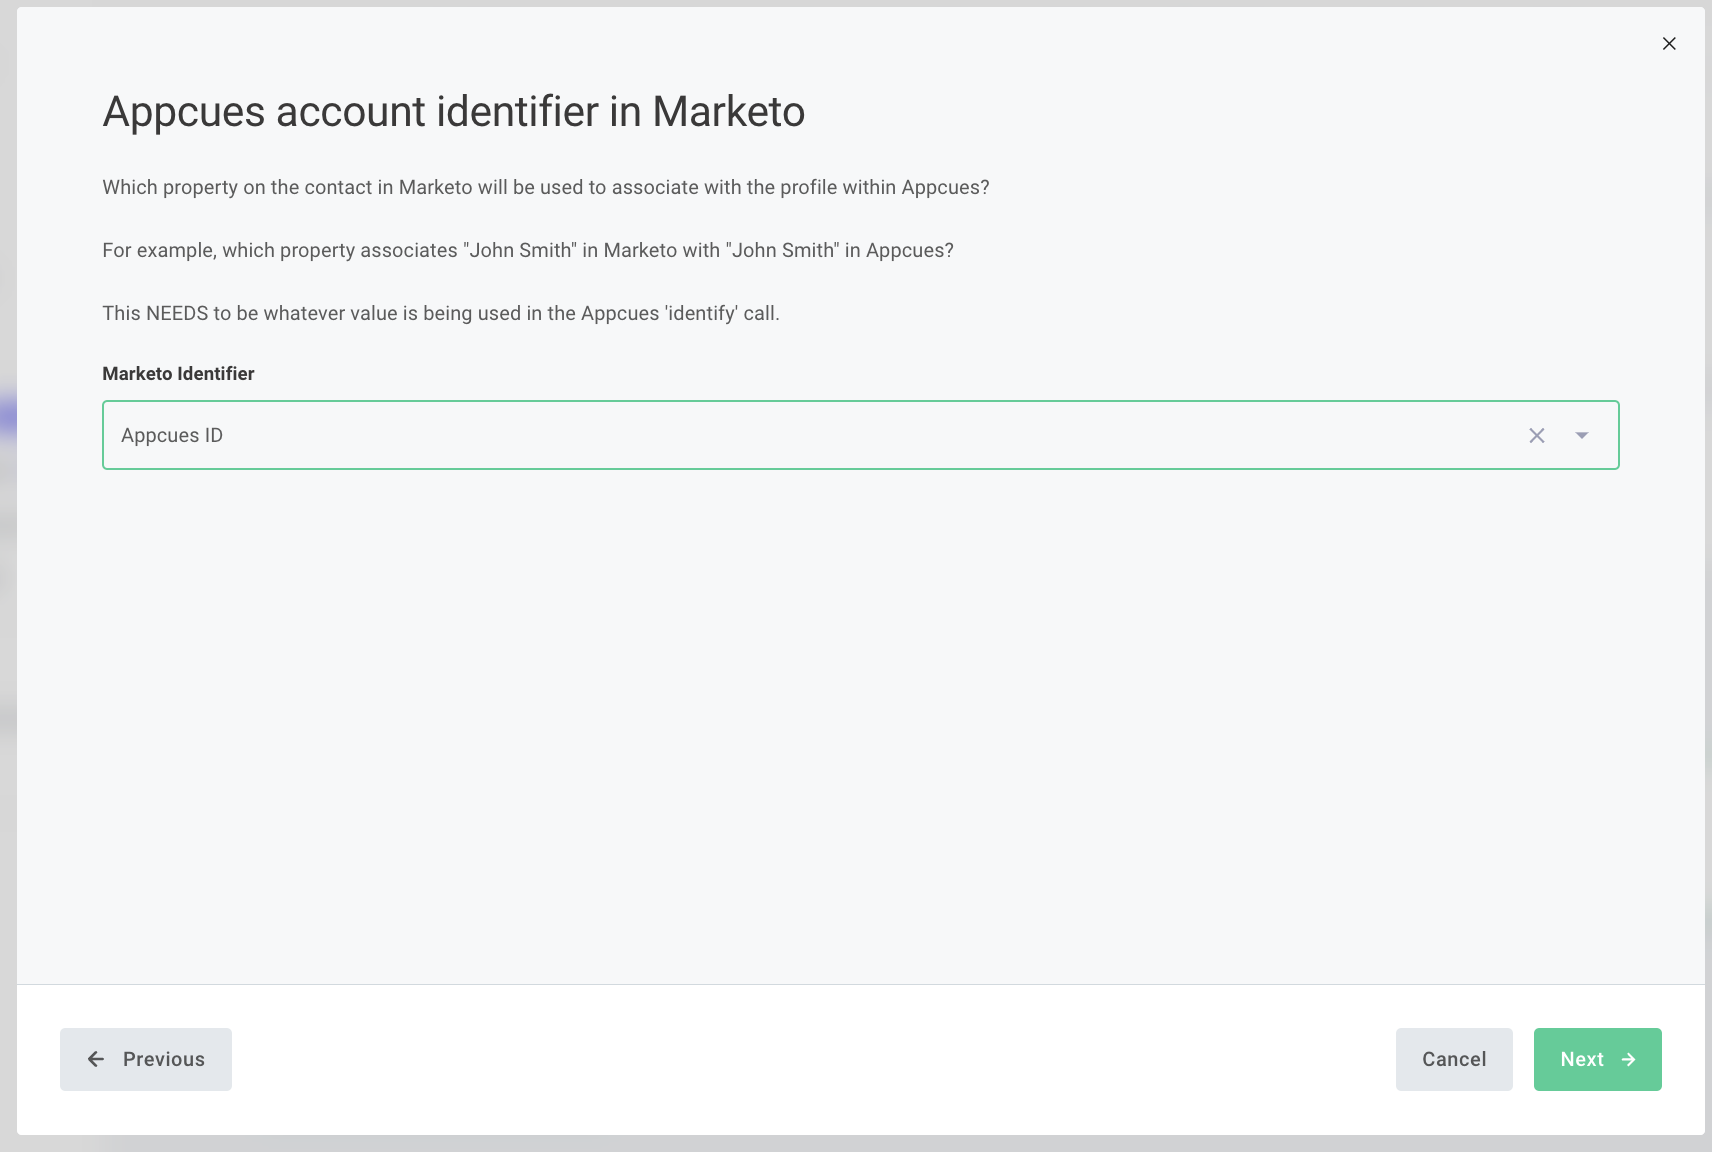
Step 3 - Will ask you which property on the Lead in Marketo will be used to associate with the profile within Appcues.
NOTE: This NEEDS to be whatever value is being used in the Appcues 'identify' call
Step 4 - Will ask you which property in Appcues can be used to associate with the profile within Marketo.
NOTE: This MUST BE either the Marketo ID or email
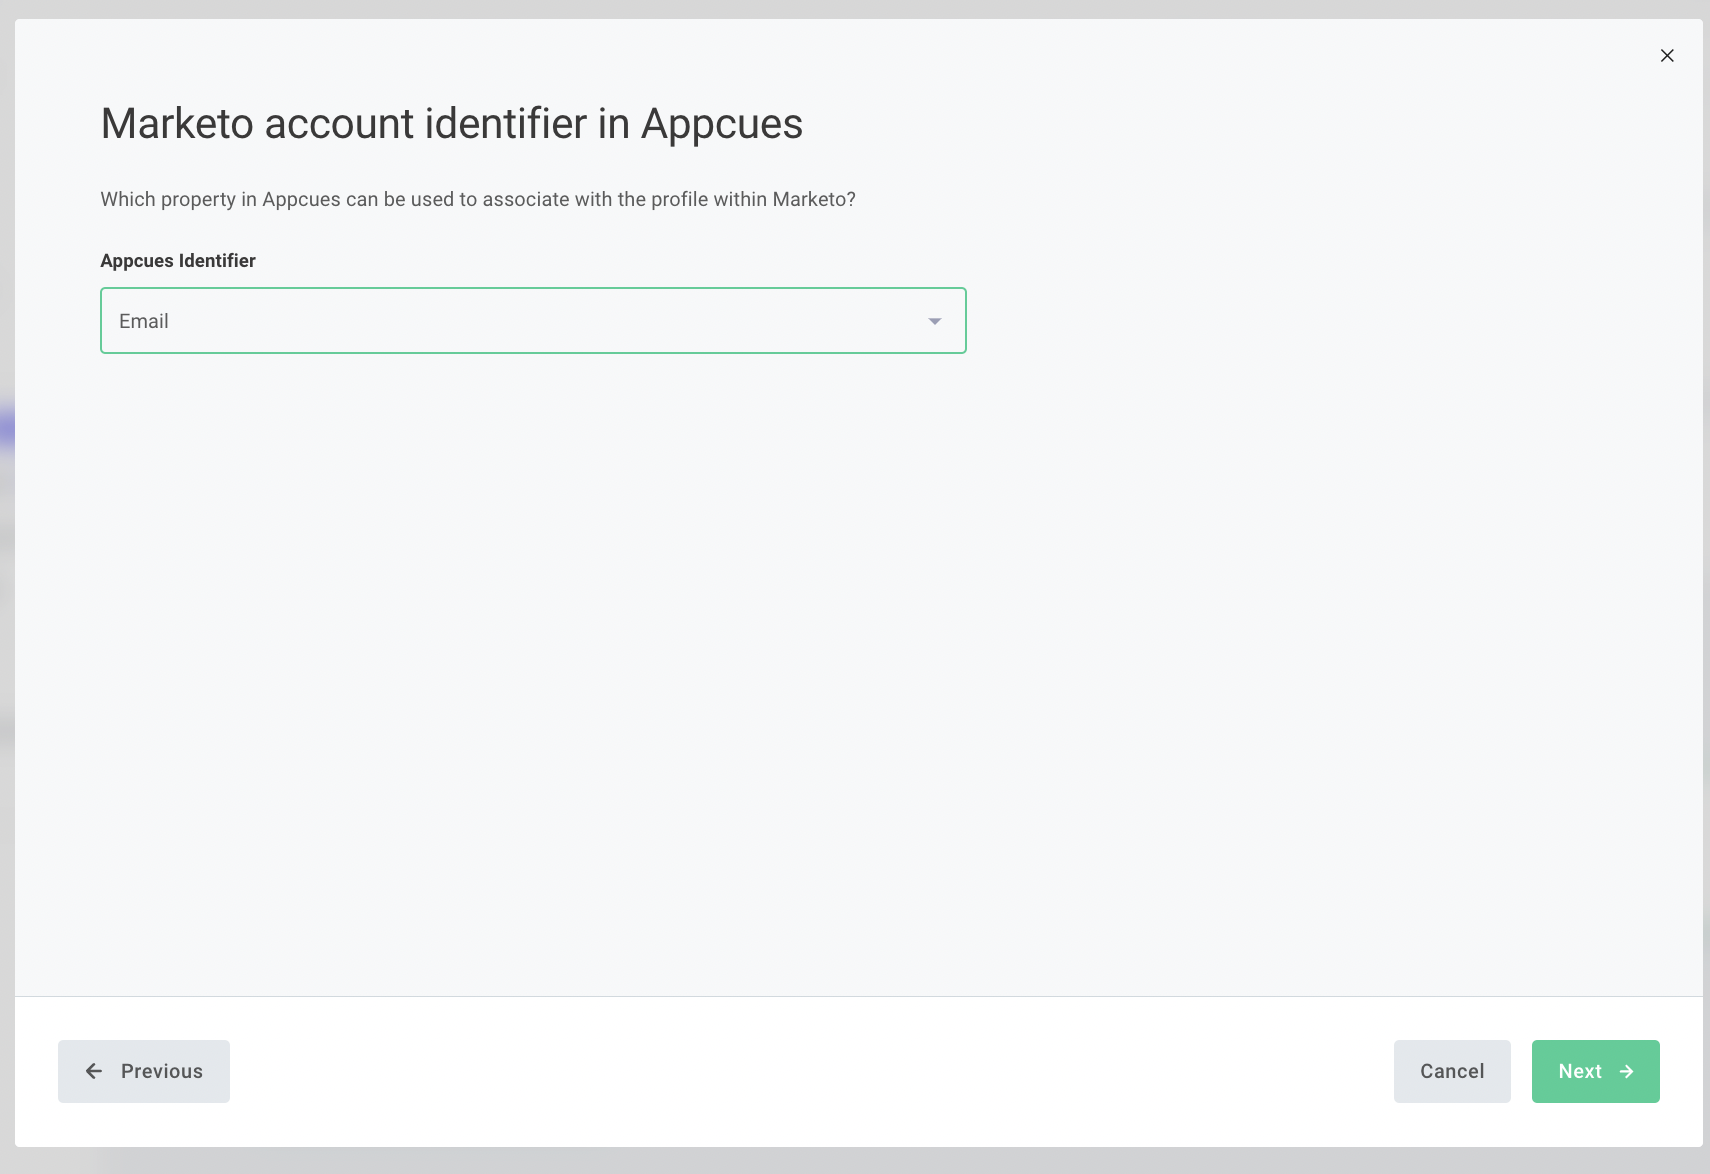
Step 5 - Will ask if you want Appcues Click-to-track events to be included in the sync.
NOTE: Click-to-track events will only sync to Marketo if you are signed up for Appcues Events Broadcaster
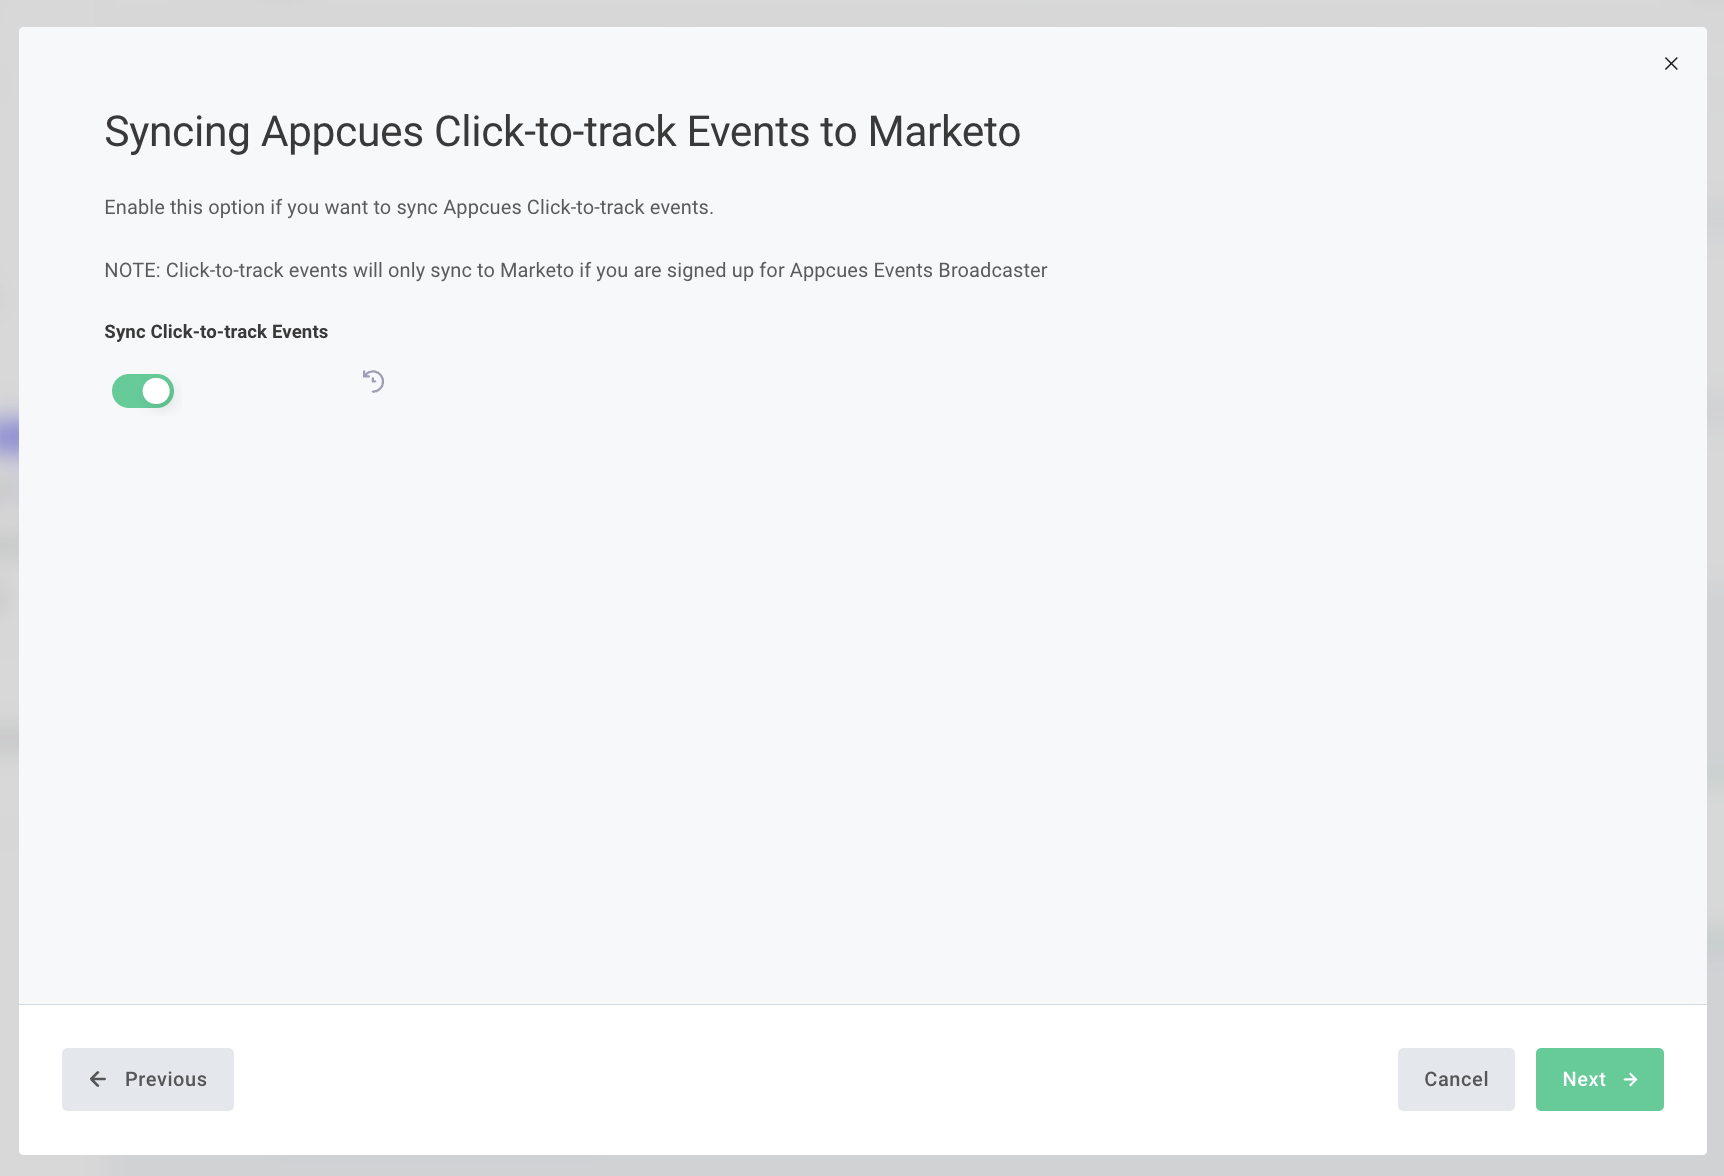
Step 6 - Will ask you which properties on the Marketo Lead you want to send to Appcues for targeting and segmenting.
NOTE: It is highly recommended that you manually enter new Marketo specific property fields on the Appcues side for this step.
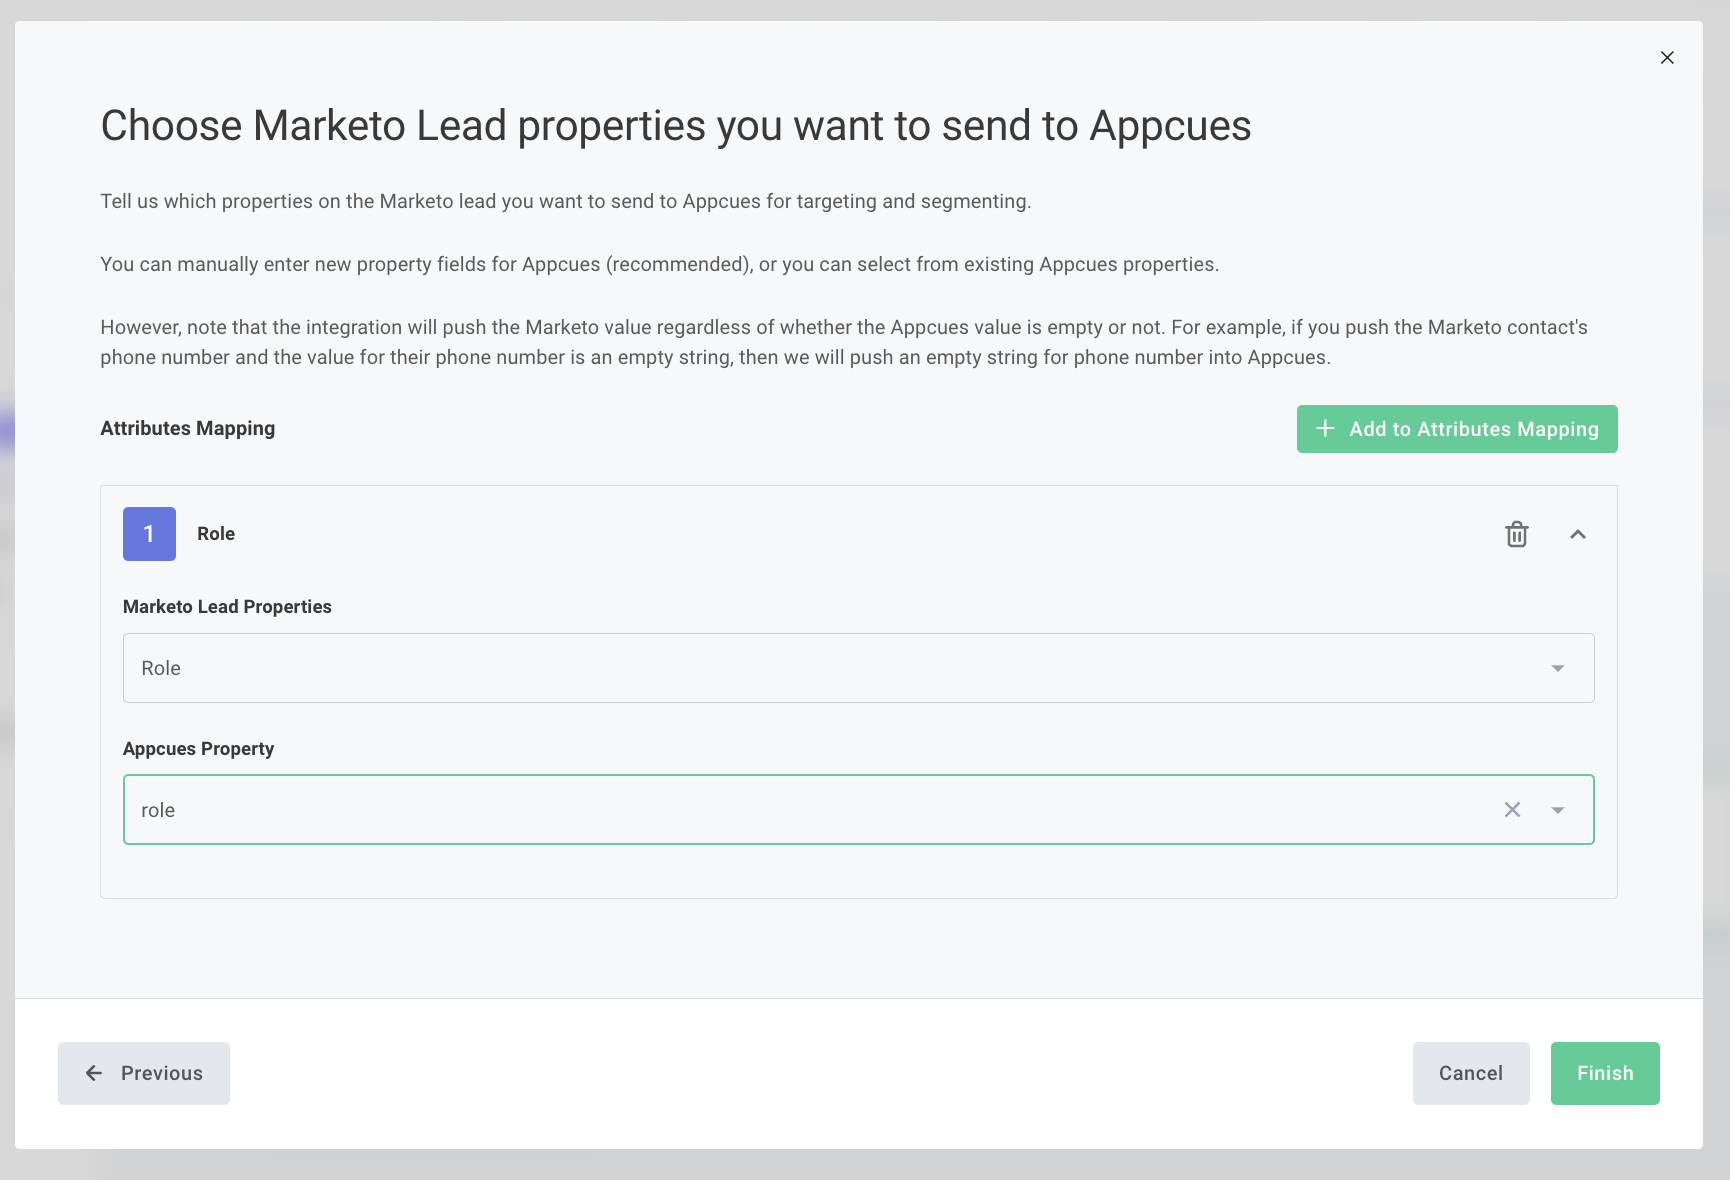
Once you click Finish on step 6, the setup wizard will close, and data will begin passing between the two systems.
Need to make an adjustment?
Once the integration is enabled, you can click the card at any time and select Reconfigure to adjust any of your current settings, or click Deactivate Integration to disable the integration.
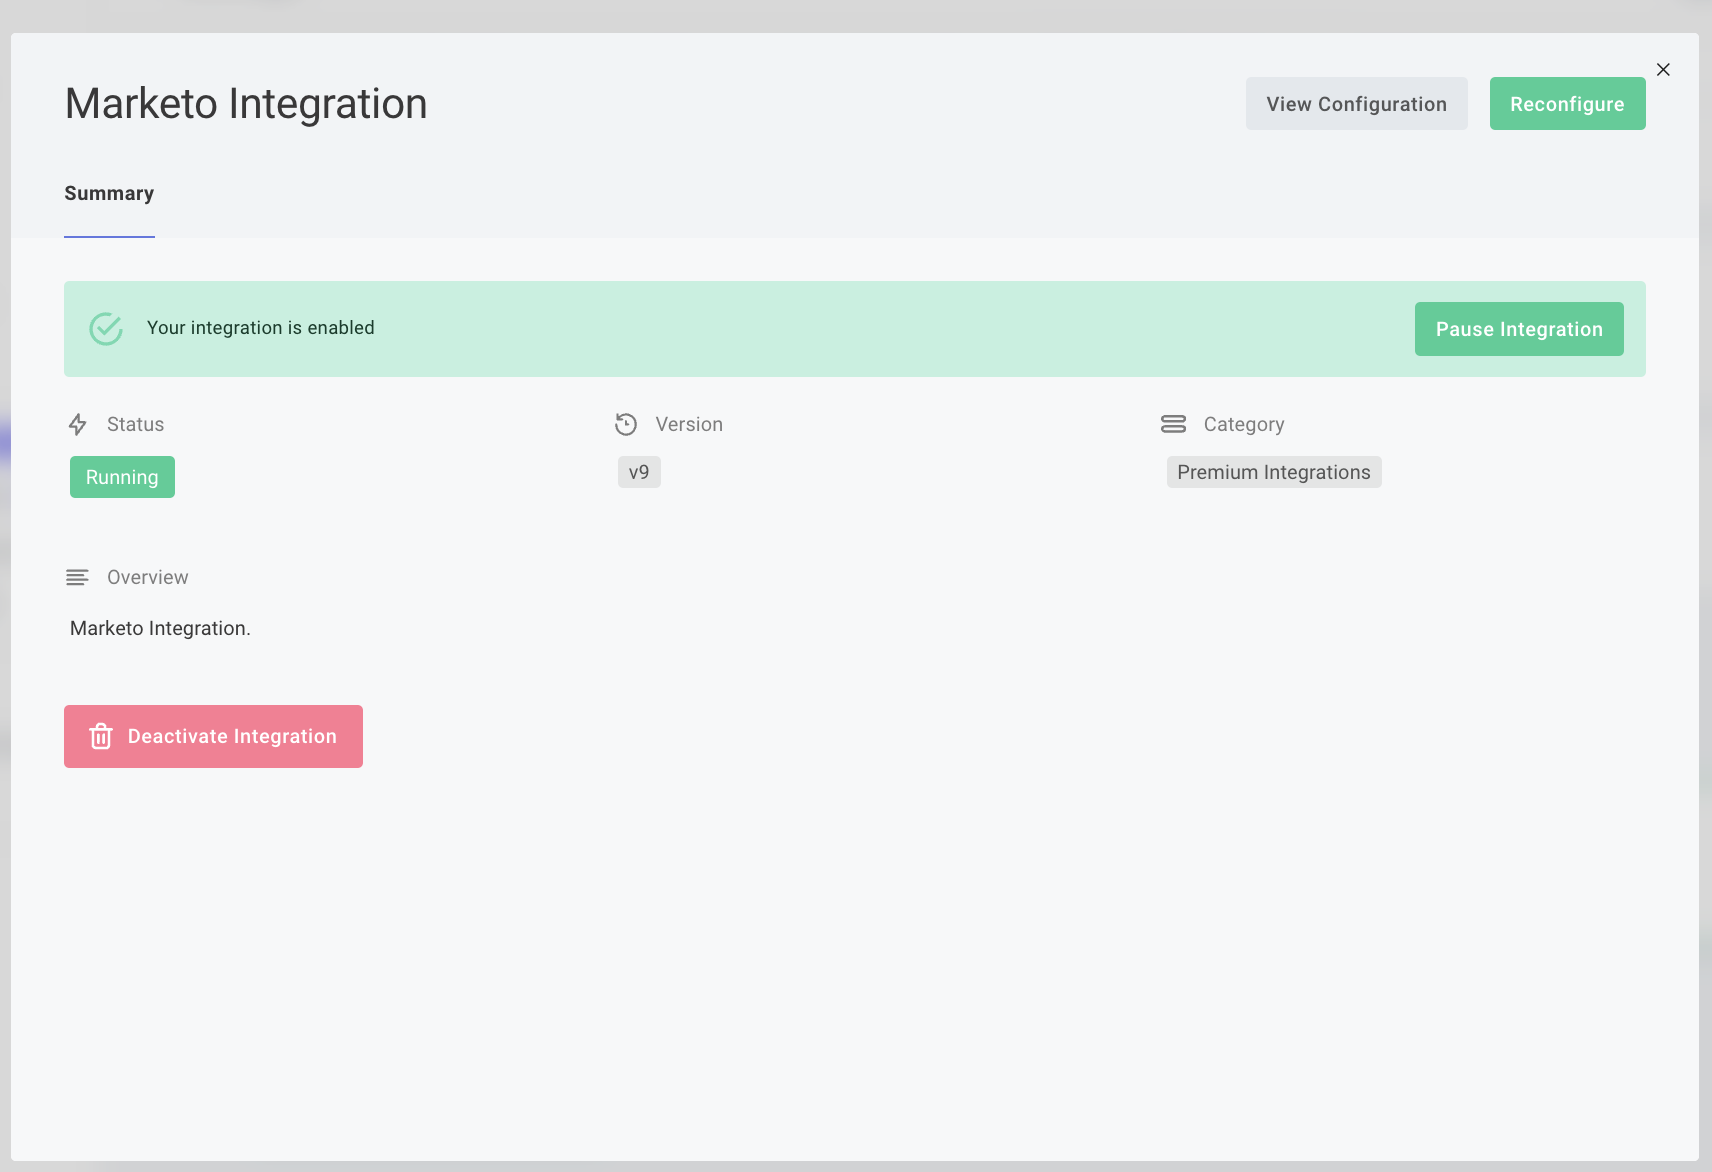
How to see what is being sent from Marketo to Appcues
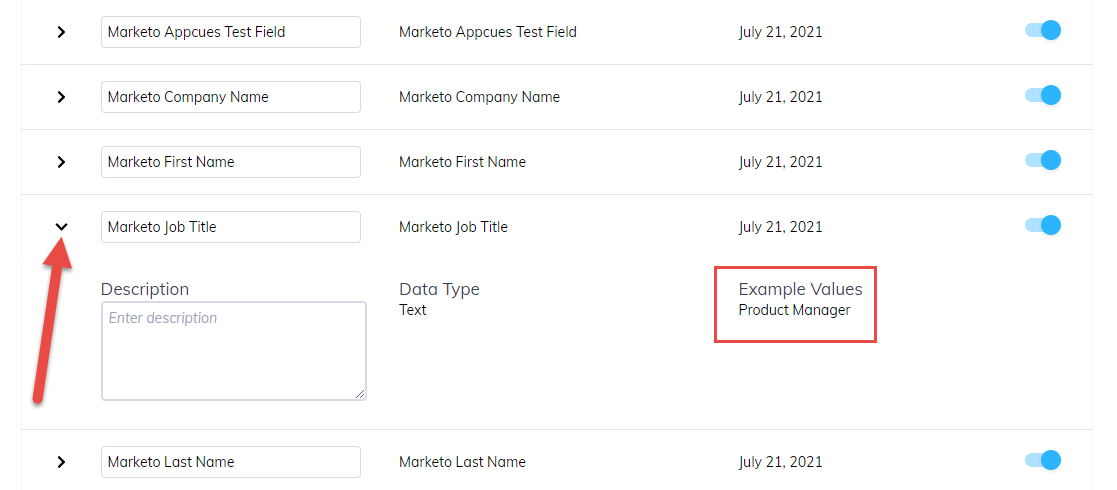
If you want to confirm that your data is flowing from Marketo to Appcues you can review the properties being sent by going to Settings -> Events and Properties -> Custom properties. Once there, you can find your Marketo properties in the list, and see real examples of data being passed to Appcues by clicking the Chevron to expand the property.
What to expect in the Marketo Activity Log?
Once you've finished the wizard you'll begin seeing Appcues events start populating in the Activity Log. Depending on the event, your channel will display event information something like this.
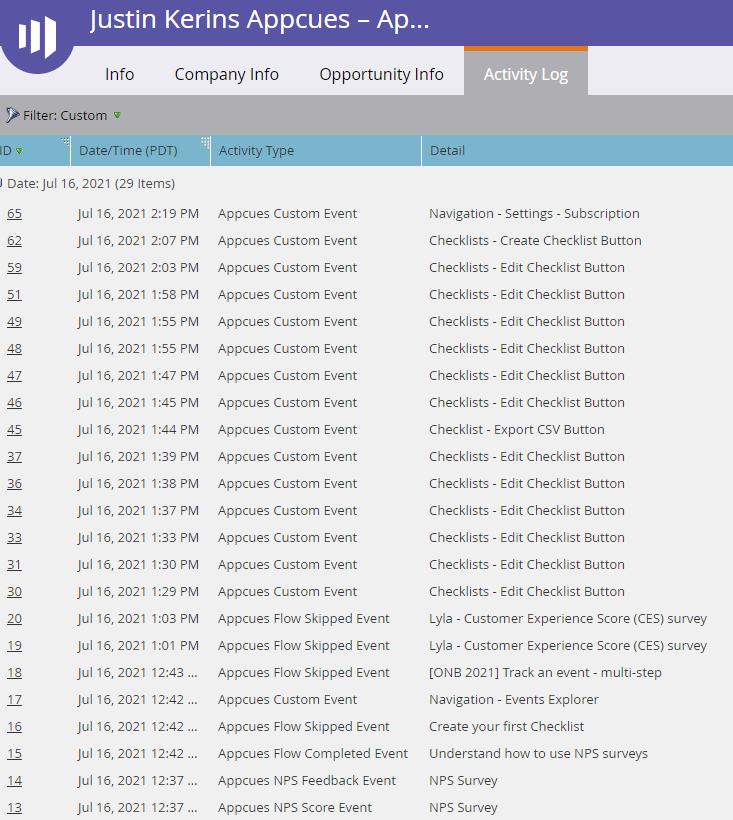
Clicking any of those events will show you more information.

*by default integration events may be filtered out of the customer Activity Log. If Appcues events are not shown the filters may need to be adjusted.https://experienceleague.adobe.com/docs/marketo/using/product-docs/core-marketo-concepts/smart-lists-and-static-lists/managing-people-in-smart-lists/filter-activity-types-in-the-activity-log-of-a-person.html?lang=en