Send Appcues NPS Submissions to Google Sheets Using Webhooks
Learn how to send your Appcues NPS submissions directly to Google Sheets using Webhooks
Table of Contents
NPS is one of the most important metrics your team can measure, and sometimes, you want to do additional calculations or viewing of the data on a platform outside of Appcues. Using our webhooks feature, you can send all NPS submissions directly to Google Sheets so that your team can follow along and take action on feedback submissions in real-time!

This guide will walk you through setting this up via the following steps:
- Publish your Google Sheet as a web app using Google Apps Script
- Create a webhook in Appcues for the survey flow
Note: this doc goes over sending NPS survey events through a webhook. If working with a survey in a flow, check out the relevant documentation here.
Build Guide
Step 1: Publish Your Google Sheet as a web app
A great feature that Google Sheets has is something called Google Apps Script. What this does is actually publish your Google sheet as a web app and provides you with a URL so you can send data into this spreadsheet.
Click Extensions > Apps Script

Next, you'll have to add a little bit of Javascript to define a Post function and tell your app what to do when data is provided. We provide an example that you can use below.

There are two separate NPS events that we care about when building this. The first is the NPS score event, generated when a user clicks to submit a score. The second is the NPS feedback event, generated when the user submits written feedback. These events will look something like this:
NPS SCORE EVENT

{
    "account_id": "85728",
    "attributes": {
      "_prev_nps_score": 6,
      "_prev_nps_score_time": 1730401661900,
      "flowId": "70e45b00-0f35-44c7-b70b-aaaead4c41d8",
      "flowName": "NPS",
      "flowType": "satisfaction-survey",
      "flowVersion": 1715816576469,
      "score": 8,
      "sessionId": "bd7e12f7-061b-4f9a-8b2a-0fa617697353"
    },
    "context": {
      "url": "https://elijah-demo-app.netlify.app/"
    },
    "group_id": "group1",
    "id": "b3ca410e-bf8e-485d-a0df-f03093592ea8",
    "ingested_at": 1730402034651,
    "name": "appcues:nps_score",
    "timestamp": 1730402034366,
    "user_id": "user_1"
  }

  NPS FEEDBACK EVENT

  {
      "feedback": "I love it!",
      "flowId": "70e45b00-0f35-44c7-b70b-aaaead4c41d8",
      "flowName": "NPS",
      "flowType": "satisfaction-survey",
      "flowVersion": 1715816576469,
      "sessionId": "bd7e12f7-061b-4f9a-8b2a-0fa617697353"
    },
    "context": {
      "url": "https://elijah-demo-app.netlify.app/"
    },
    "group_id": "group1",
    "id": "eeb77957-1cfa-4764-9ef9-6891eb0be2e0",
    "ingested_at": 1730402039800,
    "name": "appcues:nps_feedback",
    "timestamp": 1730402039520,
    "user_id": "user_1"
  }
This means there are two cases our script needs to account for: 1. receiving a score event and adding it as a new row on the Google Sheet, and 2. receiving a feedback event and adding the user's feedback into the row that contains their score.
For the score event, we want to extract any relevant fields from the event—timestamp, user ID, score—and pass them into Google Sheets using sheet.appendRow. Additionally, I'm choosing to add a new column that will contain the timestamp formatted into a human-readable date.
For the feedback event, we'll want to search the spreadsheet for the most recent row that includes the user's user ID and then add the feedback into the appropriate column.
Within the doPost() function required by Google to deploy this app, I can include the below. Depending on what information you want to pull from your Appcues events, you might want to tweak this function a bit.
function doPost(e) {
  // select active sheet and parse event data sent from webhook
  var sheet = SpreadsheetApp.getActiveSheet();
  var body = JSON.parse(e.postData.contents);

  // assign variables for easy reference
  var timestamp = body.timestamp;
  var date = new Date(timestamp).toUTCString();
  var userId = body.user_id;
  var score = body.attributes.score;
  var feedback = body.attributes.feedback;
  var eventName = body.name;

  // add a new row when user submits a score event OR append feedback from feedback event to existing row
  if (eventName == 'appcues:nps_score') {
    var rowData = [timestamp, date, userId, score, feedback];
    sheet.appendRow(rowData);
  } else {
    // add a 30 second delay on adding feedback to avoid potential race condition and ensure score event has been created in the spreadsheet
    Utilities.sleep(30*1000)

    // search for user's most recent score and save its row number
    const textFinder = sheet.createTextFinder(userId);
    const current_row = textFinder.findPrevious().getRow();

    // set the value in the feedback column. Because the feedback in the above rowData variable is in the 5th position, the column changed is 5
    sheet.getRange(current_row, 5).setValue(feedback);
  }
}
NOTE: Using this code, the columns in the spreadsheet will contain timestamp, date, user ID, NPS score, and NPS feedback. Feel free to tweak as you see fit, but remember that whatever column number the feedback lives in will need to be the number used in the getRange function.
Now it's time to deploy the app!

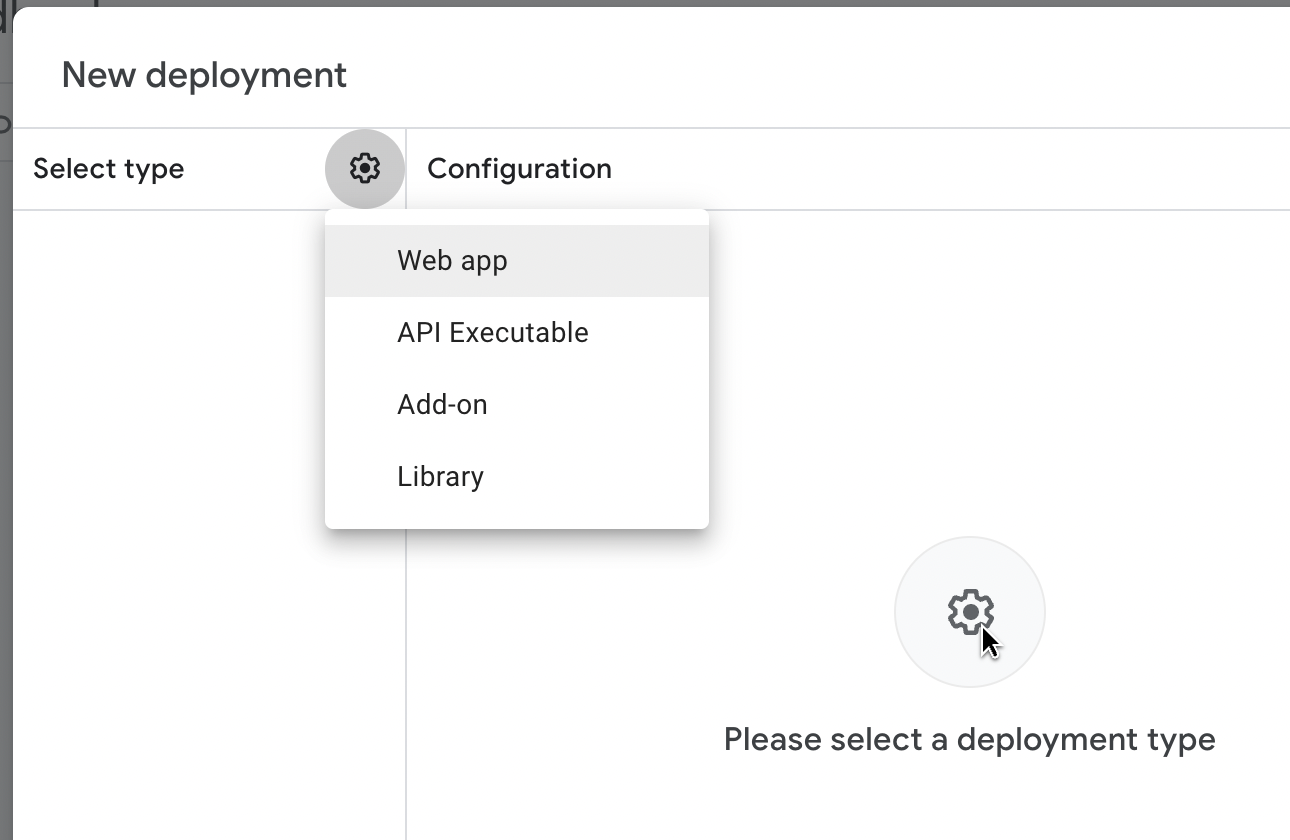
On the next screen, click “Select type” > “Web app”.

On the next screen, give the deployment a name, and make sure access is set to “Anyone”. Click Deploy, and your sheet will become a web app!
 On the final screen, copy the Web app URL. You'll need it for the next step.

NOTE: If you ever want to make a change to the code being used in this app, you will need to re-deploy it, copy the new web app URL, and update the URL in the Appcues webhook settings.
Step 2: Create a Webhook in Appcues
To access the Webhooks page, go to the Account Settings page first.

And then in the Integrations section of the left navigation bar, navigate to Webhooks.

Click “New webhook”. On the next page, you'll give the webhook a name, an optional description, and most importantly the Endpoint URL, which you copied when you completed deploying your Google sheet as a web app.

Further down on the webhook creation page, you'll select Events. You'll then want to add “NPS Feedback” and “NPS Score” as the events the webhook is listening for.

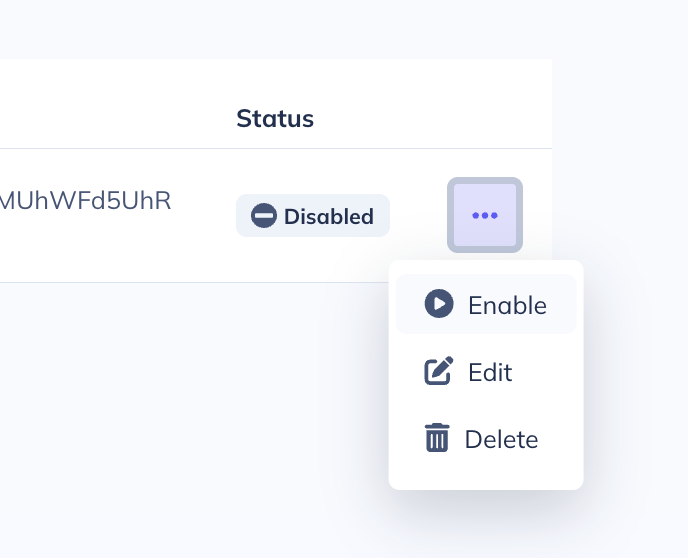
Lastly, enable the webhook and you're done!

From now on, each new NPS survey response will populate as a new row in your Google sheet.

Happy Building!