Build with Tooltips in a Mobile Flow
Step by step on how to build a mobile Flow using floating and anchored tooltips.
Table of Contents
This guide will walk through some common examples of flows that can be built with mobile tooltips. As part of this guide we’ll use both floating and anchored tooltips.
To build similar experiences we recommend having Appcues already installed in your app with screen tracking, deep links, and targetable elements already set up.
Build Guide
Create a Tooltip Flow on a Single Screen
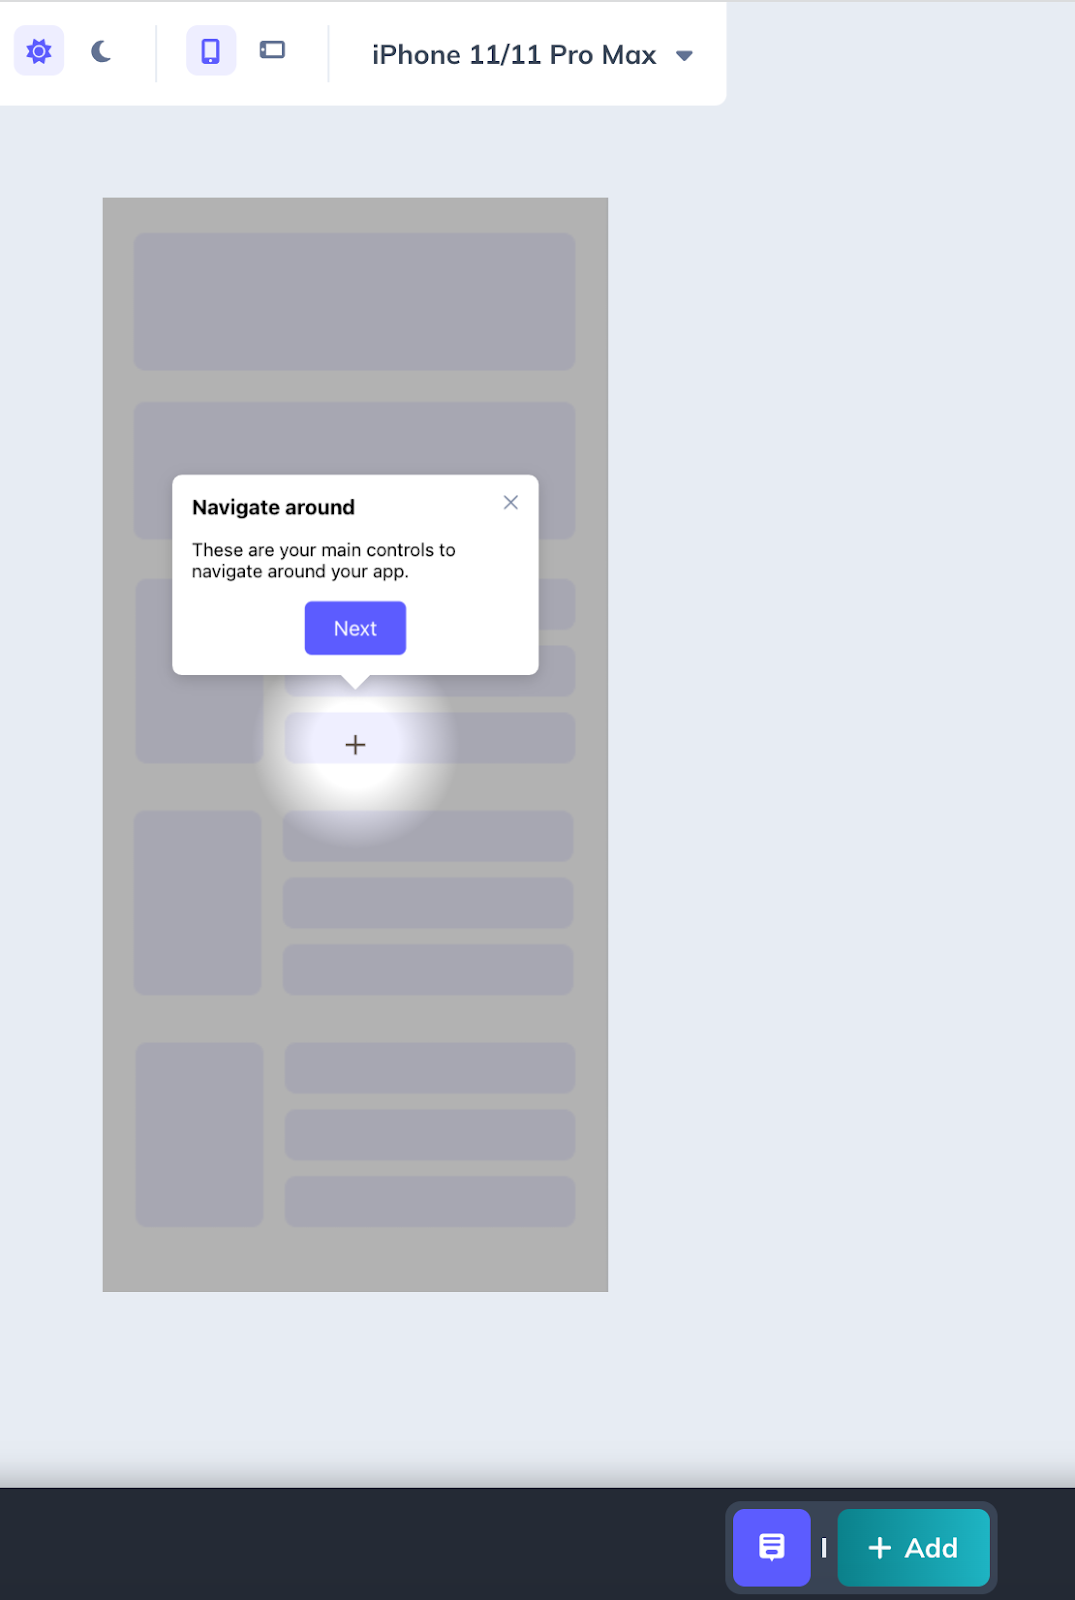
In this example, we’re going to create a Flow on a single screen. This will walk us through some examples of standard behavior with floating and anchored tooltips
Step 1: Create an anchored tooltip and update the contents
Here’s what we did with ours:
To make it easier to target this tooltip we’ll select a screenshot to add as a background
Step 2: Add a screenshot as background
Press the screenshot icon
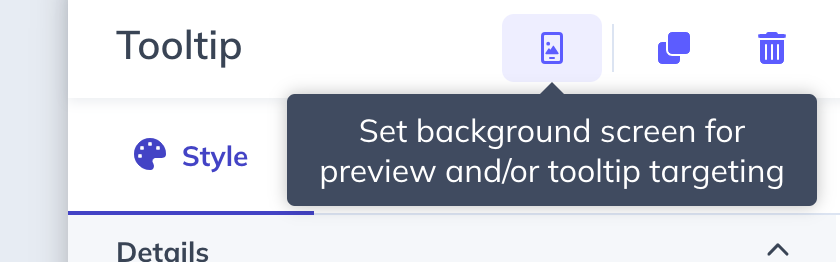
Then select the screenshot that you want to use as the background

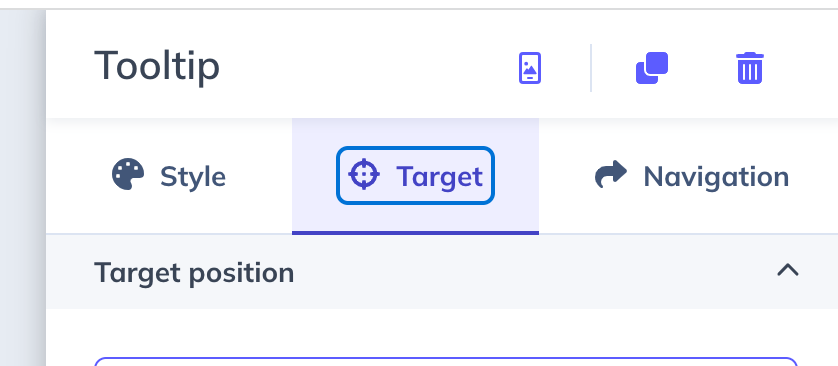
Step 3: Select the "Target" tab
With the screenshot loaded, we’ll select the Target tab.
And select the Adjust target placement button to enter targeting mode so we can update where the tooltip target will be on the screen.
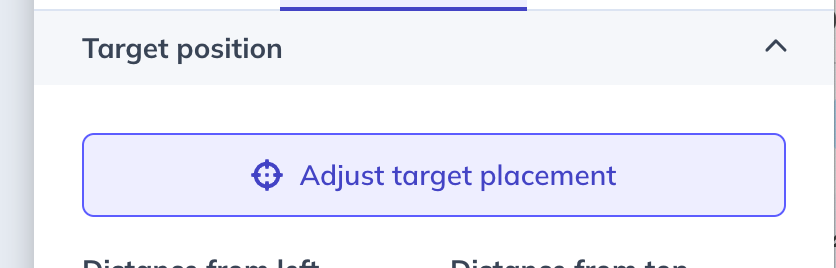
Using the highlight controls, we’ll update the highlight to show off the bottom panel in the app.
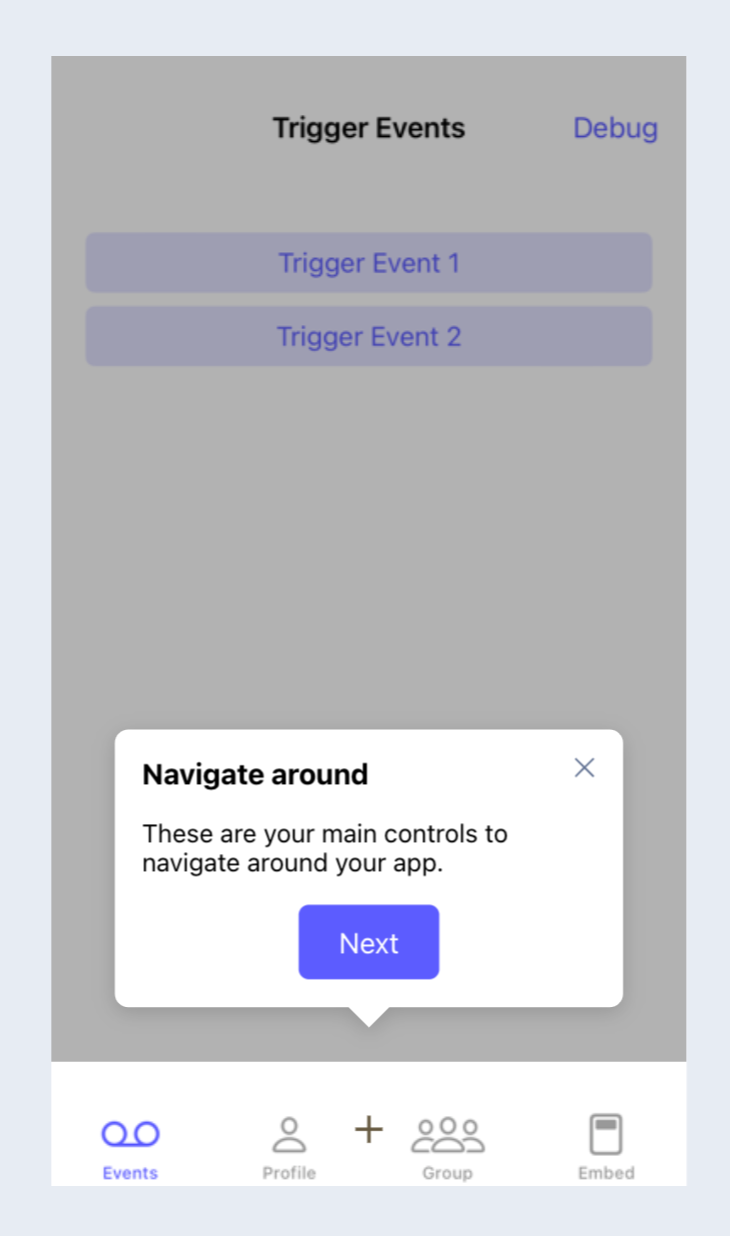
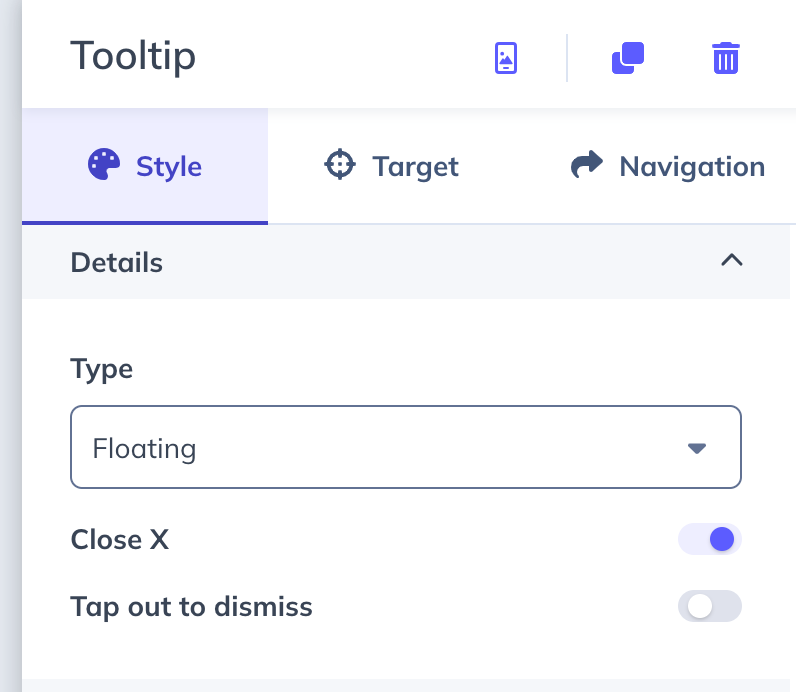
Step 4: Configure dismiss options
In this Flow, we don’t want users to accidentally exit out of the flow so we’ll select the Style tab and turn off the Tap out to dismiss option.
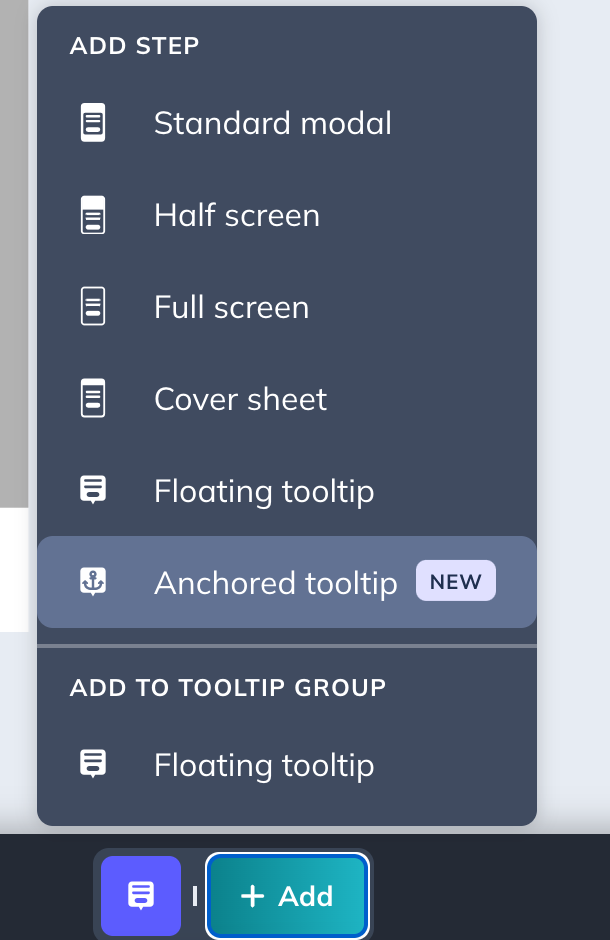
Step 5: Select “Add” and select the “Anchored tooltip” option.
Now we also want to add an anchored tooltip to this flow to give users context about items on the screen that might be in an inconsistent location.
We’ll select the same screenshot again since we’ll be staying on the same screen.
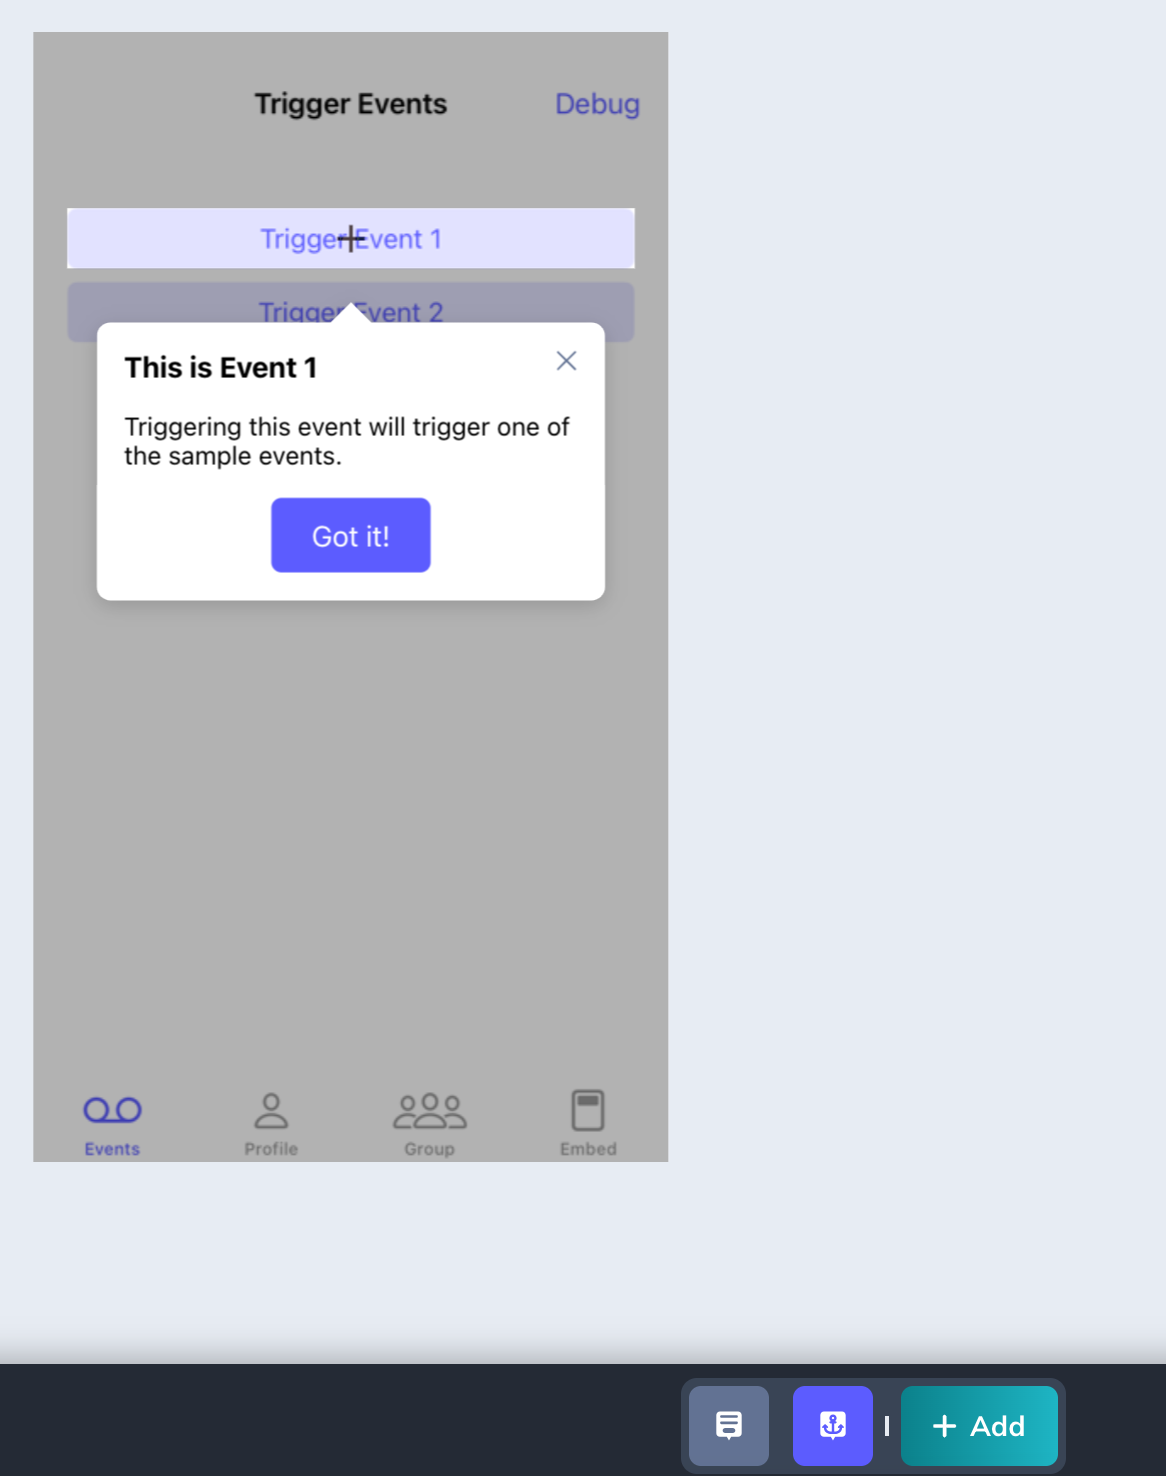
Under tooltips, we’ll select Adjust target placement and target the tooltip to one of the highlighted elements.
After updating the tooltip content we have a basic tooltip flow!
Build a Mobile Flow Across Screens
If you are interested in creating the experience across different screens, feel free to check out our guide here: Build a Mobile Flow Across Screens
Happy Building!