Welcome your Users with Appcues
Learn how to create a welcome message to make your users feel at home.
Table of Contents
A welcome message is an easy way to get started with Appcues and will have a great impact on a new user's perception of your application right from the start.
A welcome message:
- Is a way of introducing the human side of your product and lets users know you appreciate their business
- Sets the stage for more content to come (maybe immediately)
- Can expedite users completing tasks toward “activation”
Build Guide
The final product of your Modal will look something like this when we're done:
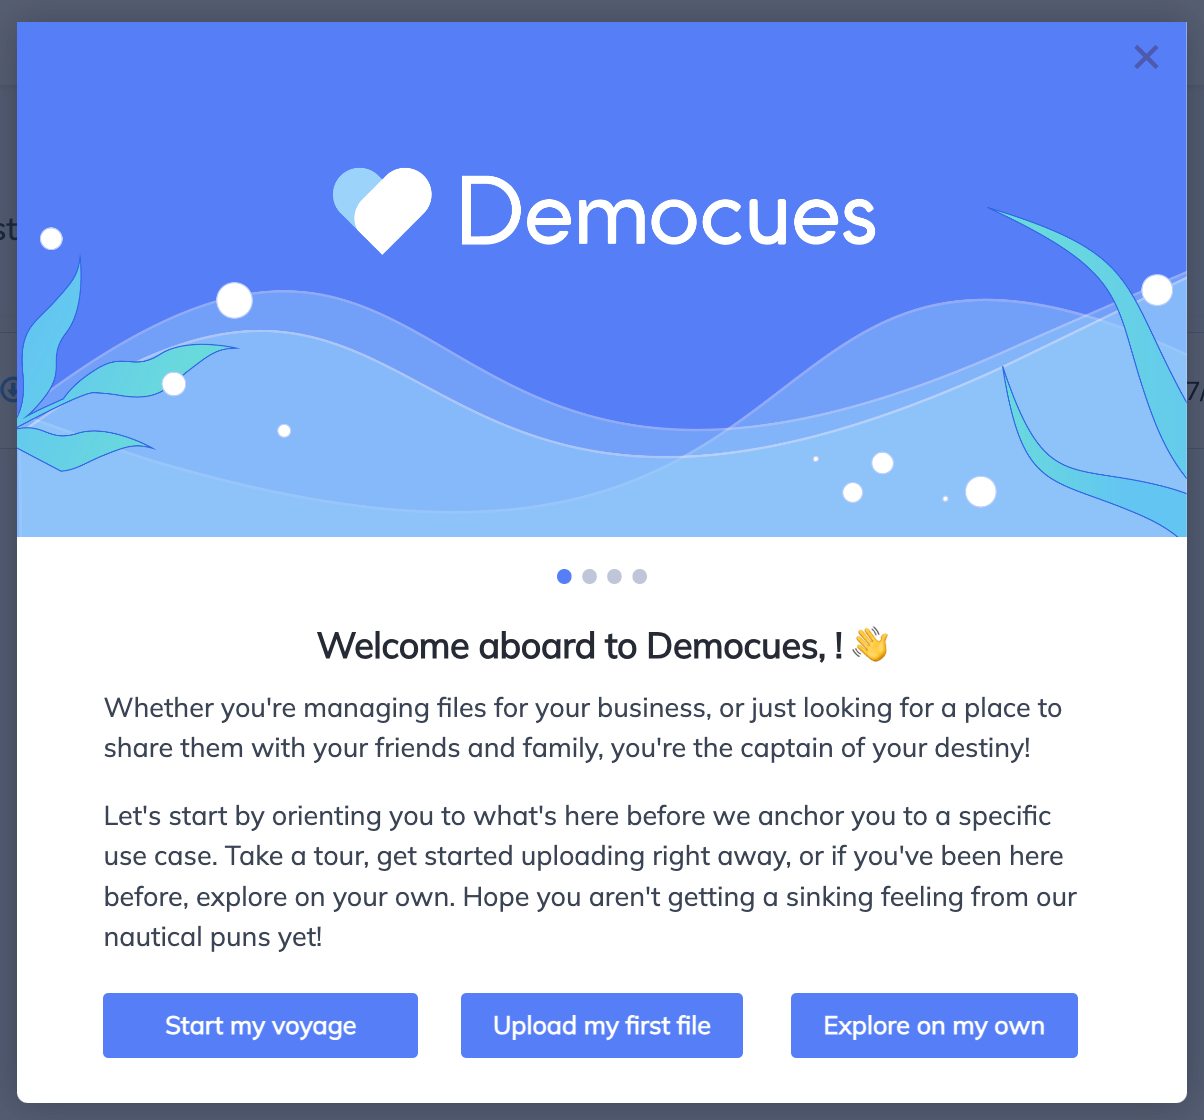
Step 1: Add the Modal
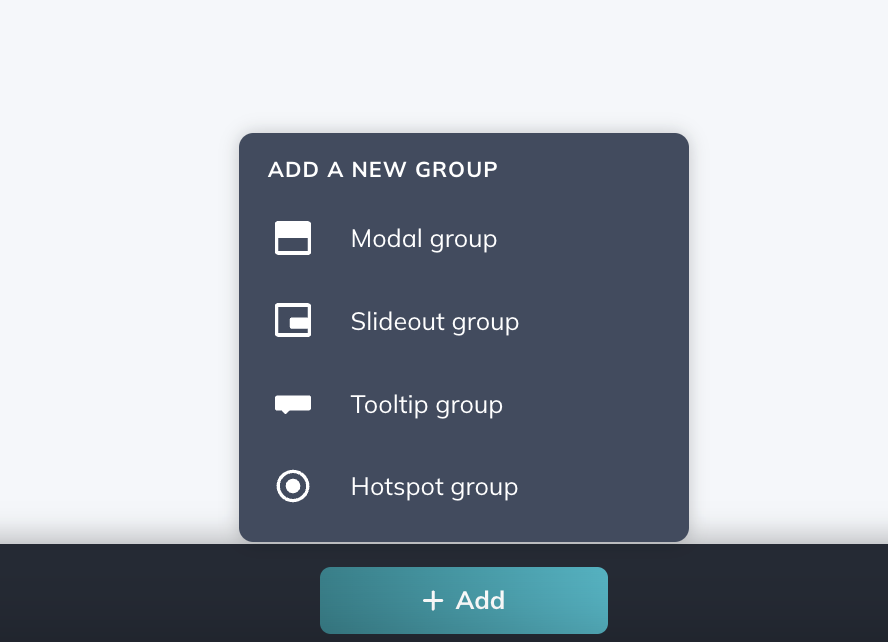
First, open the Appcues Builder to create a new flow and name it. Then, click on ‘+ Add’ and select ‘Modal Group’.
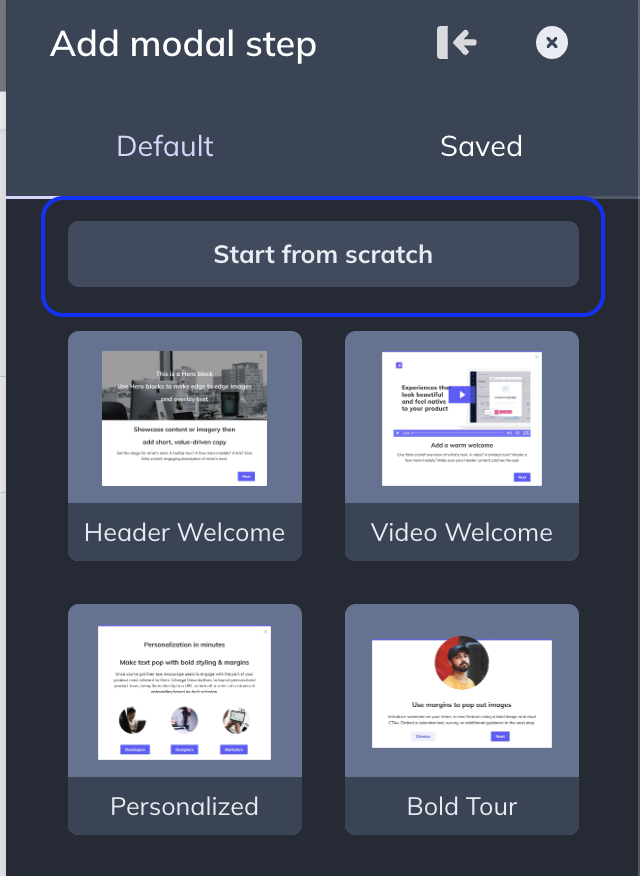
Select ‘Start from scratch’.
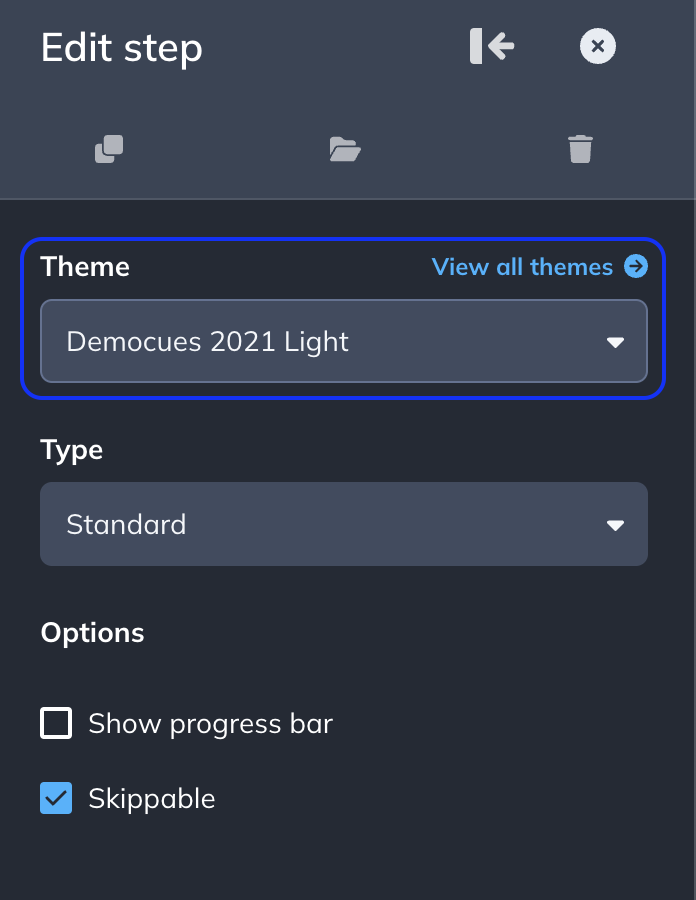
Make sure you're applying your brand's Theme to this Flow. This is a quick way to ensure your Flows look native to your product.
Step 2: Add components to your Modal
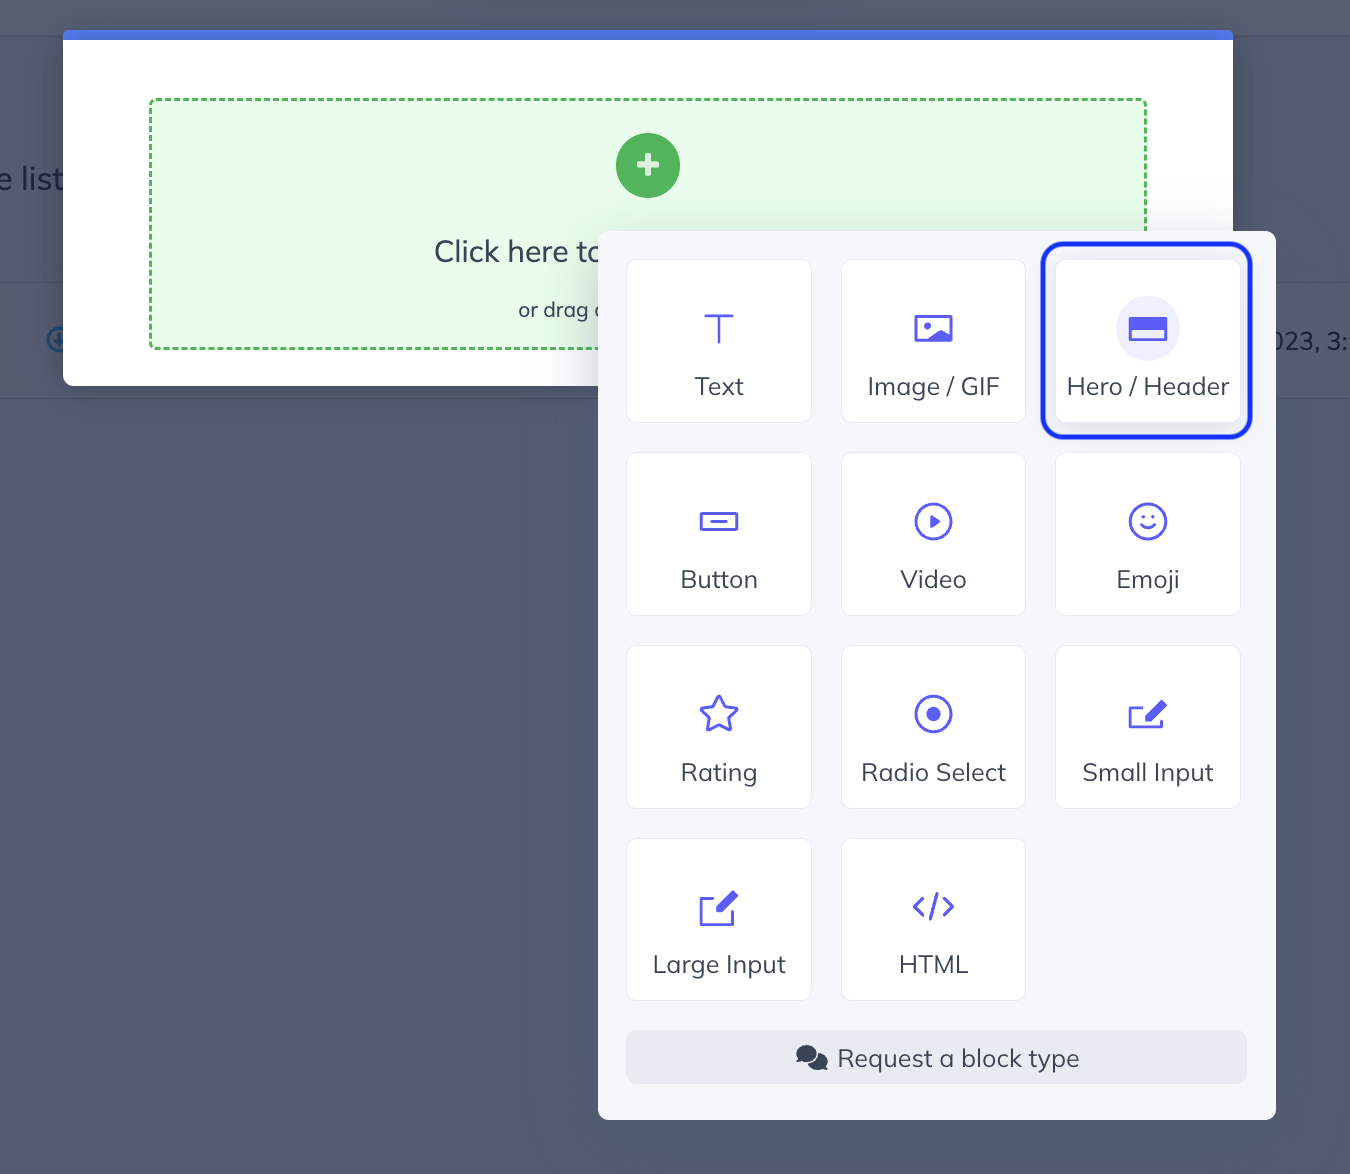
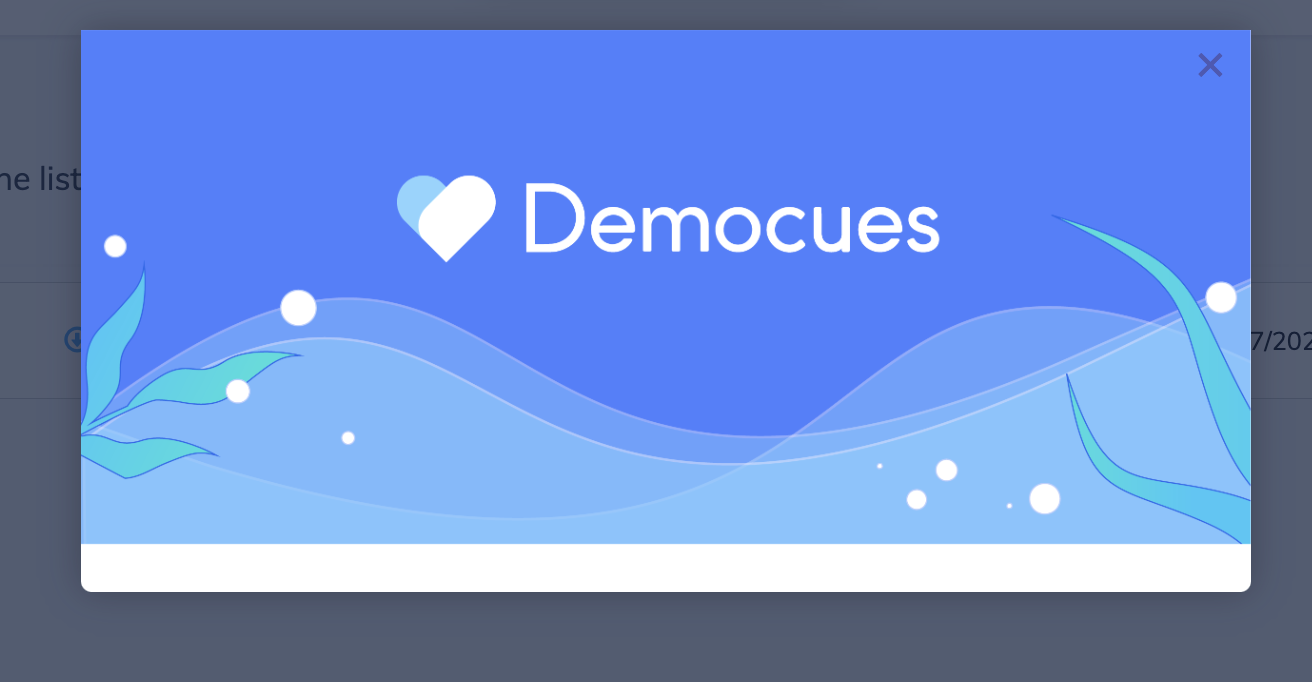
Start by adding a Hero Image. This image should contain your brand name or logo.
It looks like this once it's uploaded.
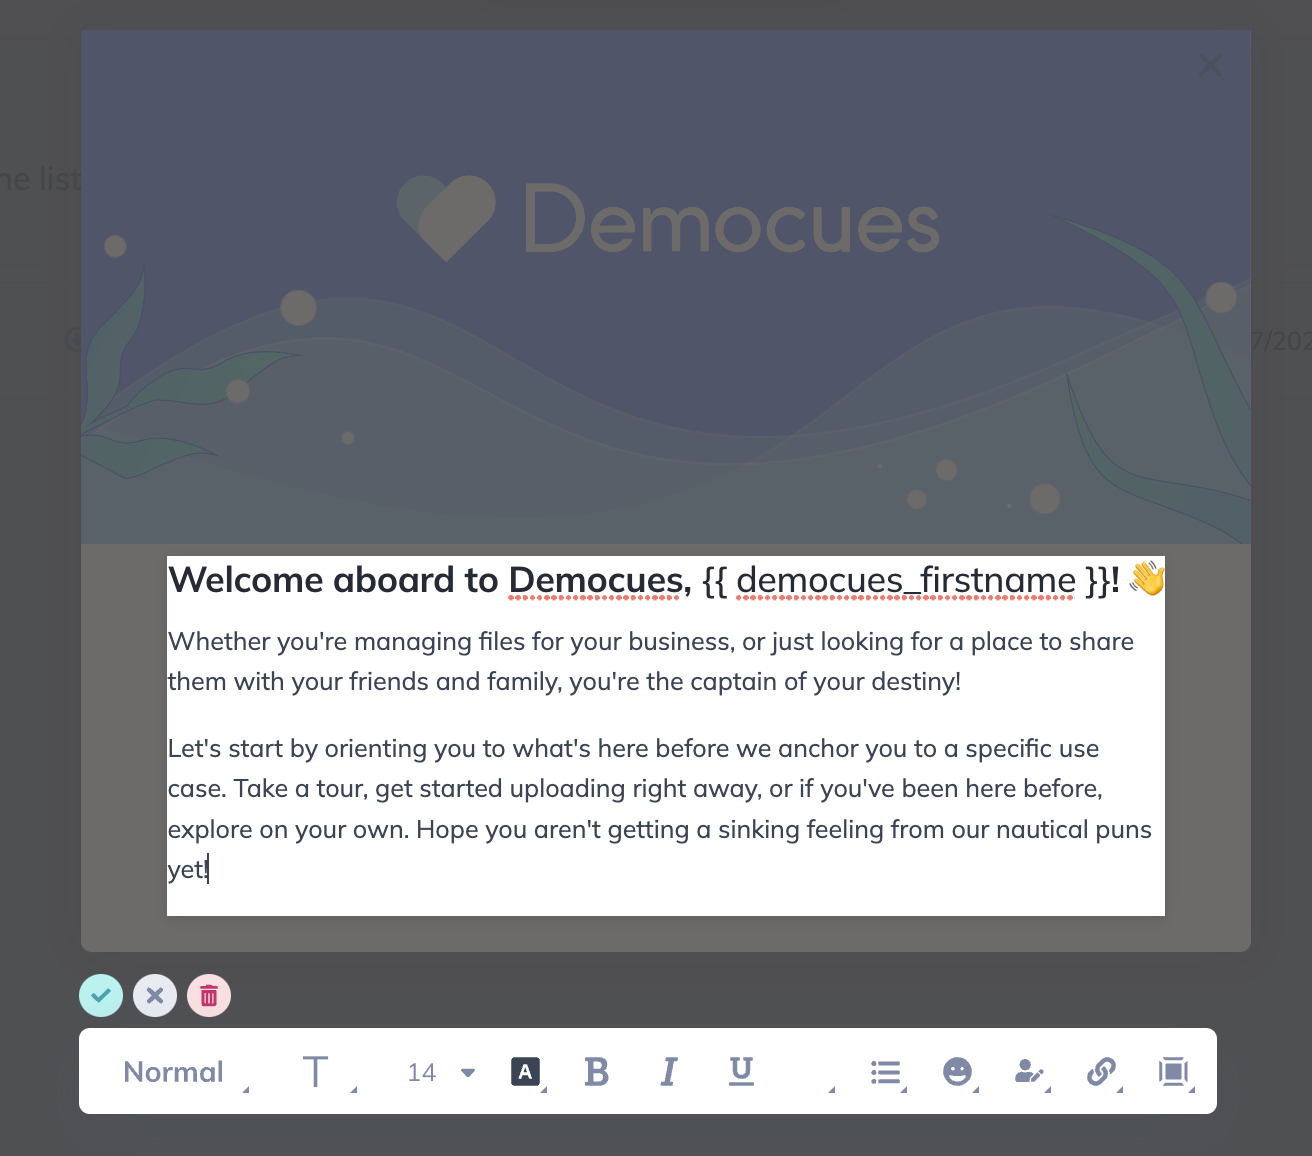
Then, add a block of text to enter your welcome message. We added a headline with personalization to welcome the user by their first name. If you're not sending Appcues a "First Name" field, see the User Properties Overview to learn how to start.

Below the Headline, add the rest of our welcome text, describing the actions available to the user.
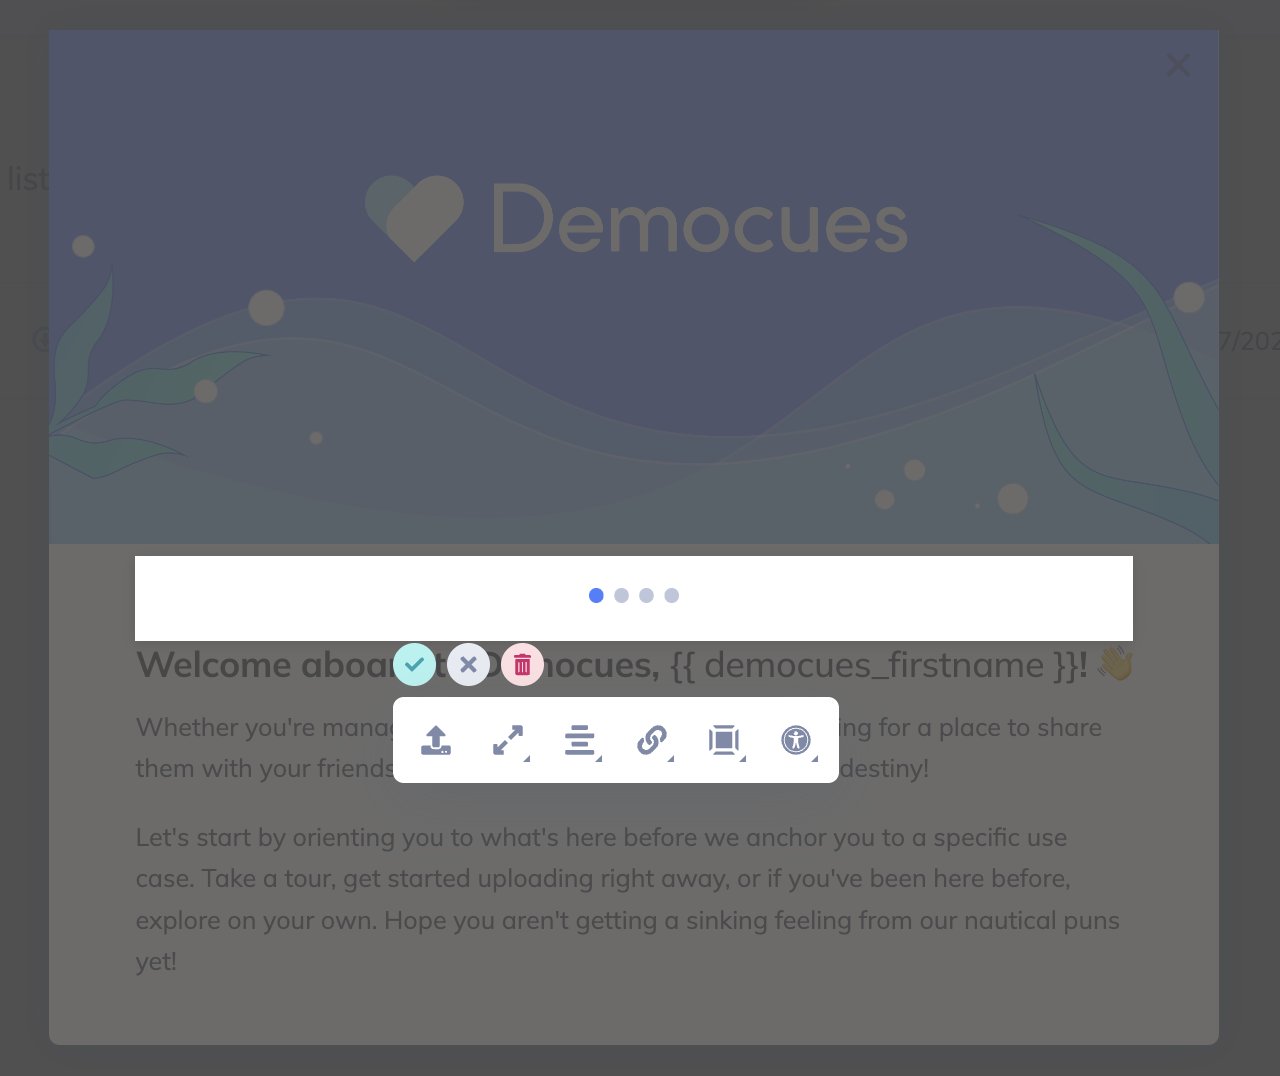
We also added a visual sign to let the user know how long the tour will be. For this, we created a PNG image with 4 dots and added it to the step by selecting the Image block.
Step 3: Add your Call to Action (CTA) Buttons
We added 3 calls to action to this Modal.
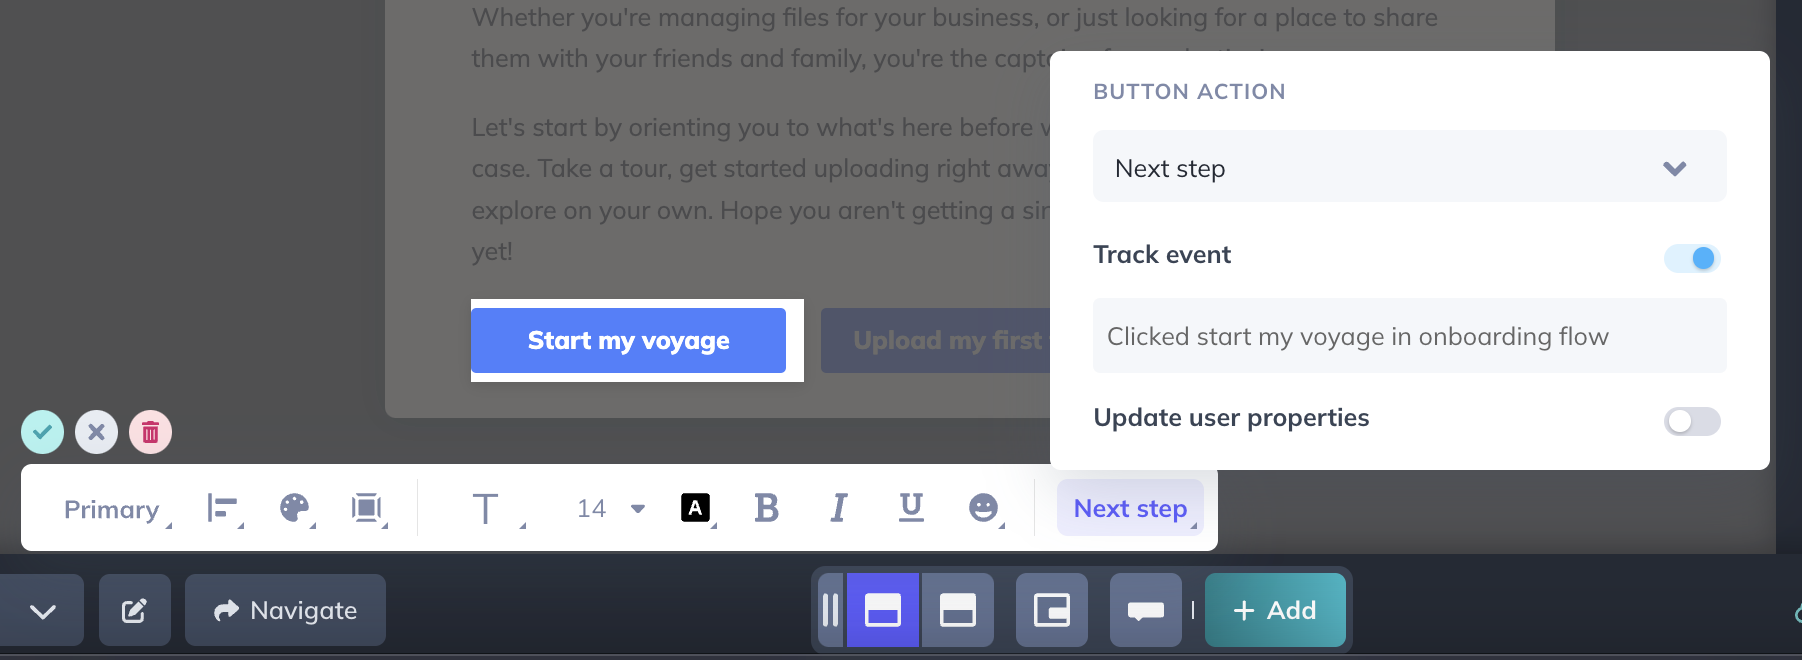
- Start my voyage: allows the user to continue seeing this Flow. You can also enable a Track Event on that button to get that data.
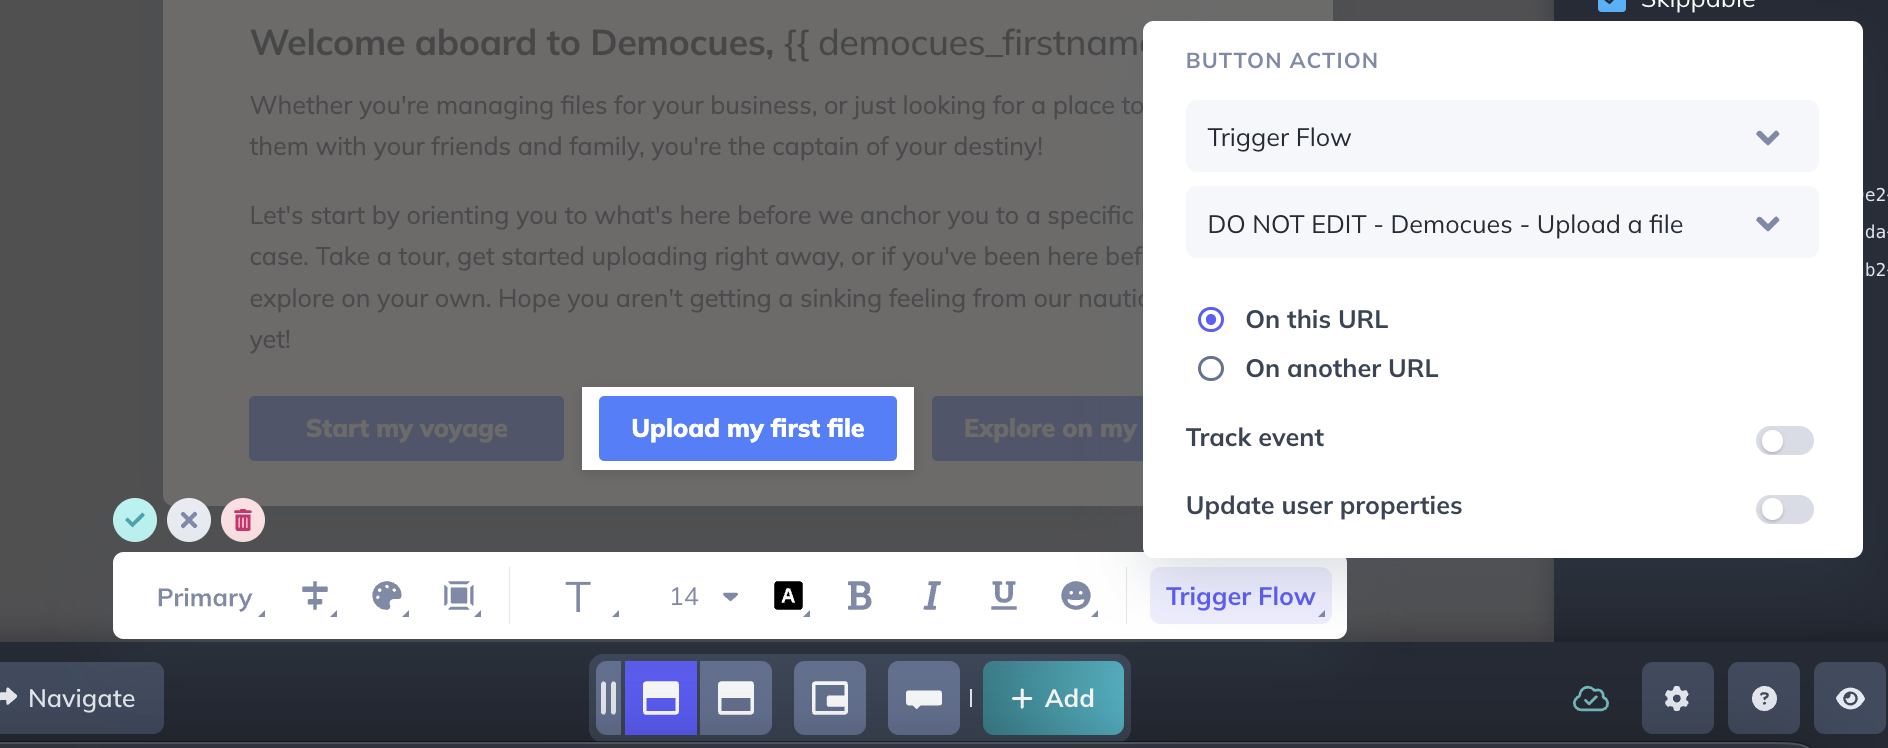
- Upload my first file: triggers another Flow. Some users are ready to start diving in right away.
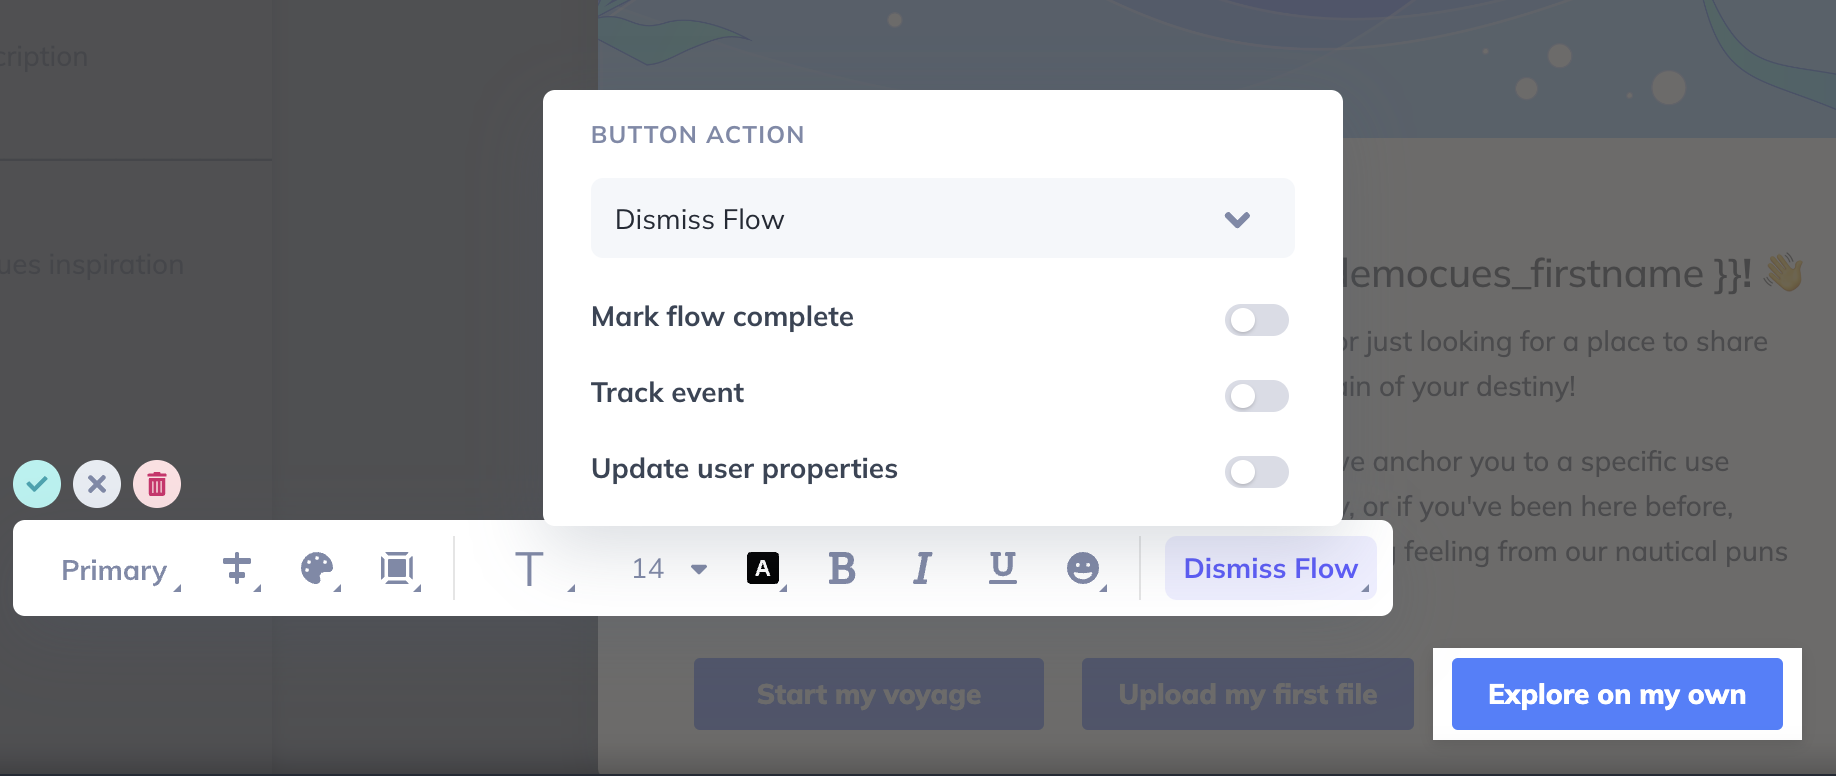
- Explore on my own: dismisses the Flow. It's always a good idea to give first-time users an “out”, rather than forcing them to walk through an onboarding flow.
Step 4: Target your Flow
There are two main considerations around which users should see this welcome Modal.
- New users only;
- It should show before any other content that may already be live.
To be able to target you'll need the applicable User Properties being sent to Appcues. You can see what you're sending on the "Events and Properties" tab of the Settings section.
New user targeting
This is needed to ensure your existing users don't see your welcome modal. If you're sending Appcues a ‘Created At’ property, you can use it for this.
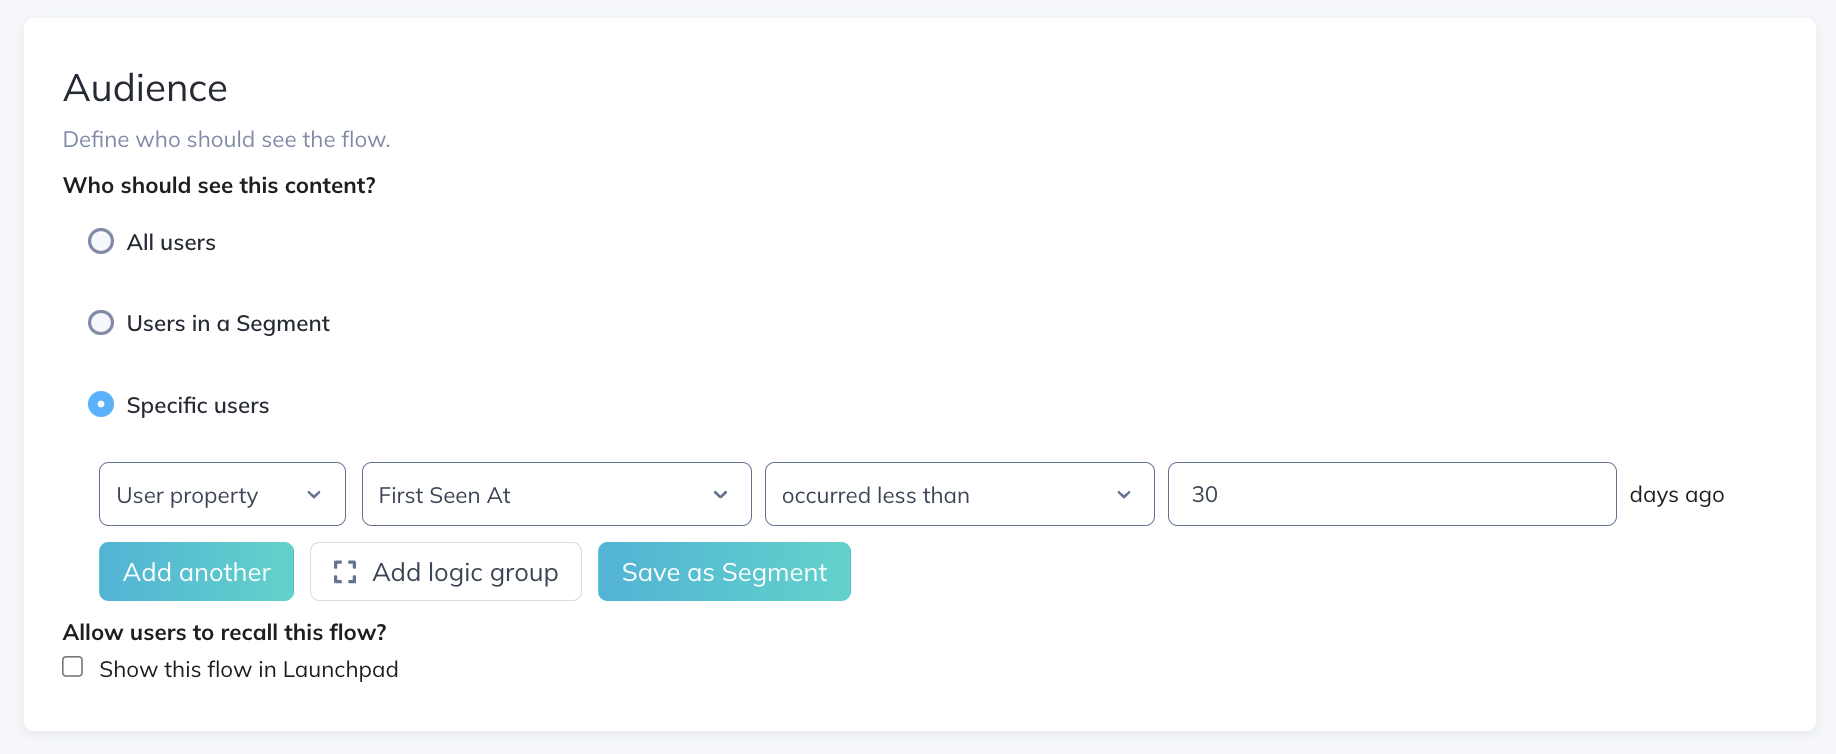
Otherwise, Appcues records the first time a user is seen. If you've been using Appcues for some time now, you can use the property ‘First Seen At’ to only target users first seen in the last 30 days.
Flow Prioritization
Add a flow weight to your Welcome message so that this is the first thing your new users will see when they land on your application. The higher the flow weight, the higher the priority.

See it in action
Launch the Flow in the button below to see this Welcome Flow in action!