Banner Targeting Settings
Learn how to define where you want your Banner to display and the audience who will see it
Table of Contents
When you are ready to target and publish your Banner, click the Publish button in the builder's top-right panel.

You will be redirected to the Banner settings page in Appcues Studio. Here you can set Page and Audience targeting rules.
Schedule your Banner

Page Targeting
Page targeting defines:
- what pages (URLs) in your app the Banner will be triggered on.
- which environments (domains) the Banner will display in (normally used for production, staging, etc.).

Learn more about Page Targeting and how to set it up. For specific instructions to target dynamic URLs, check out our documentation: Targeting Dynamic URLs. To know more about how to test your page targeting, check out our tips here.
Audience Targeting
The audience section defines who will see your Banner.
- All users: show this Pin to all users in your application.
- Users in a segment: specifically target one of the segments in your account. These allow you to create a more focused message, and you're able to get a sense of what messages are being sent to what segments.
- Specific users: Narrow your audience down by User Properties, Group Properties, Language, Flows, Mobile Flows, Pins, Banners, Checklists, Events, Segments, Emails and Push notification. These are all available by dropdown, for example:

Learn more about Audience Targeting and how to set it up.
Publish
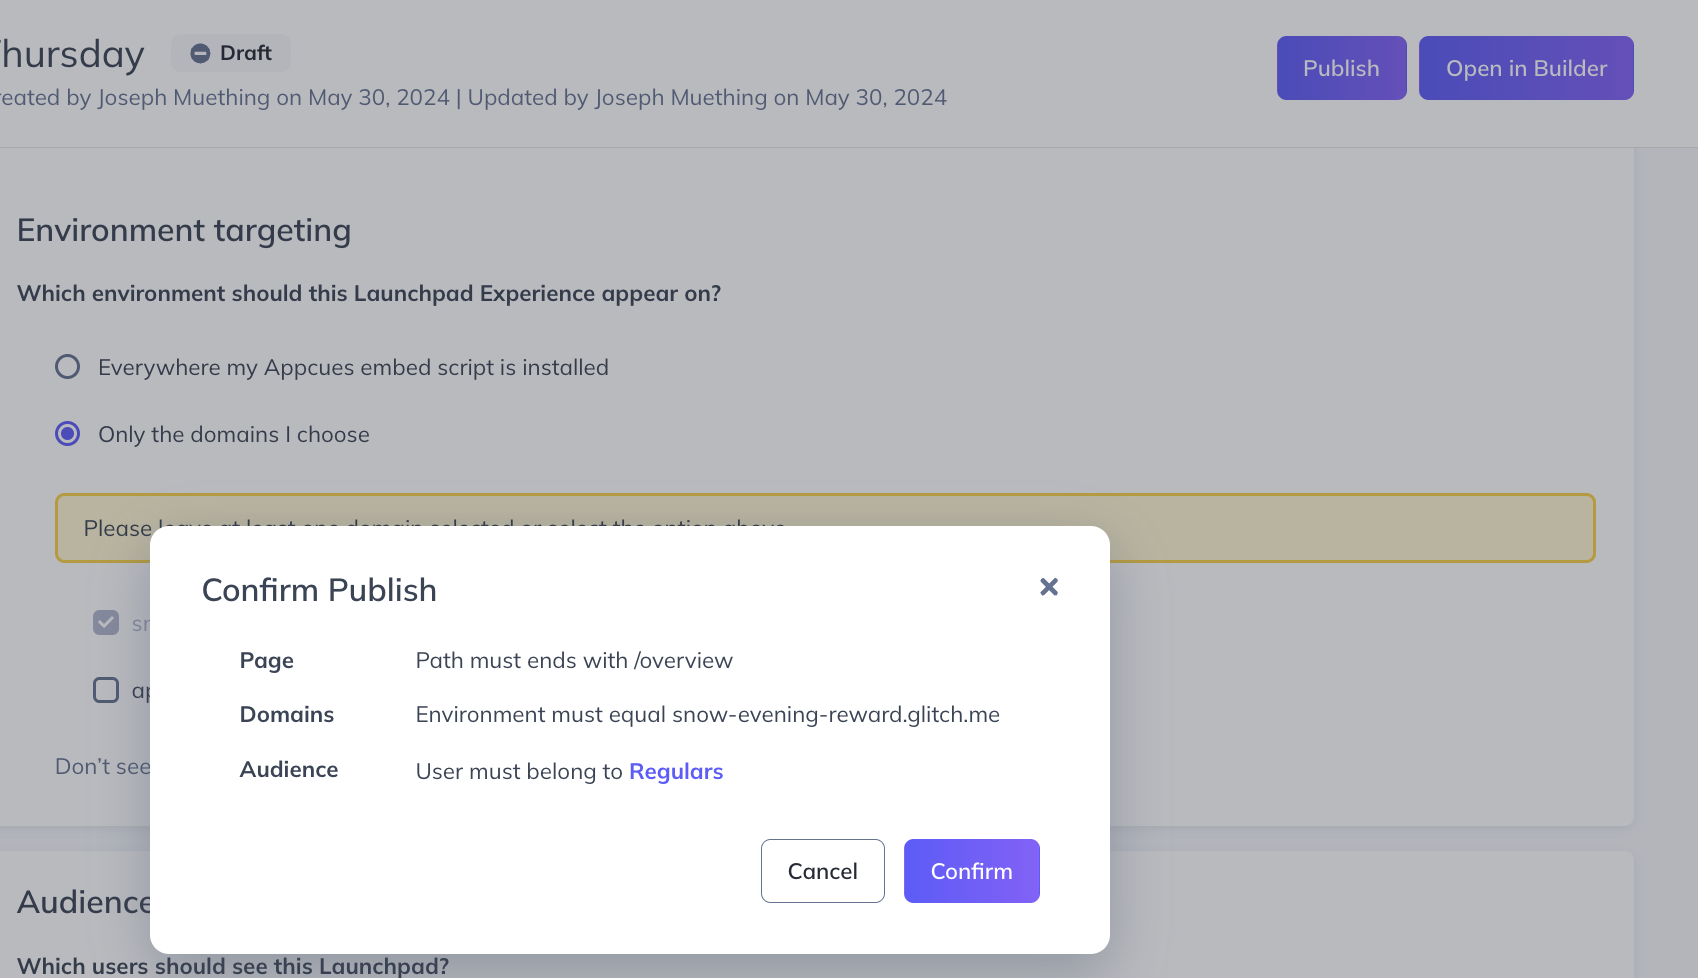
When you're ready, hit the Publish button and then Confirm to publish.
