Build Email Messages
Design, preview, and publish email content inside the Workflow email editor
Table of Contents
Once you've configured your email settings, you can build email content directly from the Workflow canvas.
Create an email
- Open your Workflow in Studio and click any + button on the canvas.
- Select Email, enter an optional name, and click Create.
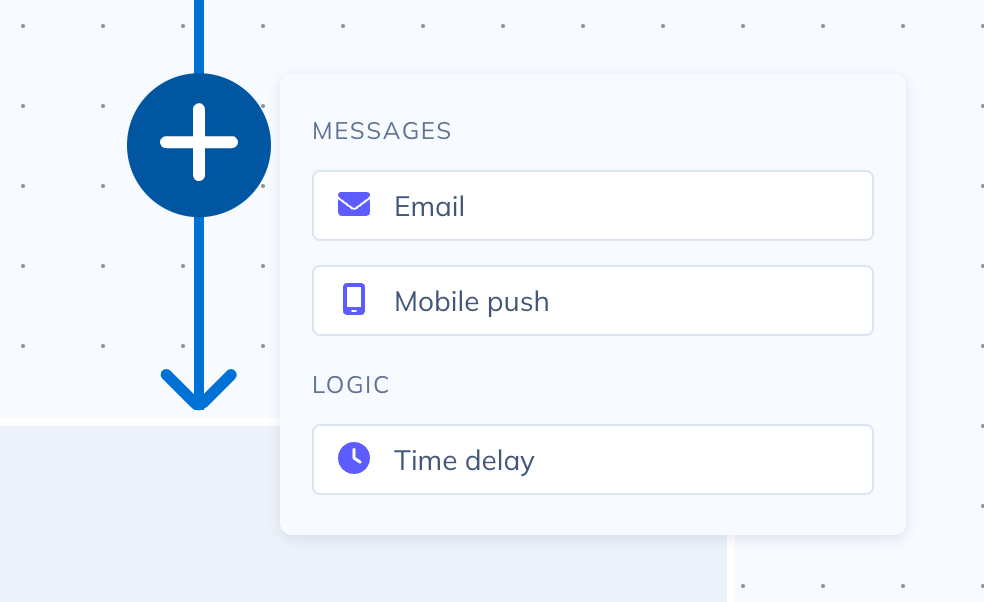
- Choose Start from scratch or load a saved email template. Either option opens the email editor.
- In the editor, set the Subject, From email, and Reply-to email at the top, then build your content using the block panel on the side.
Content blocks
The email editor provides these blocks:
- Columns — Define a column layout for the email body. Select from preset column configurations after adding.
- Button — A clickable button that can open a URL, compose an email, or initiate a phone call.
- Divider — A horizontal line to visually separate sections.
- Heading — A heading text block.
- Text — A general-purpose text block.
- Image — Add an image by uploading a file or entering an image URL.
- HTML — A freeform HTML block for custom content.
- Web Flow Button — A button that triggers an Appcues Flow when clicked.
- Signature — A pre-formatted block for the sender's signature.
-
Unsubscribe — A required block that includes the unsubscribe link and physical address. Every email must contain this block. If you're building in the HTML editor, include
{{ appcues:unsubscribe_url }}and{{ appcues:physical_address }}manually. - Body — Controls general styling for the entire email (background color, font, width).
Preview and test
- Click the ellipsis (⋯) in the upper-right corner of the email editor.
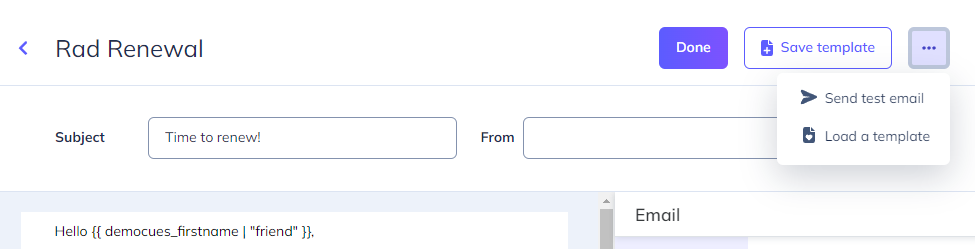
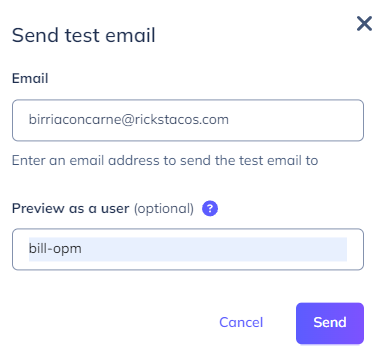
- Select Send test email.
- Enter the email address to send the test to. Optionally enter a User ID — if you do, any personalization fields in the email will use that user's profile values.
Save as a template
Click Save template in the top-right corner of the email editor to save the current email as a reusable template. The next time you create an email, you can load this template instead of starting from scratch.
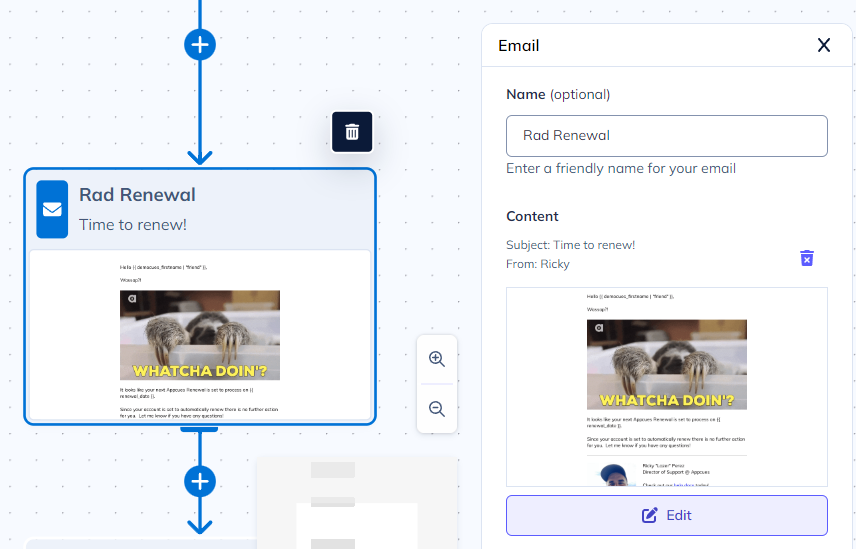
Edit an email
While the Workflow is unpublished, click the Email node on the canvas, then click Edit in the right-hand settings panel to reopen the editor.
If the Workflow is published, unpublish it first — you can't edit email content on a live Workflow.
Delete an email
Click the Email node on the canvas, then click the trash icon in the top-right corner of the node. Confirm the deletion.
Publish
Emails are published and unpublished together with their parent Workflow. You don't publish emails individually.
Before publishing, every email must include a subject line, a valid sender, an unsubscribe link, and a physical address. See Configure email settings for setup details.