Send an Email from Customer.io Based on Flow Actions
Learn how to follow up with an email sent from Customer.io after a user interacts with an Appcues Flow.
Table of Contents
You have just built an amazing Welcome flow, now what? Take action outside of your flow by leveraging your Appcues <> Customer.io Integration and send a follow-up email! Using your Customer.io Integration you can easily send emails based on actions users take with your Appcues content.
Build Guide
Step 1: Log into Customer.io
We are going to create a Campaign in Customer.io to automatically follow up with our users.
Step 2: In the Campaigns section, select “Create Campaign”

Once you are in the creation stage, name your campaign, add a description, and use any tags if you are using them. Then click on “Create Campaign”.
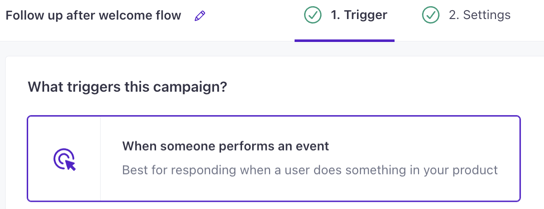
Step 3: Choose Campaign Trigger
Here you will choose how you want the campaign to be triggered, and for this campaign we want it to trigger “When someone performs an event”
Step 4: Select filter
For the event, choose “Flow Completed (Appcues)”. Then you will “Add event data filter” and select your “flowName”

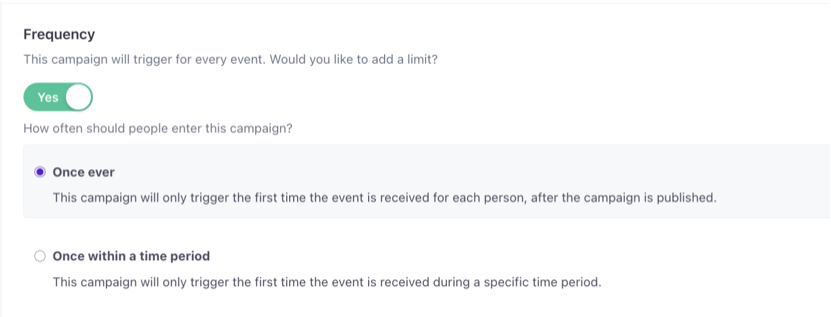
Step 5: Add a frequency limit
As this campaign is set by an event, you will need to add a frequency limit
Step 6: Save
Select “Save & Next” and now select your message settings and select “Save & Next”.
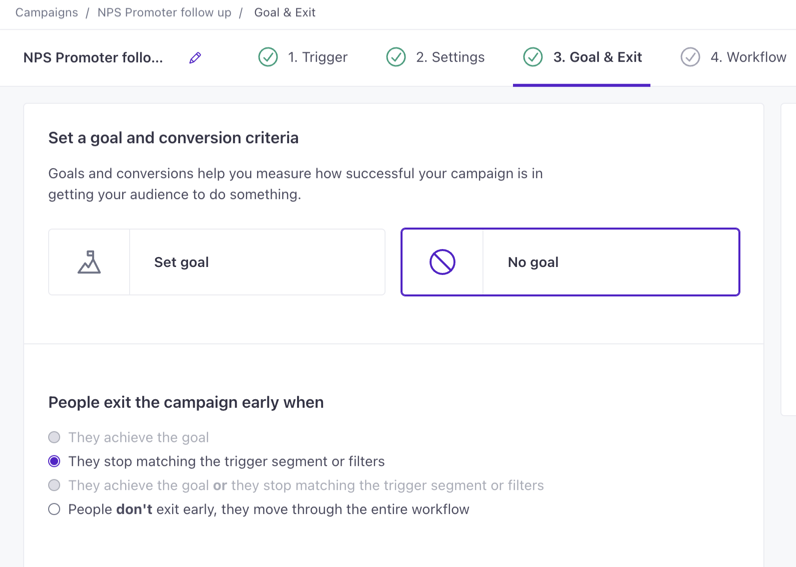
Step 7: Choose your Goal and Conversion settings
Here you will choose your Goal and Conversion settings. Now, you don’t have to select anything and for the purpose of this tutorial we are going to leave the goal as “No Goal” and the conversion as “They stop matching the trigger or filters”
Step 8: Configure the email block
You are almost there! Now you are in your workflow settings. You will drag over an email block from the left and drop it on your workflow. Once you have selected the email block, you will need to craft your email.
Step 9: Add email content
Click into your new email block and select “Add Content”. Here you can create a new email, and select a pre-built one from your library or a template. Next, you will want to select your settings for the email.
Step 10: Review
Finally, you will move to Review and select if you want the campaign to send to everyone who currently matches and future additions. Or if you just want it to match for future additions.
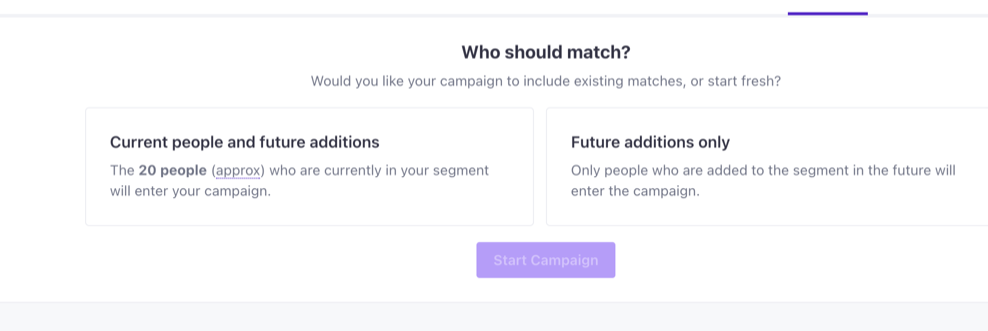
And that is it! Once you select “Start Campaign”, an email will be sent each time a user completes your selected flow.
Happy building!