Use the JavaScript API to Launch Flows
Learn how to use the JavaScript API to manually trigger Appcues Flows.
Table of Contents
Appcues is great at naturally showing content in your application when your users navigate from page to page. But sometimes, you might have a situation that requires a bit more finesse over exactly when to begin showing content. When that happens, making use of Appcues's JavaScript API to manually trigger flows can be a great option!
Build Guide
This guide presupposes an active Appcues account with Appcues already installed in your application. If you have yet to install Appcues, check out our Installation Overview.
Let's walk through triggering a flow manually using Appcues.show() from directly within your application's code.
Step 1: Decide what action in your application will trigger the Appcues flow
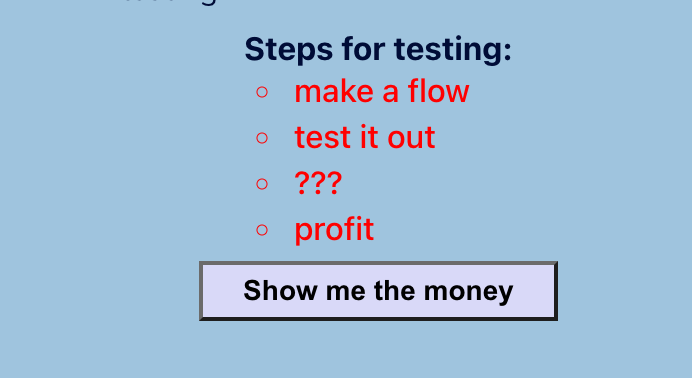
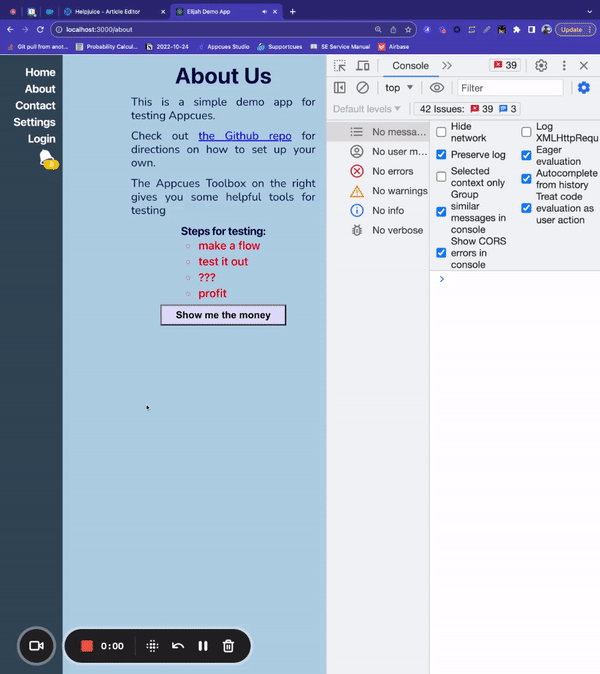
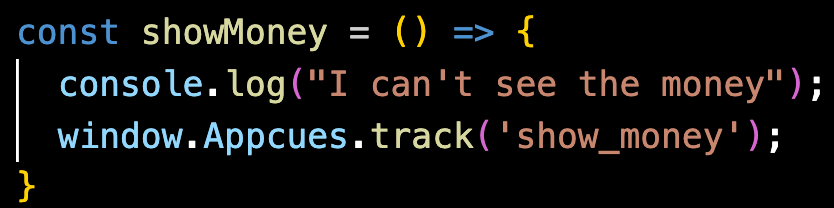
In this case, I've added a button in my application that I would like to use to trigger an Appcues flow when a user clicks on it. When clicked, it triggers the function, showMoney.


For now, nothing happens when you click it other than logging a message in the console.
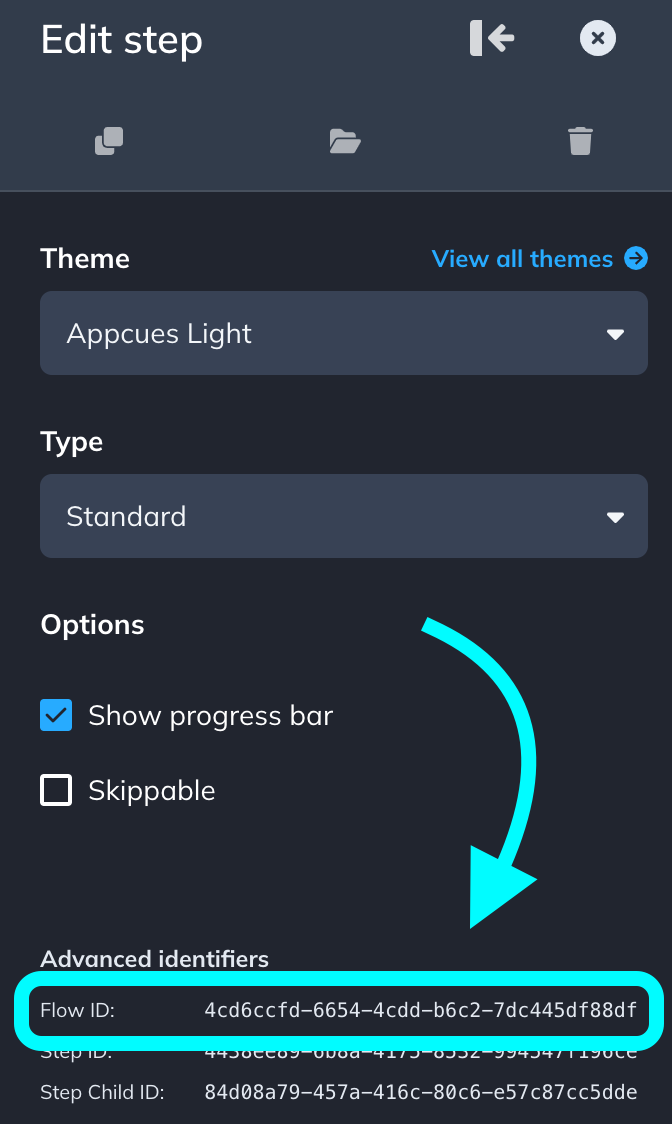
Step 2: Find the flow ID of the flow you want to show
The flow ID can be found in the Appcues Studio in the URL while editing the flow, or by clicking on the permalink button, or in the sidebar while editing the flow in the Appcues Builder.

Step 3: Add the Appcues.show() call
In your application code, add a window.Appcues.show() call into the block of code that runs from the user's action. Remember to paste in the flow ID of your flow!

Once you've made this change, you'll need to make sure to push these changes to your live application environment where you're wanting the flow to show.
Step 4: Publish the flow
If you'd like this flow only to show from users clicking the button, set the flow's trigger to Only manually.
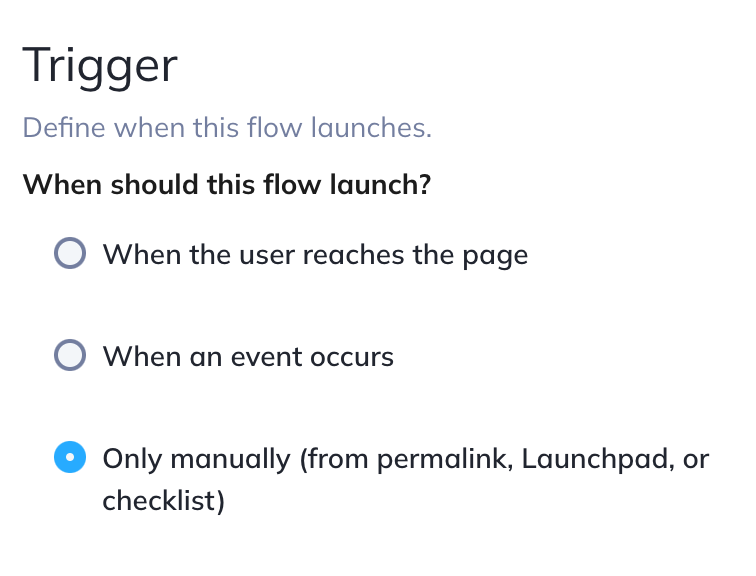
As this will be manually triggered, the flow will ignore all page and targeting conditions and fire for anyone that clicks that button.
Step 5: Test it out
With the flow published and the Appcues.show() call live in your code, the flow should begin showing whenever you take the appropriate action.
And that's it! Happy building!
Alternate methods:
Using Appcues.track() and Event Triggering
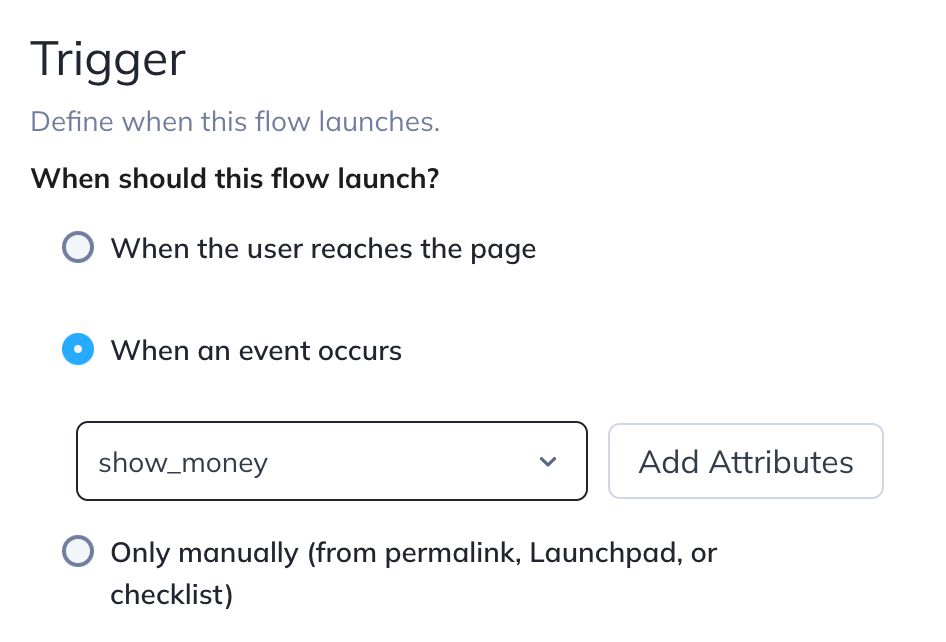
While the above method works just fine, it can be a bit brittle. If you decide you want to show a different flow, you will need to go into your application's code to change the flow ID. If you have Event Triggering included with your Appcues plan, you could instead track an Appcues event using Appcues.track().
Not only does this allow you to track how many users have clicked this button from the Events Explorer, but it also makes it easy to show Appcues content or not by setting that event as the trigger directly in the Appcues Studio.
Using a permalink
A permalink can be a nice, quick way to launch a flow, especially if you're wanting to first send the user to another page in your application before the flow begins showing. In that case, you can add the flow's permalink into something like an anchor tag, like so:
