US English (US)
ES Spanish

Submit Article Requests

Do you have a suggestion for an article you would like to see created?
Feel free to submit this form and add your suggestions to our document board.

Please fill out the contact form below and we will reply as soon as possible.

  • Appcues Certifications & Training
  • Integration Hub
  • Contact Us
English (US)
US English (US)
ES Spanish
  • Docs home
  • Web Experiences
  • Use Cases

Open an Email Composer through Buttons

Learn how to quickly create an email link for your app using Buttons

Updated at November 6th, 2023

Submit Article Requests

Do you have a suggestion for an article you would like to see created?
Feel free to submit this form and add your suggestions to our document board.

Please fill out the contact form with the details about the help content you'd like to see.

  • Home

  • Installation & Developers

    • Web Experiences

      • Mobile Experiences

        • Workflows

          • Analytics & Data

            • Account Management

              • Best Practices

                • Integrations

                  Table of Contents

                  Build Guide Step 1: Open your Flow in the Builder Step 2: Design your Flow or select a template Step 3: Add buttons Step 4: Set the button action to “Go to URL” with a mailto:{email} value Publish your experience!

                  Using Buttons, you can create a Flow that launches the email composer app to send a message to a specific email! 

                  To create a similar Flow, it is best to already have:

                  • A Flow or Flow template
                  • The recipient's email address

                  Once you have these, follow the steps below to start building.  

                  Build Guide

                  Step 1: Open your Flow in the Builder

                  Select the Flow that you'd like to use the buttons on! 

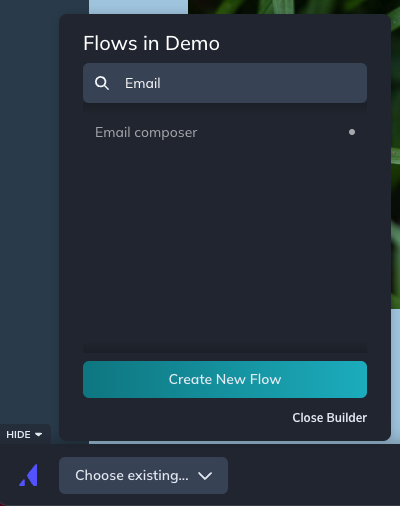
                  For example, let's use the Flow named “Email composer”. 

                  Step 2: Design your Flow or select a template

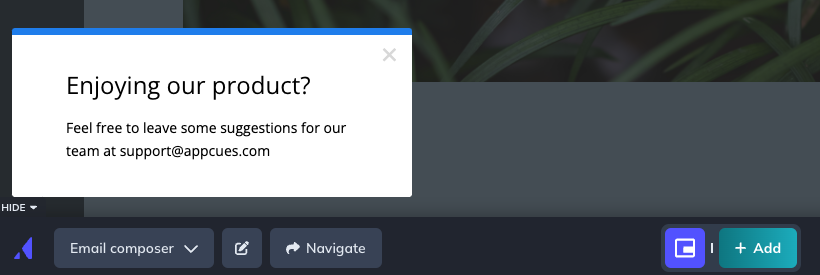
                  Nothing fancy here! The step's design can be simple or elaborate depending on your preference. This example will be in the form of a Slideout pattern. 

                  Step 3: Add buttons

                  Add and style your buttons! Feel free to leave out the secondary button if you don't find it necessary. 

                  Step 4: Set the button action to “Go to URL” with a mailto:{email} value

                  Note:

                  In some cases, the Builder won't accept that value but go ahead and save those changes! The functionality should work in live testing and “Preview” mode. 


                  Publish your experience! 

                  Once those steps are done, you are now able to publish and target it to your users! Happy building! 

                  email composer buttons mailto build guide email

                  Was this article helpful?

                  Yes
                  No
                  Give feedback about this article

                  Related Articles

                  • Buttons
                  • Create and style Pins
                  • Get Feedback from your Users with a Flow
                  Appcues logo

                  Product

                  Why Appcues How it works Integrations Security Pricing What's new

                  Use cases

                  Appcues Integration Hub User Onboarding Software Feature Adoption Software NPS & Surveys Announcements Insights Mobile Adoption

                  Company

                  About
                  Careers

                  Support

                  Developer Docs Contact

                  Resources

                  The Appcues Blog Product Adoption Academy GoodUX Case studies Webinar Series Made with Appcues Appcues University

                  Follow us

                  Facebook icon Twitter icon grey Linkedin icon Instagram icon
                  © 2022 Appcues. All rights reserved.
                  Security Terms of Service Privacy Policy

                  Knowledge Base Software powered by Helpjuice

                  Expand