Relanzar producto/Tour de incorporación con un pin de botón
Descubra formas creativas de relanzar su recorrido de incorporación y volver a involucrar a los usuarios con un pin exclusivo.
¿Quieres que tus usuarios puedan reiniciar un tour o guía completado sin usar una launchpad ni checklist ? Añade un pin de botón que se adapte perfectamente a tu aplicación y deja que Appcues haga el trabajo por ti.
Guía de construcción
Esta guía está dirigida a los usuarios que ya cuentan con un recorrido de incorporación. Para obtener más instrucciones sobre cómo crear un recorrido de incorporación, revise este documento .
Paso 1: Crea un pin en Studio
Vaya a la sección Pines de Appcues Studio .
Haga clic en el botón crear en la esquina superior derecha.
Necesitará ingresar algún contexto adicional para continuar:
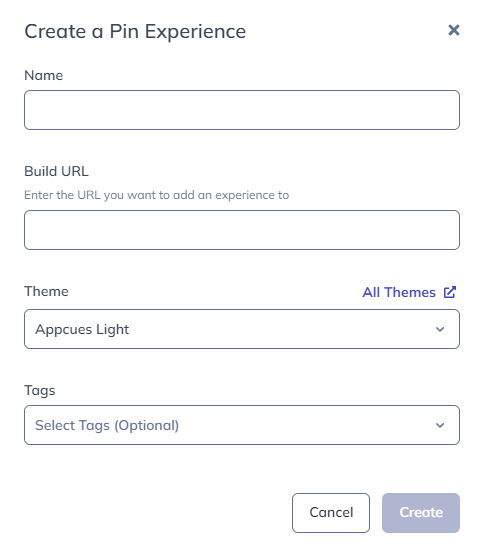
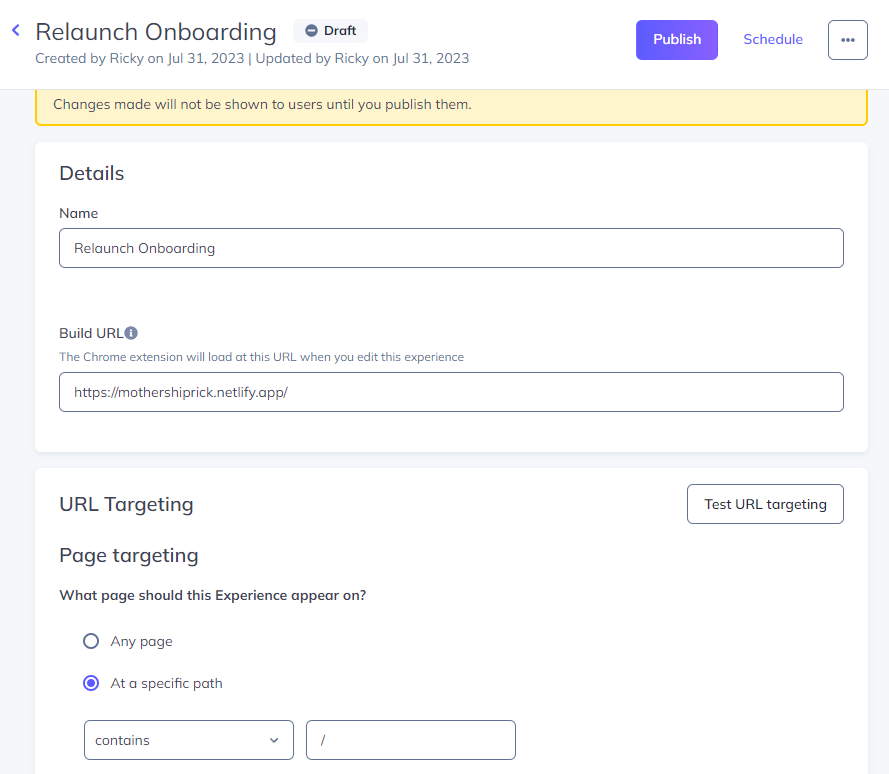
- Nombre: proporcione un nombre claro para comunicar que este pin de botón es para relanzar un recorrido
- URL de compilación: guiaremos a los usuarios a esta URL cuando hagan clic en la acción Abrir en el builder desde Appcues Studio
- Tema: elige el tema que tenga los colores de botones apropiados para tu aplicación
- Etiquetas: Proporcione un par de etiquetas para ayudar a categorizar esta nueva experiencia
Cuando esté listo, haga clic en el botón Crear.
- Se abrirá una nueva pestaña directamente en la URL de compilación y debería abrirse el Appcue Builder.
Paso 2: Agrega pin del botón a tu aplicación

Haga clic en el botón + Agregar en el área inferior de la barra de herramientas builder cuando el builder termine de abrirse.
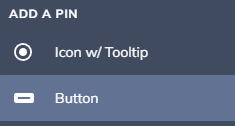
Seleccione Botón en el menú Agregar un Pin.
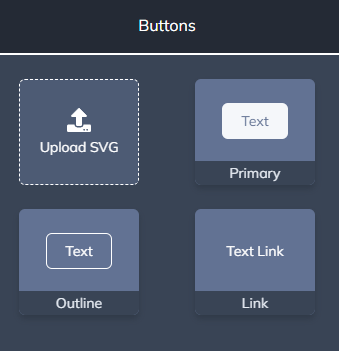
Elija el estilo de botón apropiado que desee; actualmente admitimos enlaces SVG, primarios, de contorno y de texto como tipos de botones para esta experiencia.
Haz clic en la aplicación donde quieras colocar el botón. Para más información sobre cómo colocar un pin , consulta esta guía de pines .
Paso 3: Configurar la acción del botón
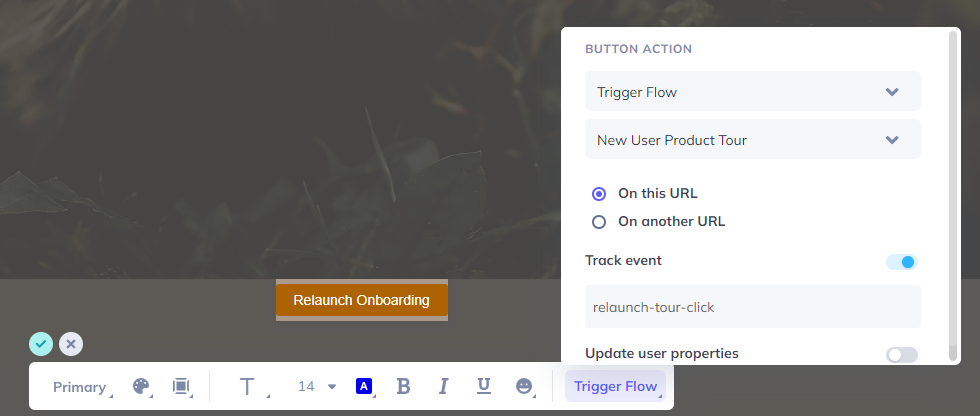
Haga clic en el botón y cambie la etiqueta de texto del botón a algo claro para que sus usuarios sepan qué sucede cuando hacen clic en el botón; en este ejemplo, usamos "Relanzar incorporación".
En el lado derecho de la barra de herramientas de botones, querrá especificar la acción del botón Flujo de activación y elegir la Incorporación o el Recorrido del producto que desea que se reinicie cuando un usuario haga clic en el botón.
Para obtener puntos extra, también es útil registrar un evento cuando un usuario hace clic en este botón. Capturar estos puntos de contacto es excelente para la exploración analítica en Appcues Studio .
Paso 4: Publicar la experiencia pin

Cuando su botón tenga el aspecto deseado, haga clic en el botón Destino y Publicar en la esquina inferior derecha del builder Appcues .
Ahora que has vuelto a Appcues Studio, te recomendamos verificar que las secciones de segmentación de página y audiencia de este pin estén correctamente definidas. Para más información sobre la segmentación, consulta nuestra guía de segmentación . Una vez configurada la segmentación, haz clic en el botón "Publicar".
El paso final aquí es tomarse un momento y probar el botón para asegurarse de que las cosas se muestren y funcionen como deberían.
A continuación se indican algunas cosas útiles que conviene tener en cuenta:
- ¿Mi nuevo pin de botón se siente como si fuera parte nativa de la aplicación? (Por ejemplo, ¿coinciden los estilos?)
- ¿El texto de mi botón es lo suficientemente claro para que los usuarios comprendan inherentemente lo que hace?
- ¿Está el botón en el mejor lugar para que los usuarios no tengan que buscarlo?
Verlo en acción
¡Aquí hay un par de pins que te ayudarán a demostrar un poco de lo que esta función puede hacer por ti!