Manage email suppression lists
Add, remove, and review email addresses on the Unsubscribed, Bounced, and Spammed suppression lists
Table of Contents
Appcues won't send emails to addresses on a suppression list. Before sending your first Workflow email, add any addresses that have previously opted out of communication from your company so they don't receive unexpected messages.
Go to Settings > Emails > Suppression lists to manage all three lists.
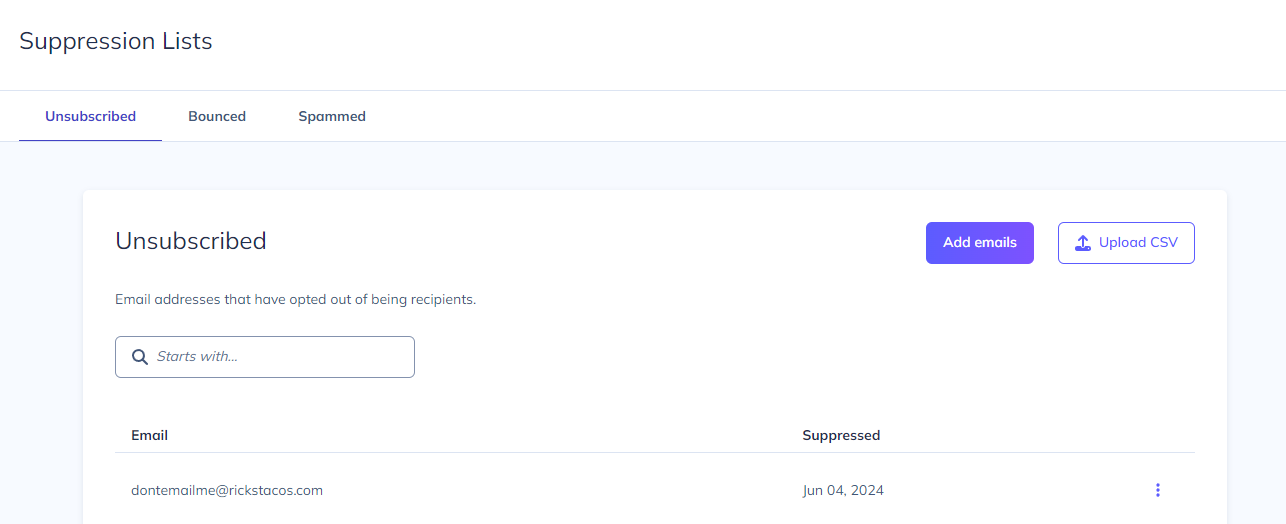
Suppression list types
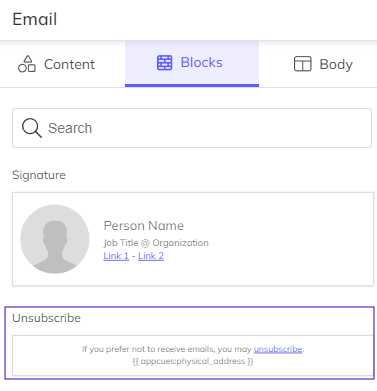
Unsubscribed — Addresses added here manually, via CSV upload, or automatically when a user clicks the unsubscribe link in any Appcues email.
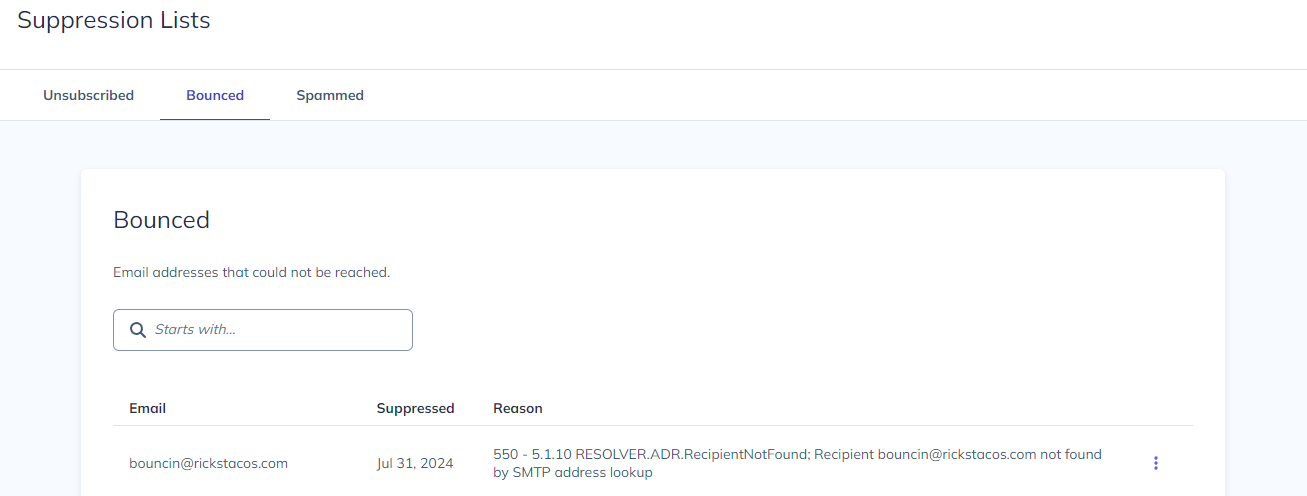
Bounced — Addresses added automatically when an Appcues email can't be delivered (invalid address, full inbox, or server rejection).
Spammed — Addresses added automatically when a recipient reports an Appcues email as spam.
If a user's email appears on any of these lists, no Appcues email will be sent to that address.
Add addresses to the Unsubscribed list
Individually — Click Add, then enter one or more email addresses separated by commas.
In bulk — Click Upload CSV and upload a single-column CSV file containing the email addresses.
Bounced and Spammed lists are populated automatically and can't be added to manually.
Remove an address from a suppression list
Navigate to the suppression list that contains the address.
- Click the vertical ellipsis (⋮) next to the email address.
- Select Remove.
This works on all three list types. Use it when an address was added in error or when a user asks to be re-subscribed.